Full Body Attachments
The Full Body template allows you to track specific joints of the user's full body (18 tracking points total). You can add 3D attachments to the positions of these joints, as well as configure joints to be oriented and scaled towards another joint.
The Full Body Attachment template differs from the Skeletal as it requires the user to be even further from the camera in exchange for more joints tracked as it uses the Full Body Tracking system rather than the Upper Body Tracking system . In addition, instead of Head joint it provides access to the face points such as Nose, Eye Left/Right, Ear Left/Right.
Tutorial
Guide
When working with this Template, you’ll want to switch the preview video to one with a person’s body. In the Preview panel, select the Image / Video Mode button.
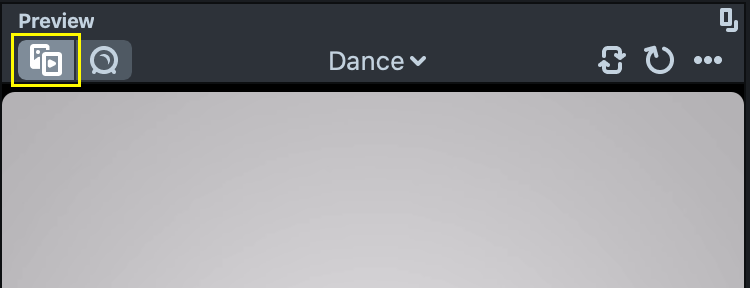
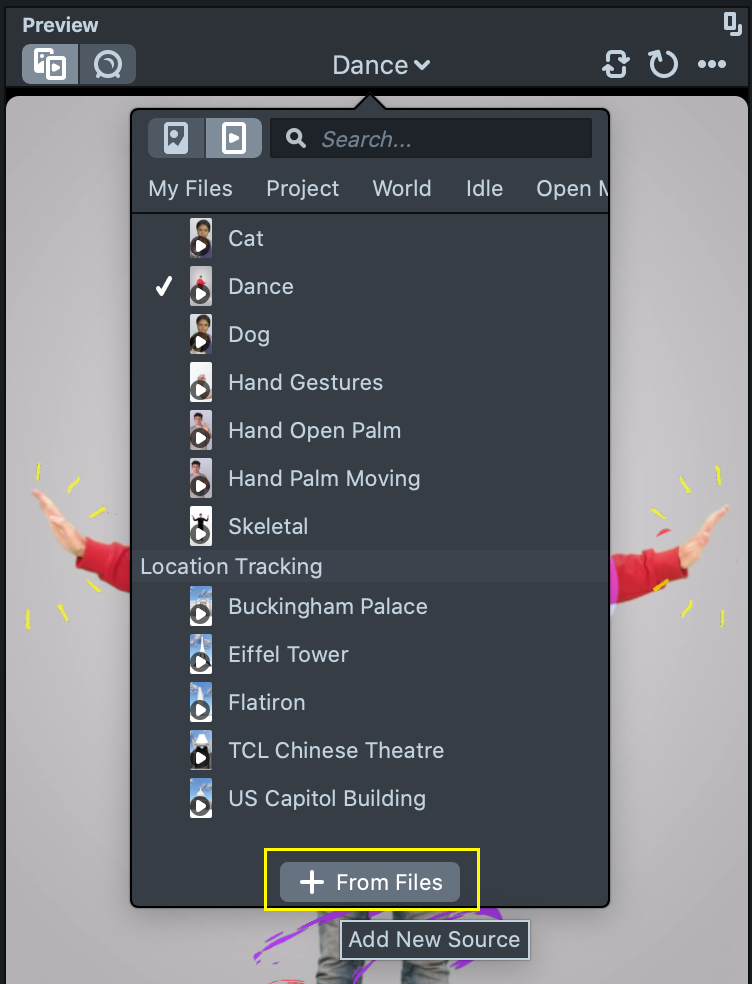
Then, in the drop down at the top of the Preview panel, choose the Dance or the Skeletal preview video.
Record your own videos or make photos and set them as a lens studio preview by clicking on + From Files button at the bottom of the preview panel dropdown list.
You should now see the content tracked to the body in the video. You can also switch to Webcam Mode to see the content attached to yourself.

Bringing in the 3D Objects to attach
First we’ll bring in the object that we want to attach to the body. For the purposes of this guide, I’ve imported this floatie from the Animated Object template. To learn more about importing 3D objects, take a look at this guide.
Since the Full Body Tracking utilizes screen space, we will set up our 3D objects to be on the Orthographic Layer. To do this, select the Object in the Object panel, then in the Inspector panel, on the top right so switch the Render layer of your 3D object to Orthographic.
Attach 3D object to the Body using prebuilt Hierarchy
By default the template comes with a predefined hierarchy that you can use to attach objects to the body. This setup can be found inside the Simple Attachments [EDIT_CHILDREN] object.
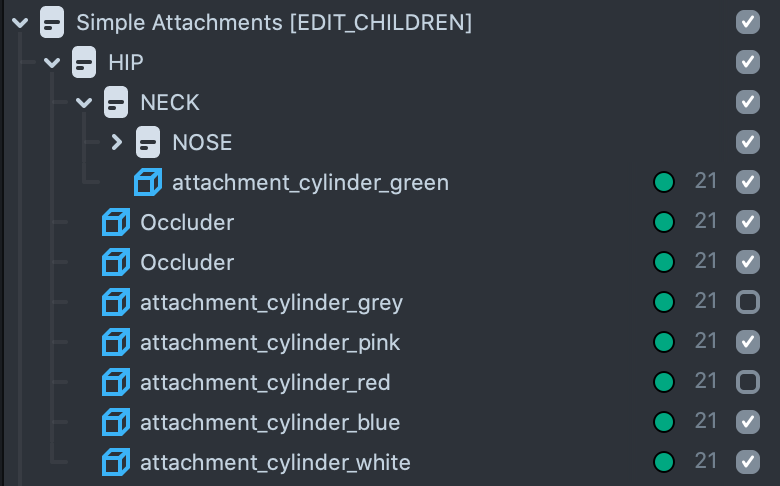
Drag and drop the 3D object that you brought in onto the HIP object. Move and Scale it to align it relatively to the parent object. In the Preview panel, you should now see your object moving along with the hip.
Try doing these on other joints!
By default each full body attachment has a child object named Occluder. These objects have meshes with the Occluder material, which is not displayed itself but can cover up other materials. To make Occluder material visible in a scene click on the Gear icon in the top right corner of the Scene panel and select Occluder Visualization -> Visualize.
The occluder objects are provided as an example and are like any other object that you can attach to the body. It will not adapt to the user’s body precisely but can be used for certain effects. Select the occluder scene object and tweak it as needed.
The template comes with cylinder-like assets with a material that allows you to scroll textures. Try replacing the texture on these cylinders with your own and playing with the different material settings!
Setting up Body Tracking Attachment from scratch
Now Let’s set up a Full Body attachment from scratch and take a deeper look on how attachments are set up. For this example, we’ll create an object (e.g. a sphere) that can be scaled in between the user's hands.
To do this I will add a new Empty object which will be our parent scene object, as well as what holds the attachment. I’ll rename it to Right Wrist Attachment .
Then with this object selected click + -> Sphere. Make sure that Sphere is a child of the Right Wrist Attachment object.
Now let’s attach this Sphere to the person's Right Wrist joint. Browse the Resources panel to find the AttachTransform script. Then with the newly created Right Wrist Attachment object selected drag and drop the script to the Inspector panel.
: As before, we switched the Sphere to the Orthographic render layer to make it visible. Additionally we added a material from the Material Library to make it more visual in our example.
The AttachTransform script allows you to easily attach an object to a joint on the body. It contains the following options:
- SceneObject: is a sceneObject that will be attached. Only the Position of this SceneObject will be affected.
- Attachment point: is a Full Body Tracking body point to follow.
- Smoothing: determines how smoothly sceneObject will follow a Full Body Tracking point.
For our example, we’ll set up the Scene Object field with Right Wrist Attachment object, and set Attachment pointto be Right Wrist, and set smoothing to 0.1.
Now that we have our object following our Right Wrist, let’s make it rotated and scaled towards the Left Wrist. What we’ll do is have the Right Wrist affect the position of this object and have the Left Wrist affect the orientation and scale of the object.
Let’s create another Empty Object, call it Left Wrist Attachment and make it a child of the Right Wrist Attachment.
Next we’ll define where the ends of the spheres so the Lens knows how it should stretch the object. We can do this by placing one of the attachments on one side of the sphere, and the other attachment on the opposite side.
As before, add a AttachTransform script choosing the Left Wrist as the Scene Object, and the Left Wrist as the Attachment Point.
What we’ll do now is enable Affect parent to get additional settings that will allow the script to affect the other AttachTransform.
- Parent: is a parent sceneObject that will be rotated and scaled to the
SceneObject - Influence: is the amount of effect applied
- Rotate To: enable is you want
Parentscene object to be rotated towardsSceneObject - Scale To: enable is you want
Parentscene object to be scaled towardsSceneObject.
Now we can see that the Sphere is stretched between users' wrists!
This is how each of the occluders that come with the template was set up!
Bonus
The template comes with a few other examples that can help you build different effects
- The
CopyTransformhelper script found in theResourcespanel allows you to copy position rotation or scale from the created attachment to another object - The
Skinned Meshexample in theObjectspanel demonstrates how you can attach not only meshes but also bones of a skinned mesh
Previewing Your Lens
You’re now ready to preview your Lens. To preview your Lens in Snapchat, follow the Pairing to Snapchat guide.
Related Guides
Please refer to the guides below for additional information: