Cinema 4D, 3D Object Export
This guide will walk through how to export a 3D model from Cinema4D to the FBX format, so that it can be imported into Lens Studio. For the purposes of this guide we're using Maxon's Cinema 4D R17. That said, any 3D tool that can export to FBX should be able to export models that can be imported into Lens Studio.
Animation Settings
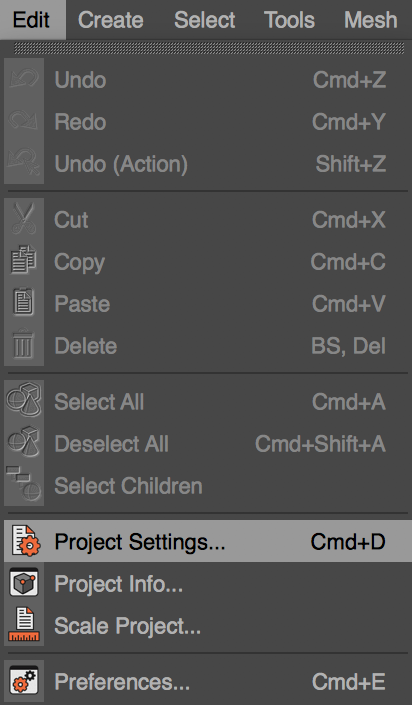
To configure your animation settings in Cinema 4D, select Edit -> Project Settings... from the menu bar.
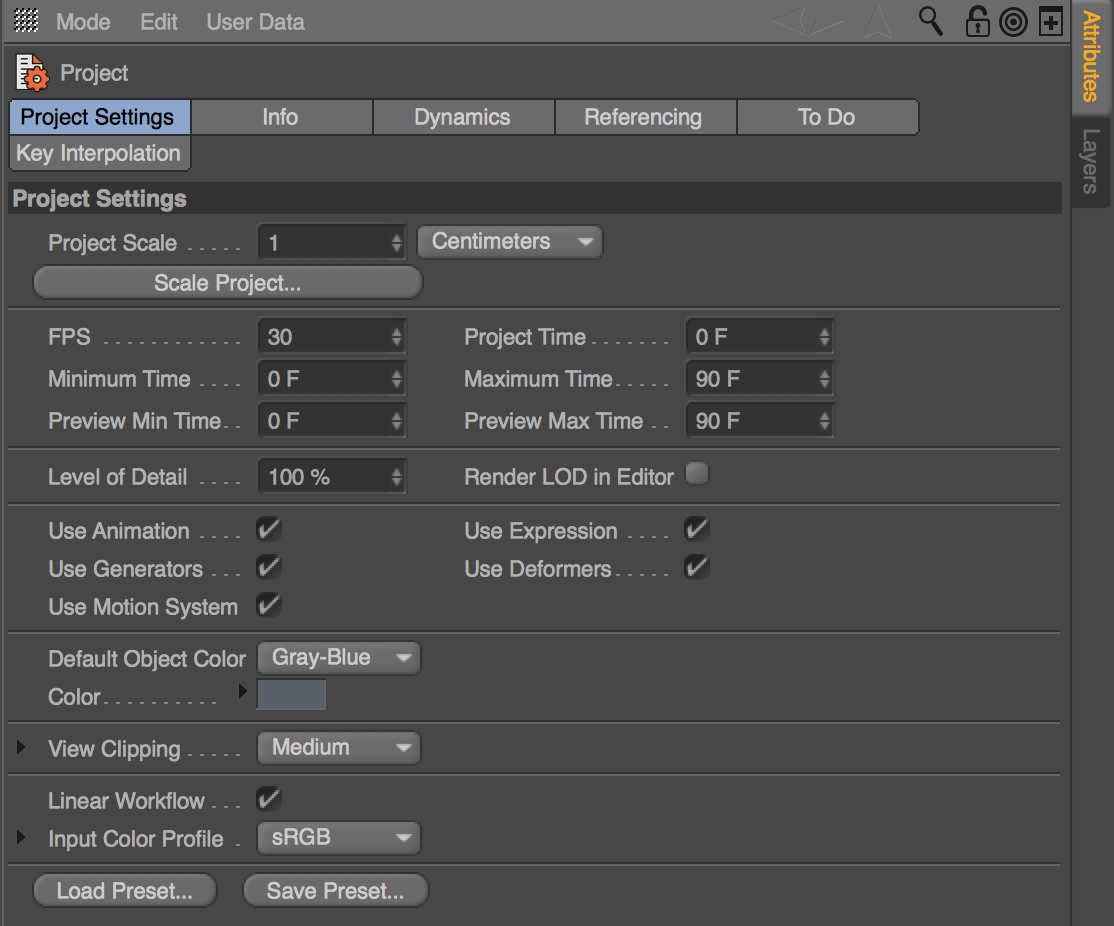
Now you can see your current project settings in the Attributes window.
Leave the Project Scale set to 1 Centimeters.
Change the FPS to 30.
Set the Minimum Time to when your animation starts and the Maximum Time to when your animation ends.
Export for Lens Studio
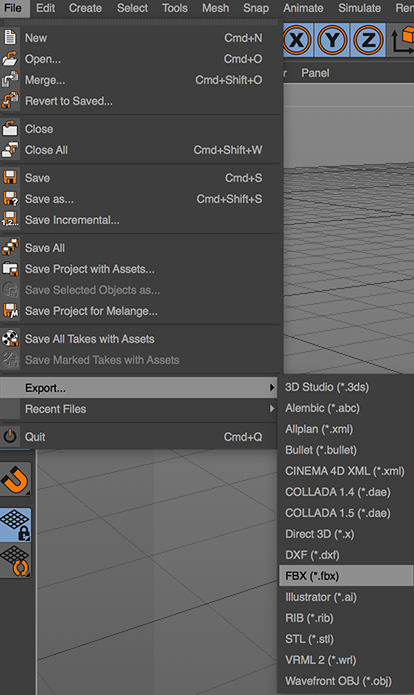
To export an FBX, first select the File -> Export... -> FBX (*.fbx) from Cinema 4D's menu bar. Select where you want to save your FBX then click Save.
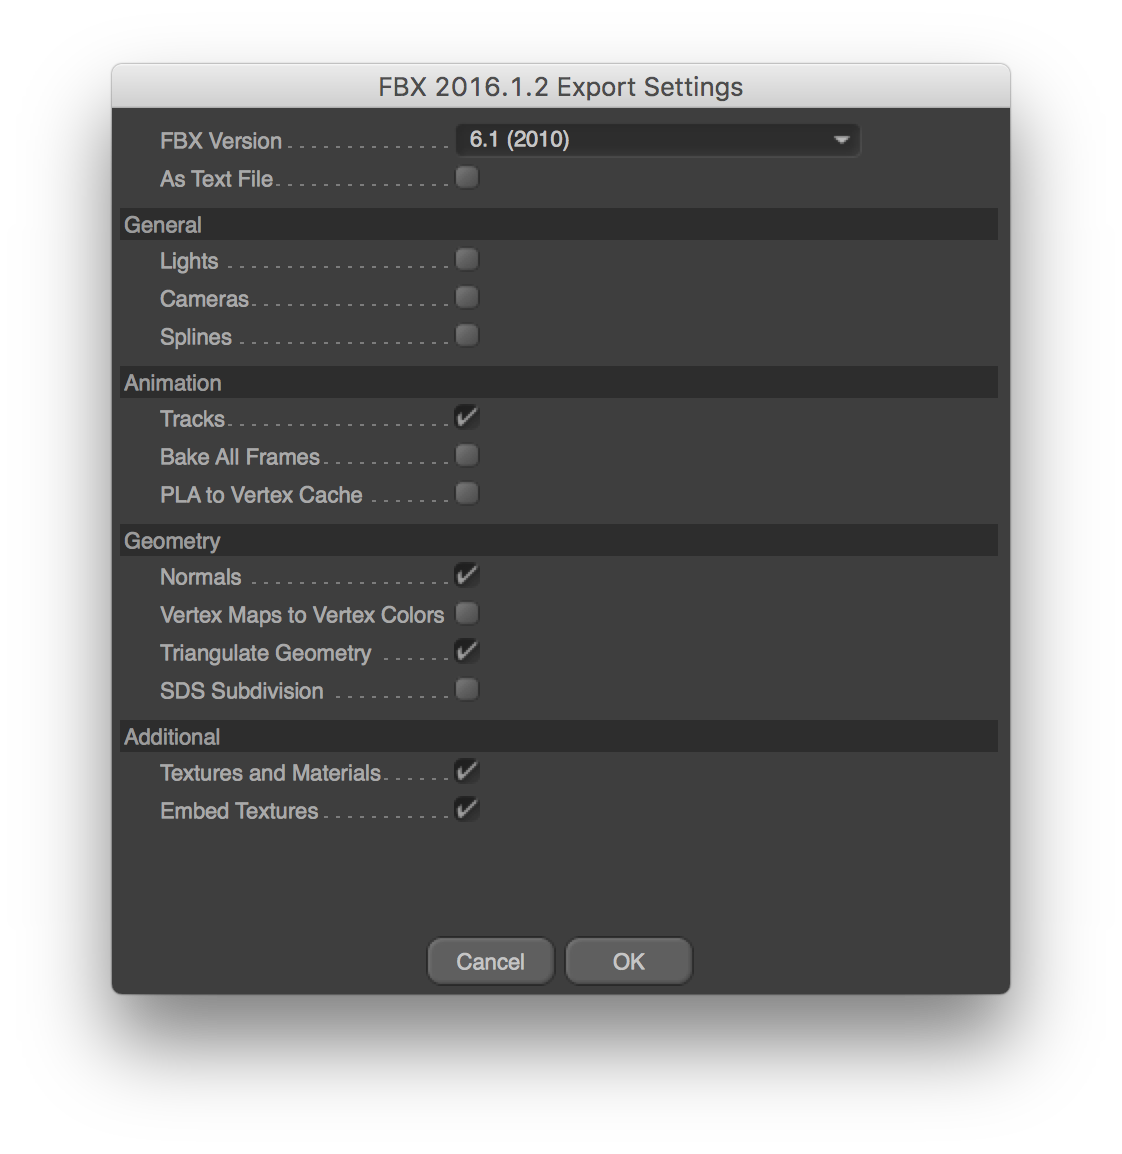
This will open the FBX Export Settings window. In the FBX Export Settings, set the FBX version to 6.1 (2010).
Then, in the General section, un-check Lights, Cameras and Splines.
If you want to export animation with your model, in the Animation section, make sure Tracks is checked.
In the Geometry section, make sure Normals and Triangulate Geometry are checked.
In the Additional section, make sure both Textures and Materials and Embed Textures are checked.
Below is a list of things to ensure when exporting your 3D assets to work best in Lens Studio and ultimately Snapchat.
• Your model has to be triangulated via the export dialog
• Your scene total of 3D assets should add up to less than 10,000 triangles (5,000 polys assuming your model is built with quads). This will allow your model to display smoothly across the widest variety of Android and iPhone devices
• In general, stay under 100 joints for your animation rig. Additionally, while the engine does support Blend Shape animation, try to avoid using it. If Blend Shapes are required, use sparingly and pay close attention to your frame rate performance
• Lens Studio supports up to a 4 bones per vertex limit. If the influence is greater than 4 then there will be problems in your rigged model when imported into Lens Studio
Finally, in the FBX Export Settings window, click the OK button.
You now have an exported FBX file that's ready to be imported into Lens Studio. For information on importing 3D models into Lens Studio, review the 3D Object Import guide.
Baking Textures for Lens Studio
Some of the Cinema 4D's shaders, like procedural shaders, are not compatible with Lens Studio. In order to successfully export your 3D model you need to bake the texture(s).
To bake textures in Cinema 4D, first select the object you wish to bake in Cinema 4D's Objects window. Then, from the menu bar, select Objects -> Bake Texture...
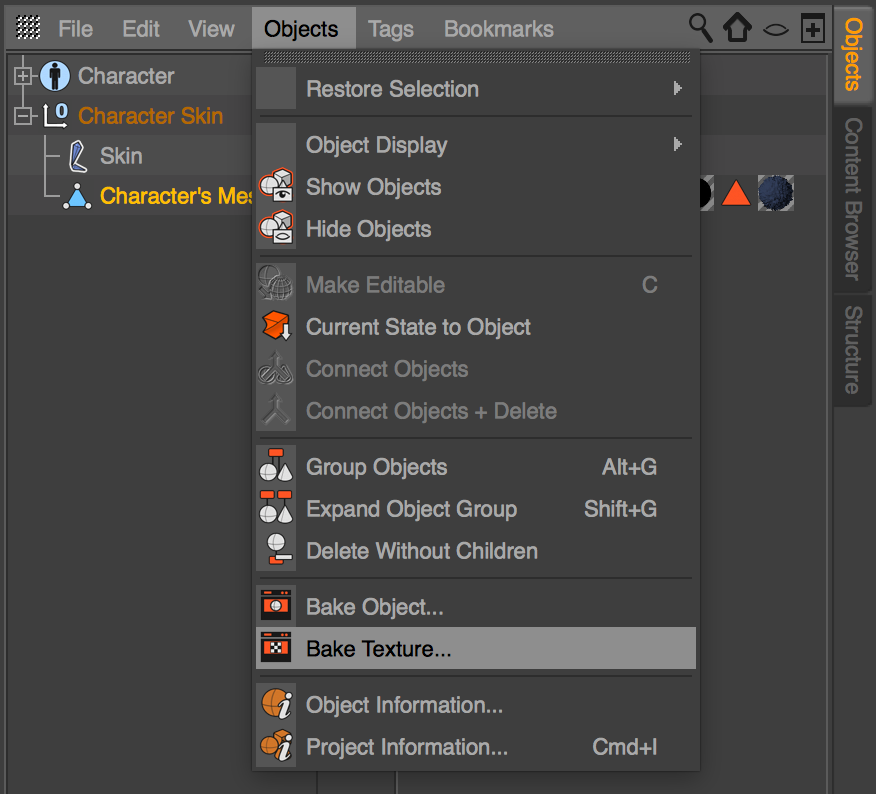
This will add the Bake Texture Tag to your selected 3D model.
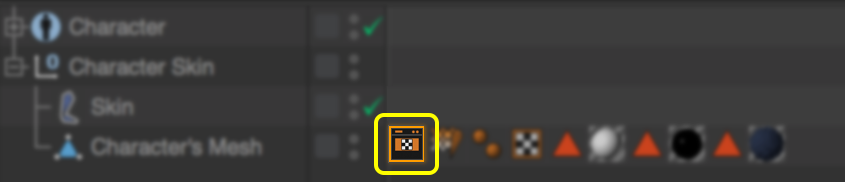
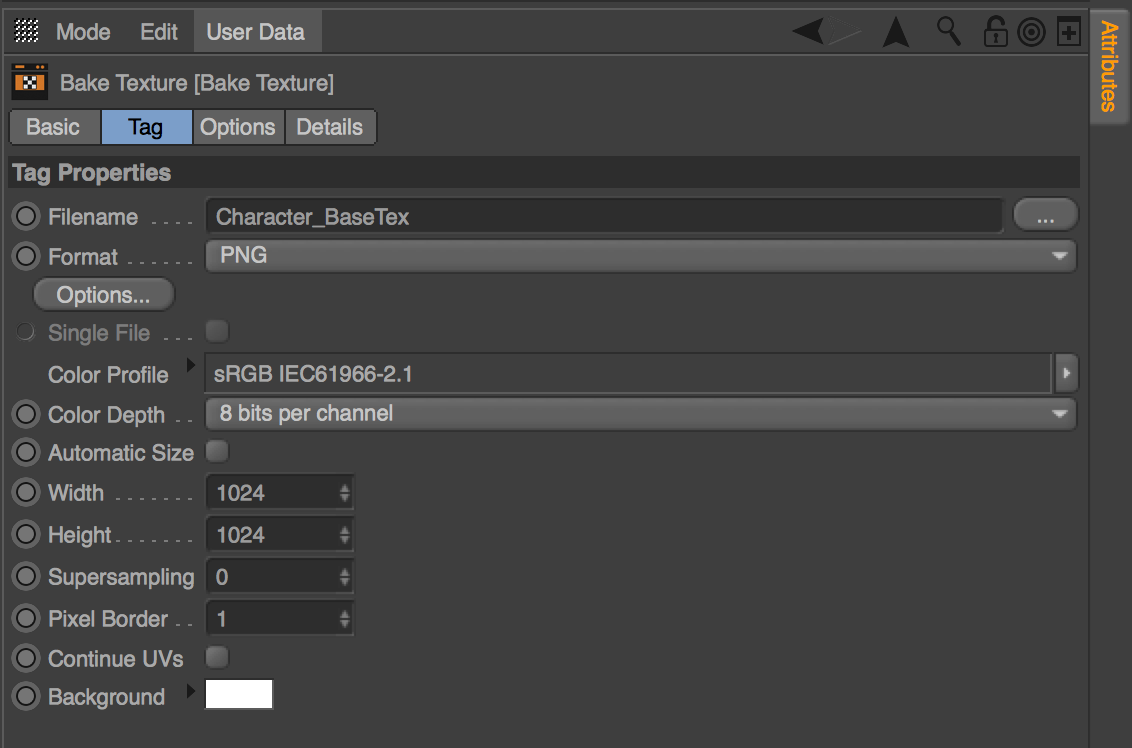
Click on the Bake Texture Tag. Then in the Attributes window select the Tag tab.
Now, you have to choose where you want to save the baked texture(s). To the right of Filename click the ... button to specify where you want to save the baked texture file(s).
We recommend creating a new folder to keep both the baked texture(s) and FBX file in the same place.
Next, select PNG from the Format drop down menu.
Change the Color Depth to 8 bits per channel.
Change the Width to 1024 and the Height to 1024.
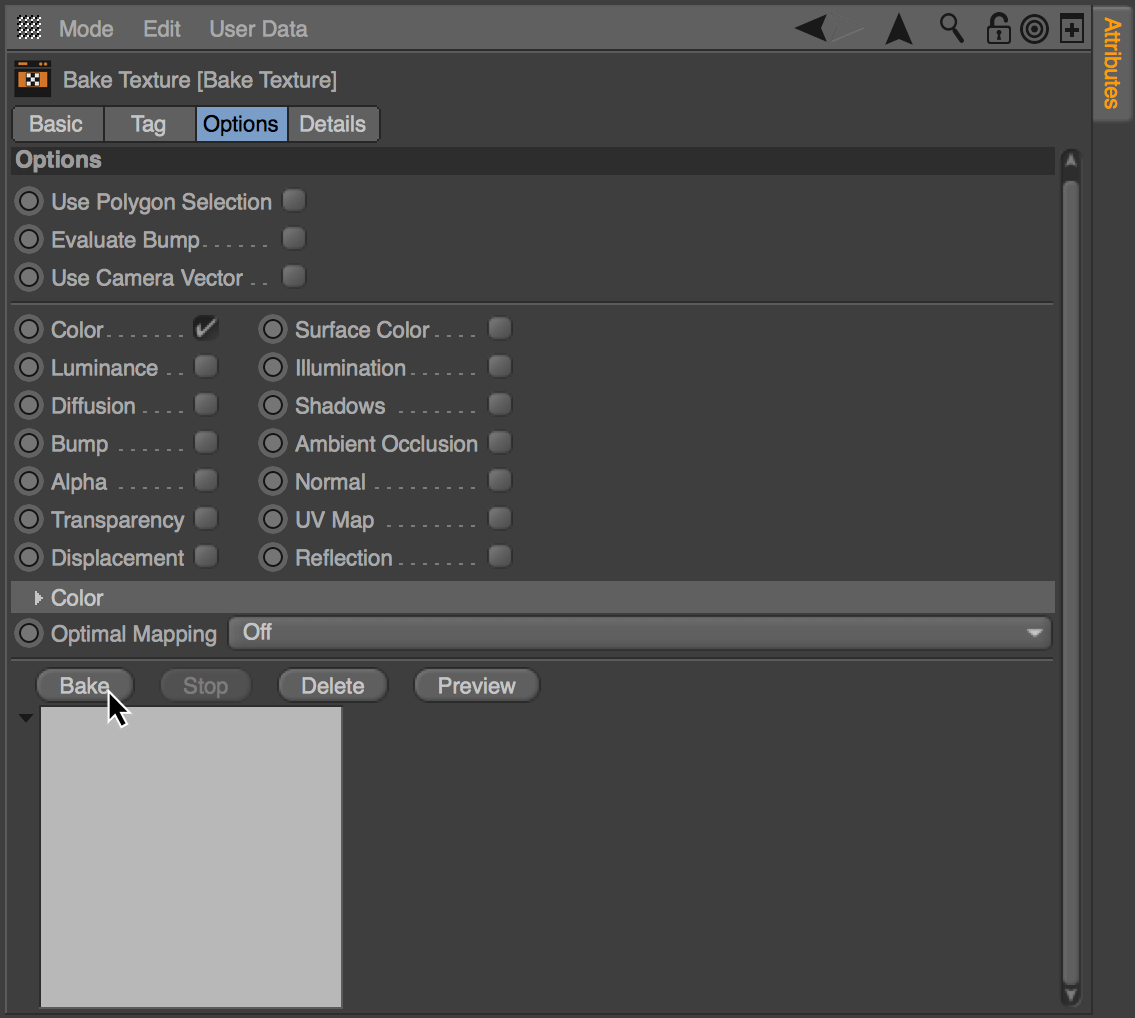
Select the Options tab. In the Options settings, check the Color checkbox then click the Bake button.
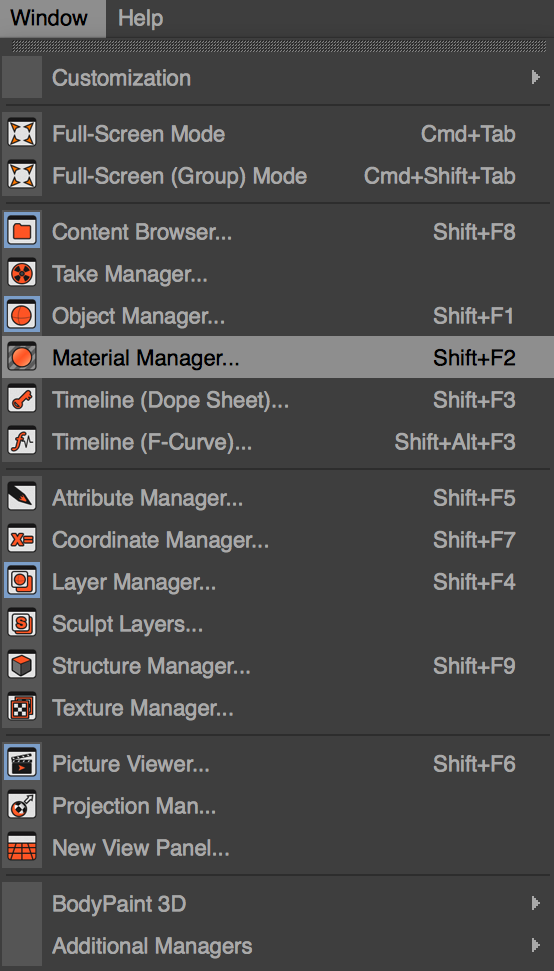
Once it is finished, you have to apply the baked texture to the 3d model. In Cinema 4D's menu bar, select Window -> Material Manager.
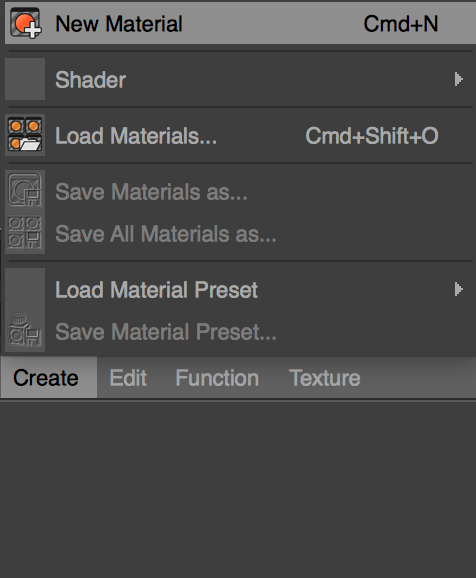
This will open the Material Manager window. Create a new material by clicking the Create button and selecting New Material.
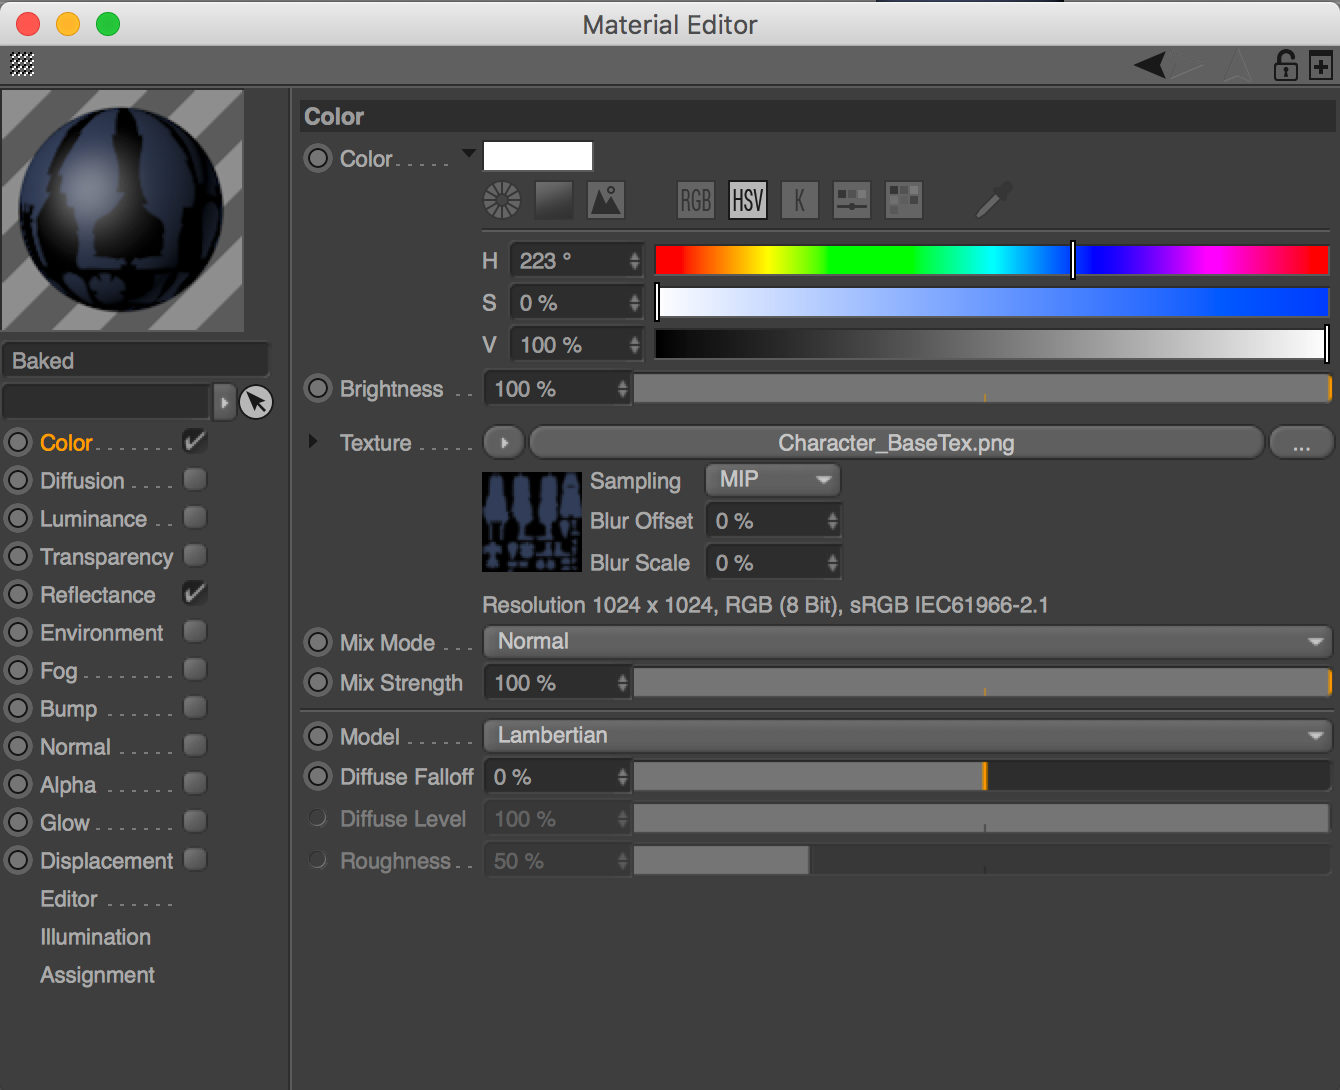
Double click the new material to open Material Editor window. To the left, make sure the Color checkbox is checked. Then click Color. With the Color settings open, click the ... button. Select your exported baked texture.
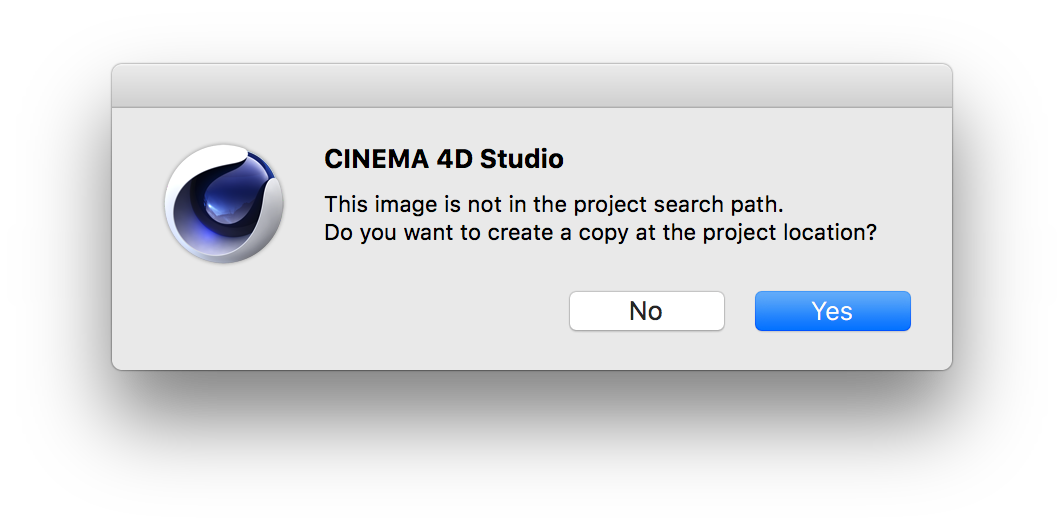
Cinema 4D will bring up a window asking you to copy the image to your project. Click Yes.
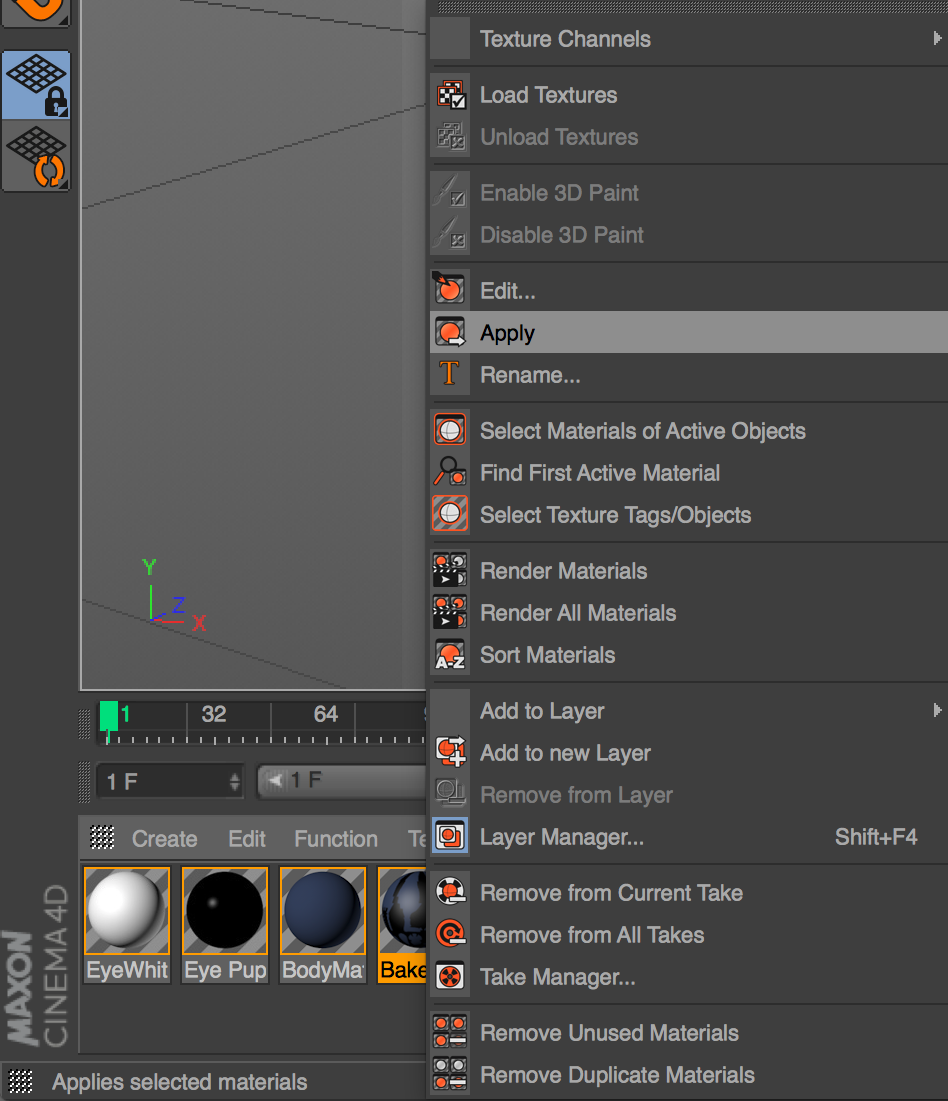
Now we have a material with a baked texture. To apply the material to the model, first select the 3D model. Then navigate to the Material Manager window. Right click on the material with the baked texture and select Apply.
In the Objects menu select the 3d model and delete Bake Tag, Polygon Selection Tag and any Materials that are no longer used.
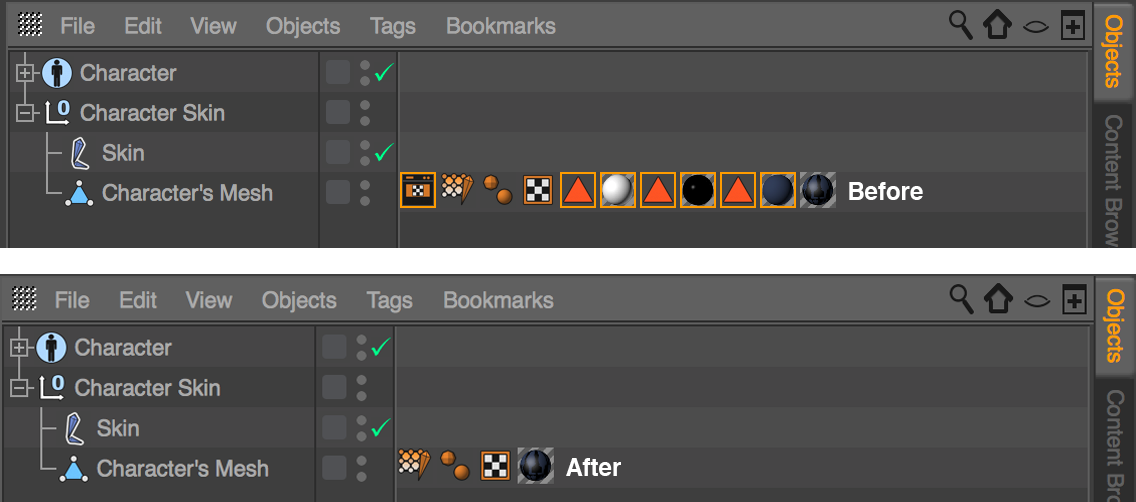
You now have a 3D model with a baked texture applied to it.
Baking Animation for Lens Studio
Baking animation is the process of taking complex animation and simplifying it down to key frames that can be used in Lens Studio. If your animation is using Mograph, Effectors or XPresso we need to bake the animation. Otherwise, there is no need to bake the animation.
To bake the animation using XPresso, select your Mograph Object from the Objects window. Then, create a copy of your Mograph Object.
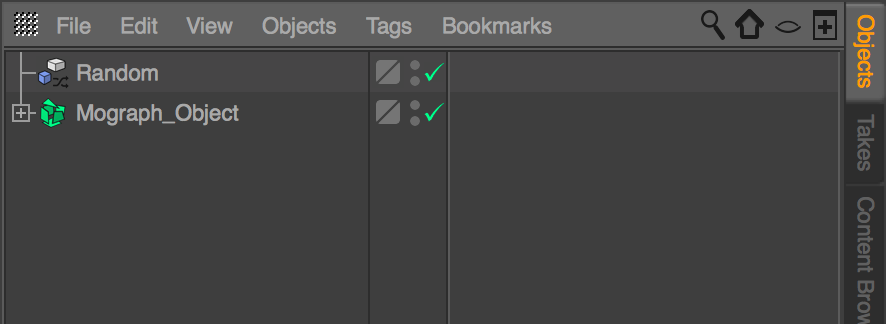
Now you will have two Mograph objects in your scene. Select one of them and rename it to xxx_Bake to make sure that you can easily find it in the future.
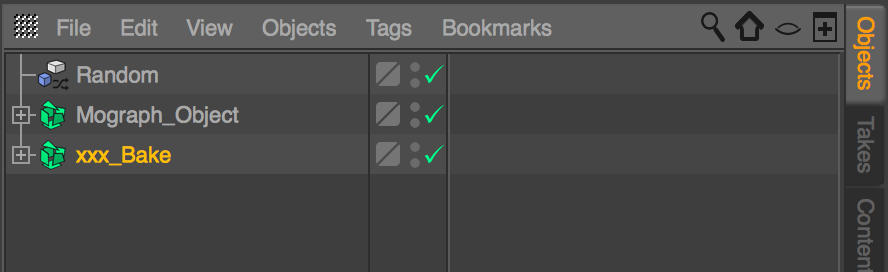
Next, we have to make the xxx_bake object editable.
Before making the object editable, if you're using Cloner make sure that object is not using Render Instances. Select the Cloner, then in the Attributes window, select the Object tab. Make sure Render Instances is NOT checked.
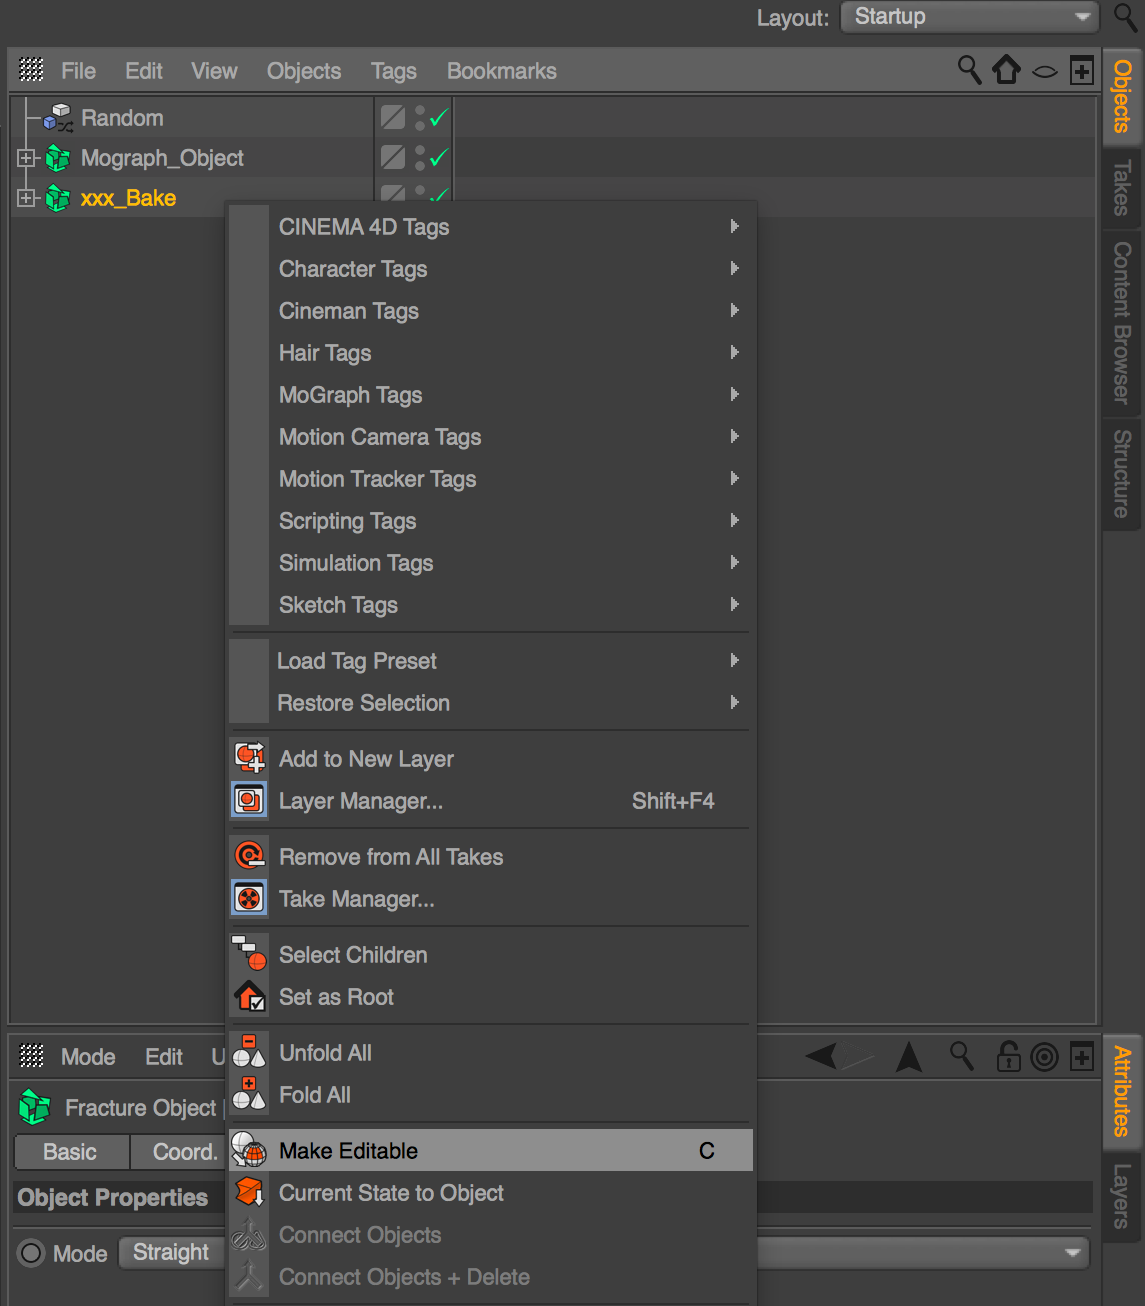
To make the object editable, select the xxx_Bake object. Right click it and select Make Editable.
Next, we have to add a XPresso tag to the xxx_Bake object.
XPresso is Cinema 4D's node based scripting editor where you can set up complex, automated object interactions by drawing lines from one node to another.
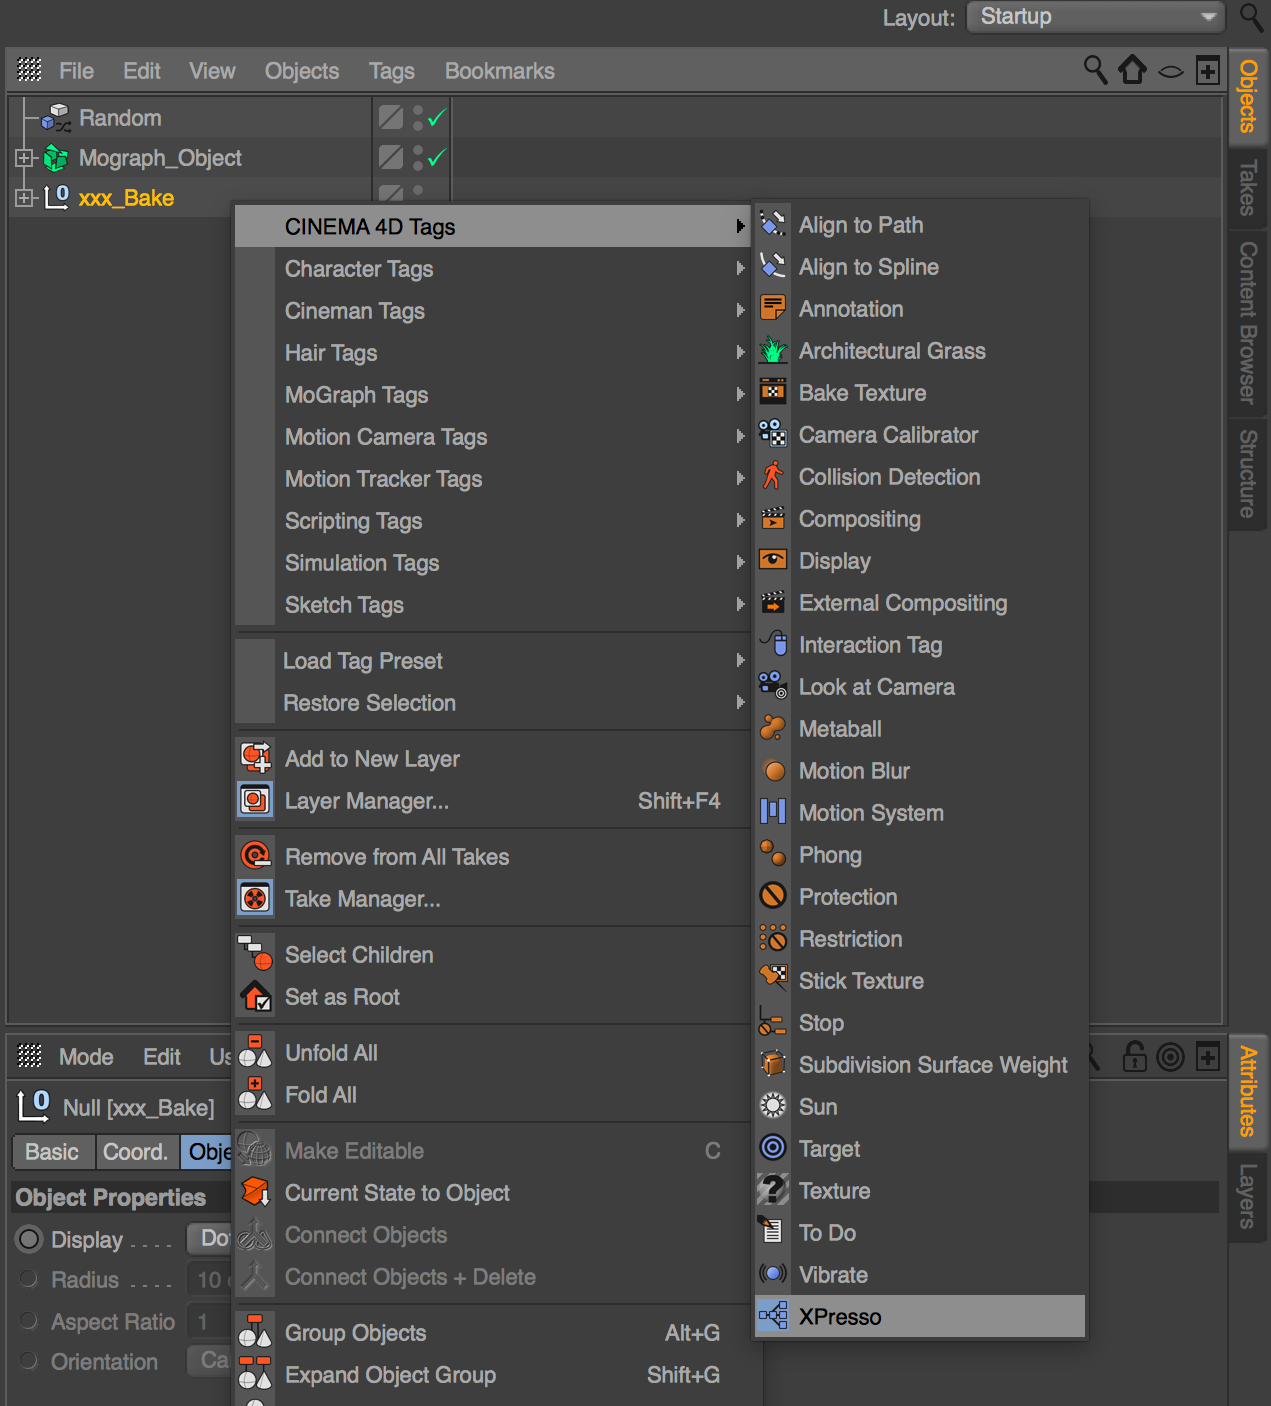
In order to add the XPresso tag, select the xxx_Bake object. Right click it and select CINEMA 4D Tags -> XPresso.
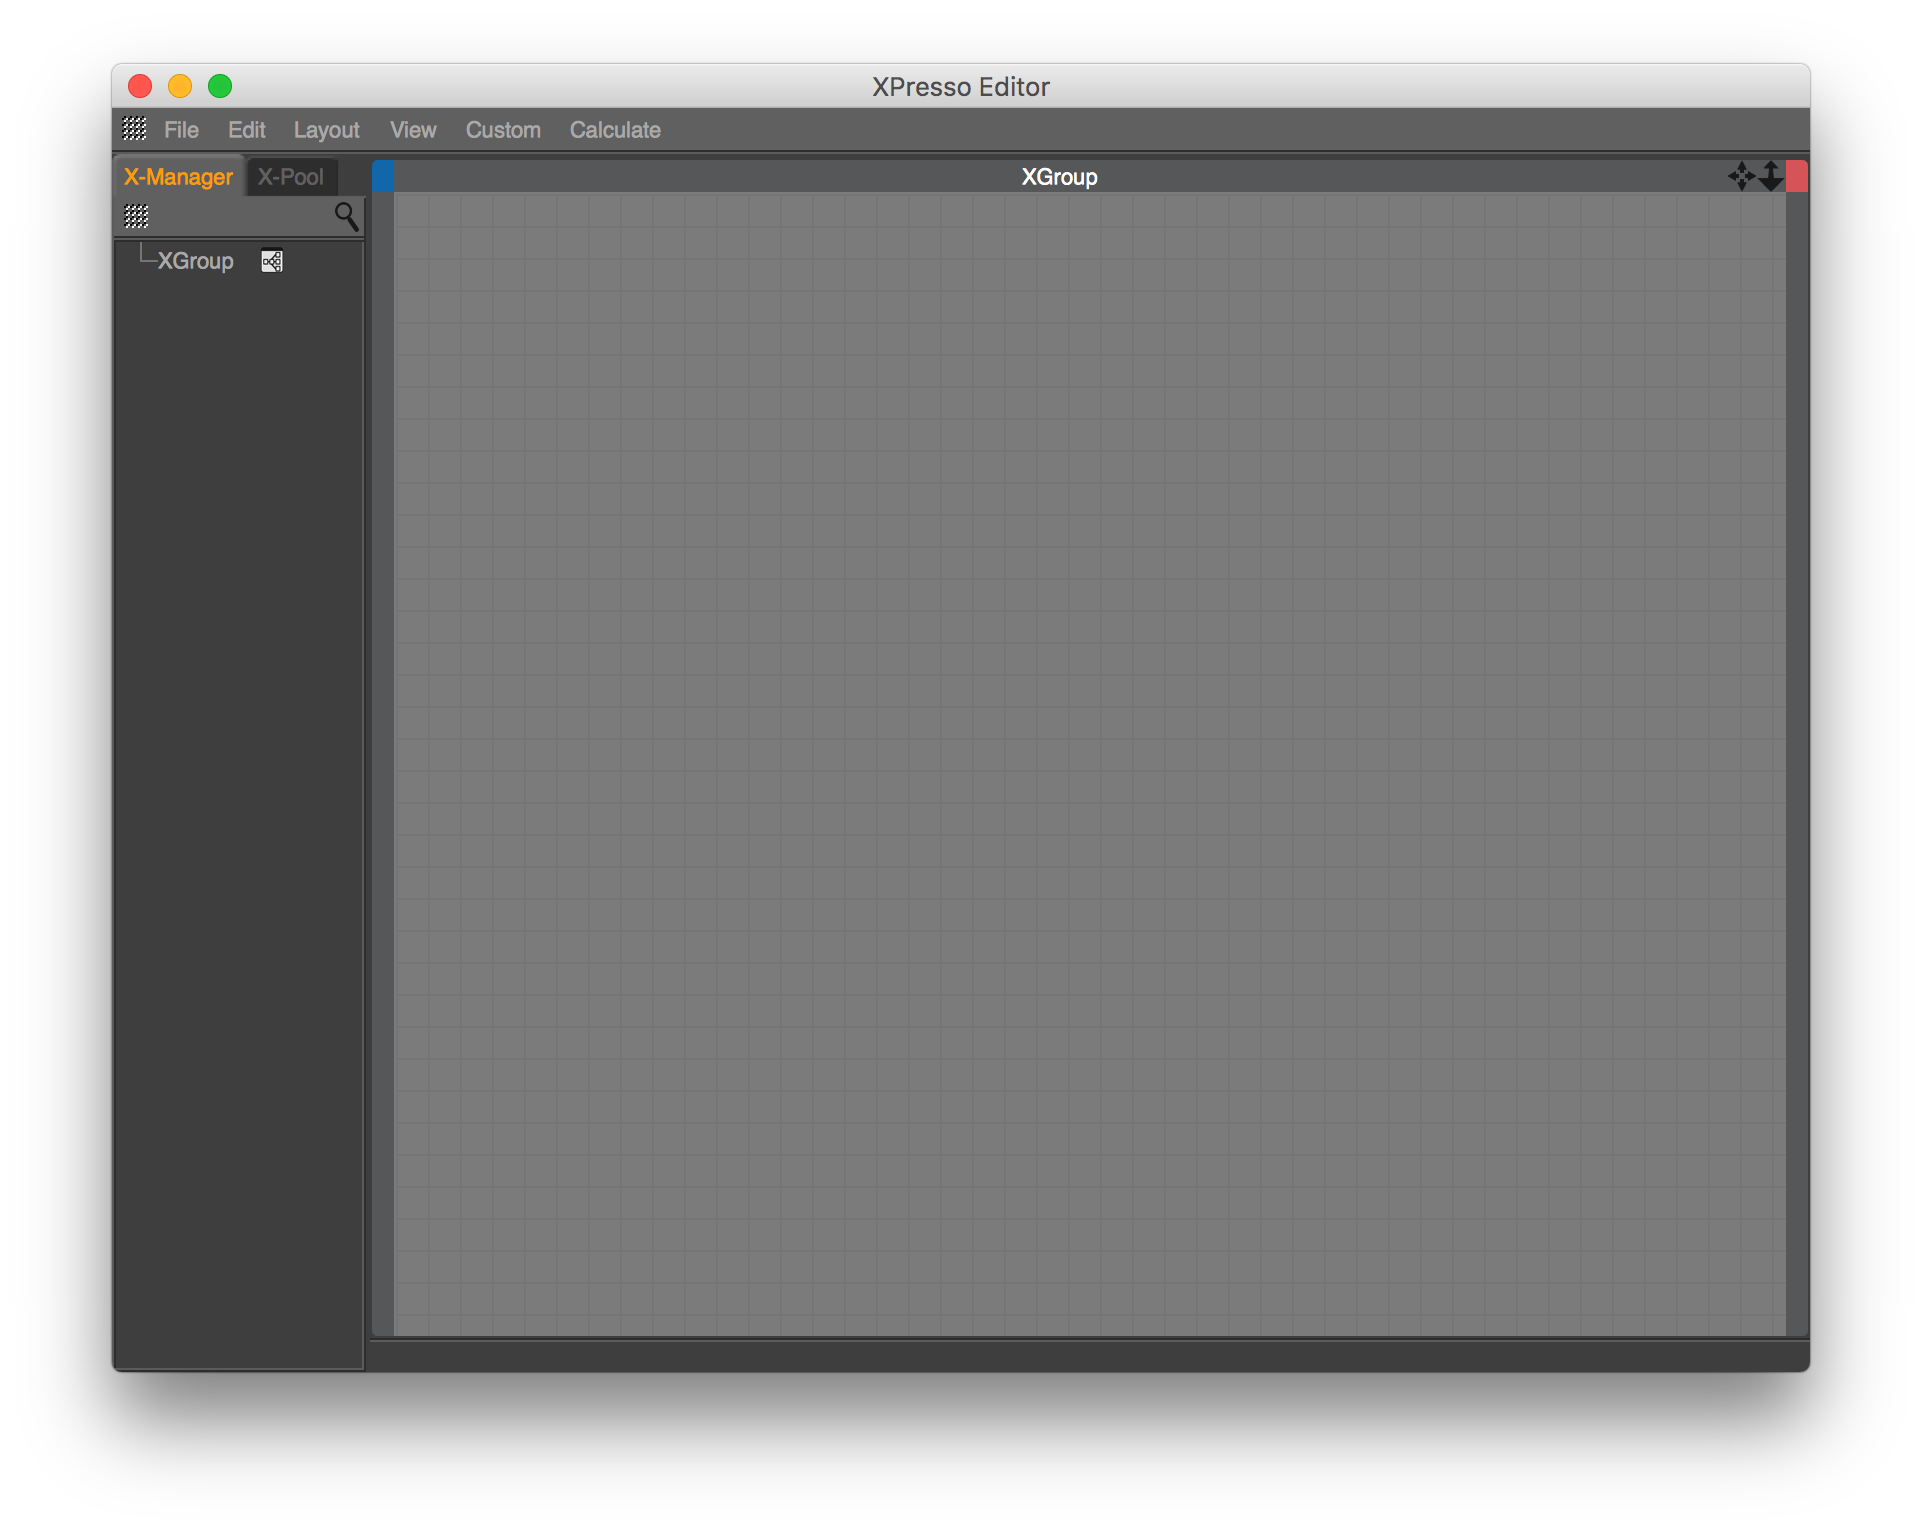
This will open the XPresso Editor window.
Now we need to create a system that will link all of the attributes of Mograph Object to xxx_Bake every frame.
Select the xxx_Bake object from the Objects window and drag the object into the XPresso Editor. Do the same for the Mograph Object.
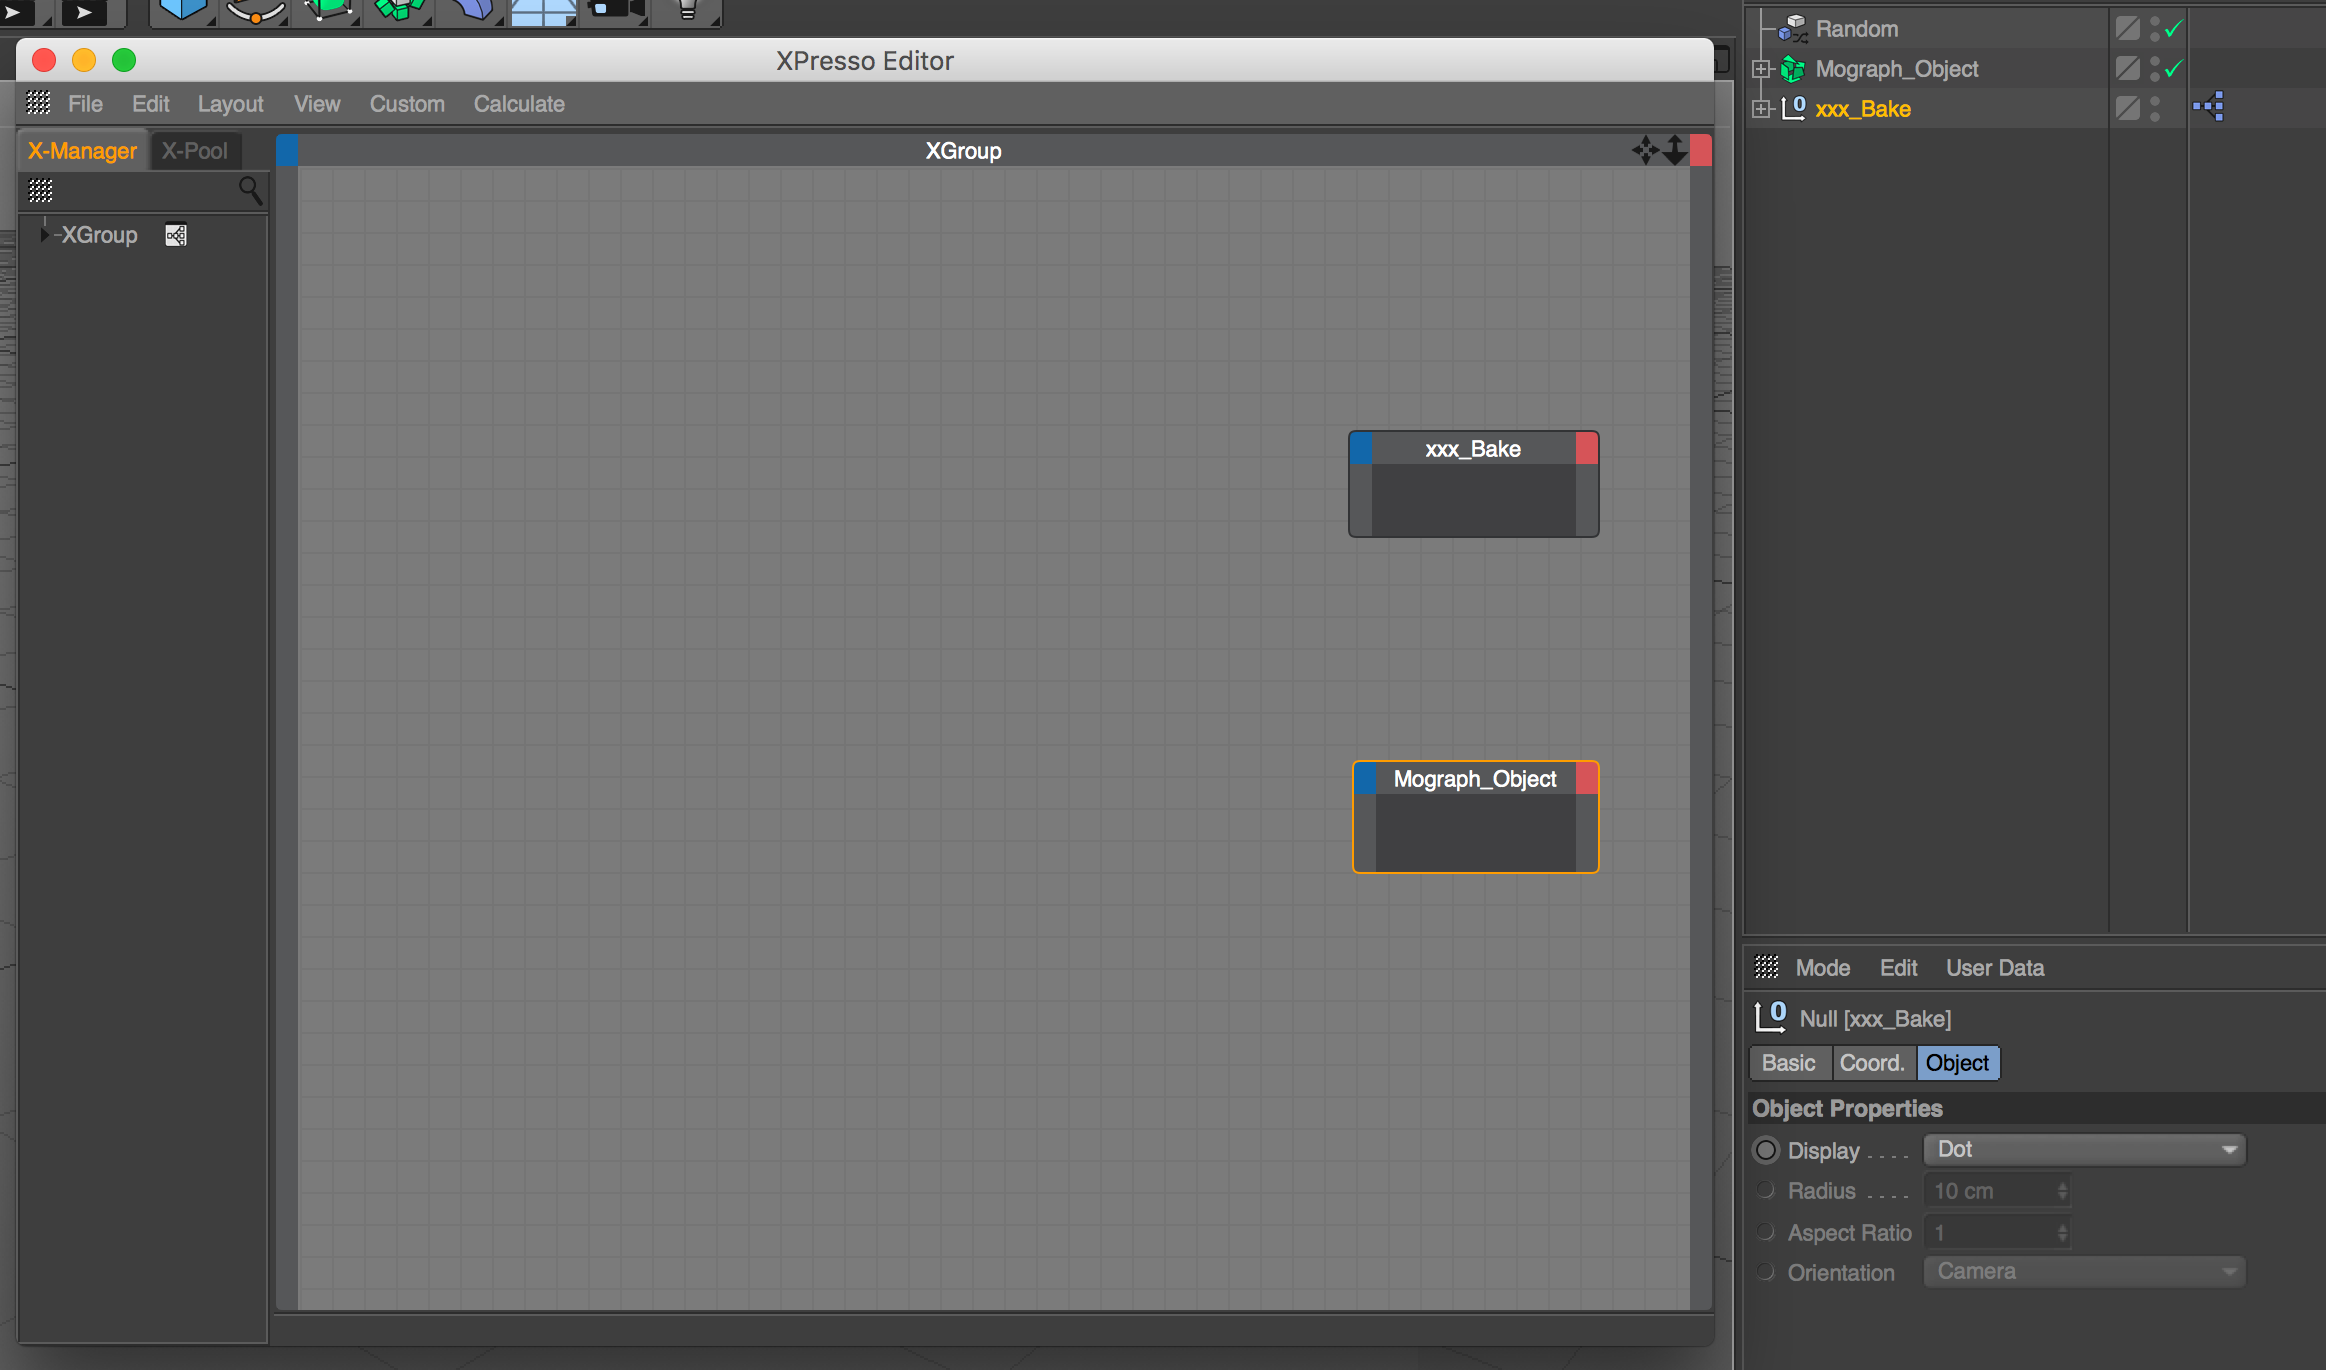
Then, we need to add nodes to link the attributes of the MoGraph Object to the xxx_Bake object.
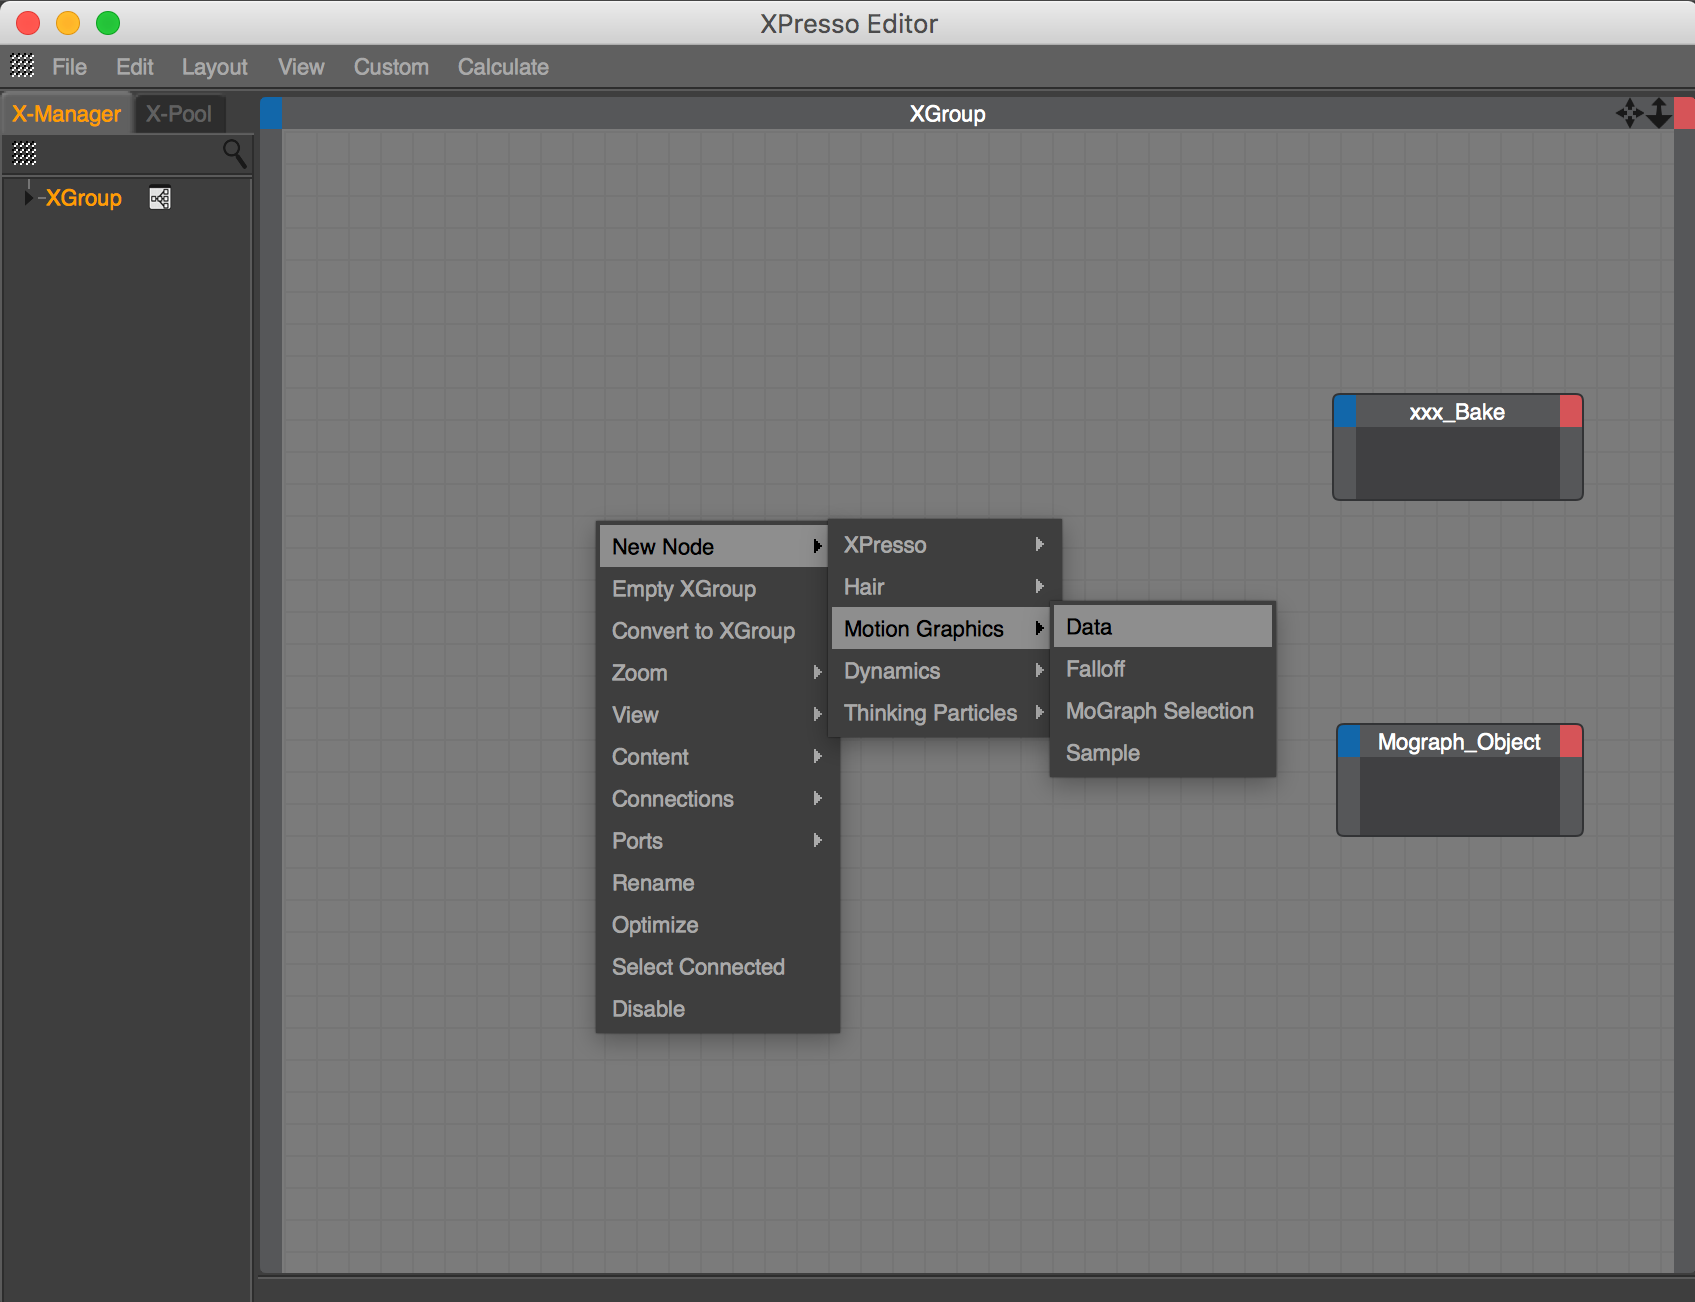
The first node that we need to add is the Data node. The Data node can link the data of one node to the other node. To add the Data node, right click the grid and select New Node -> Motion Graphics -> Data.
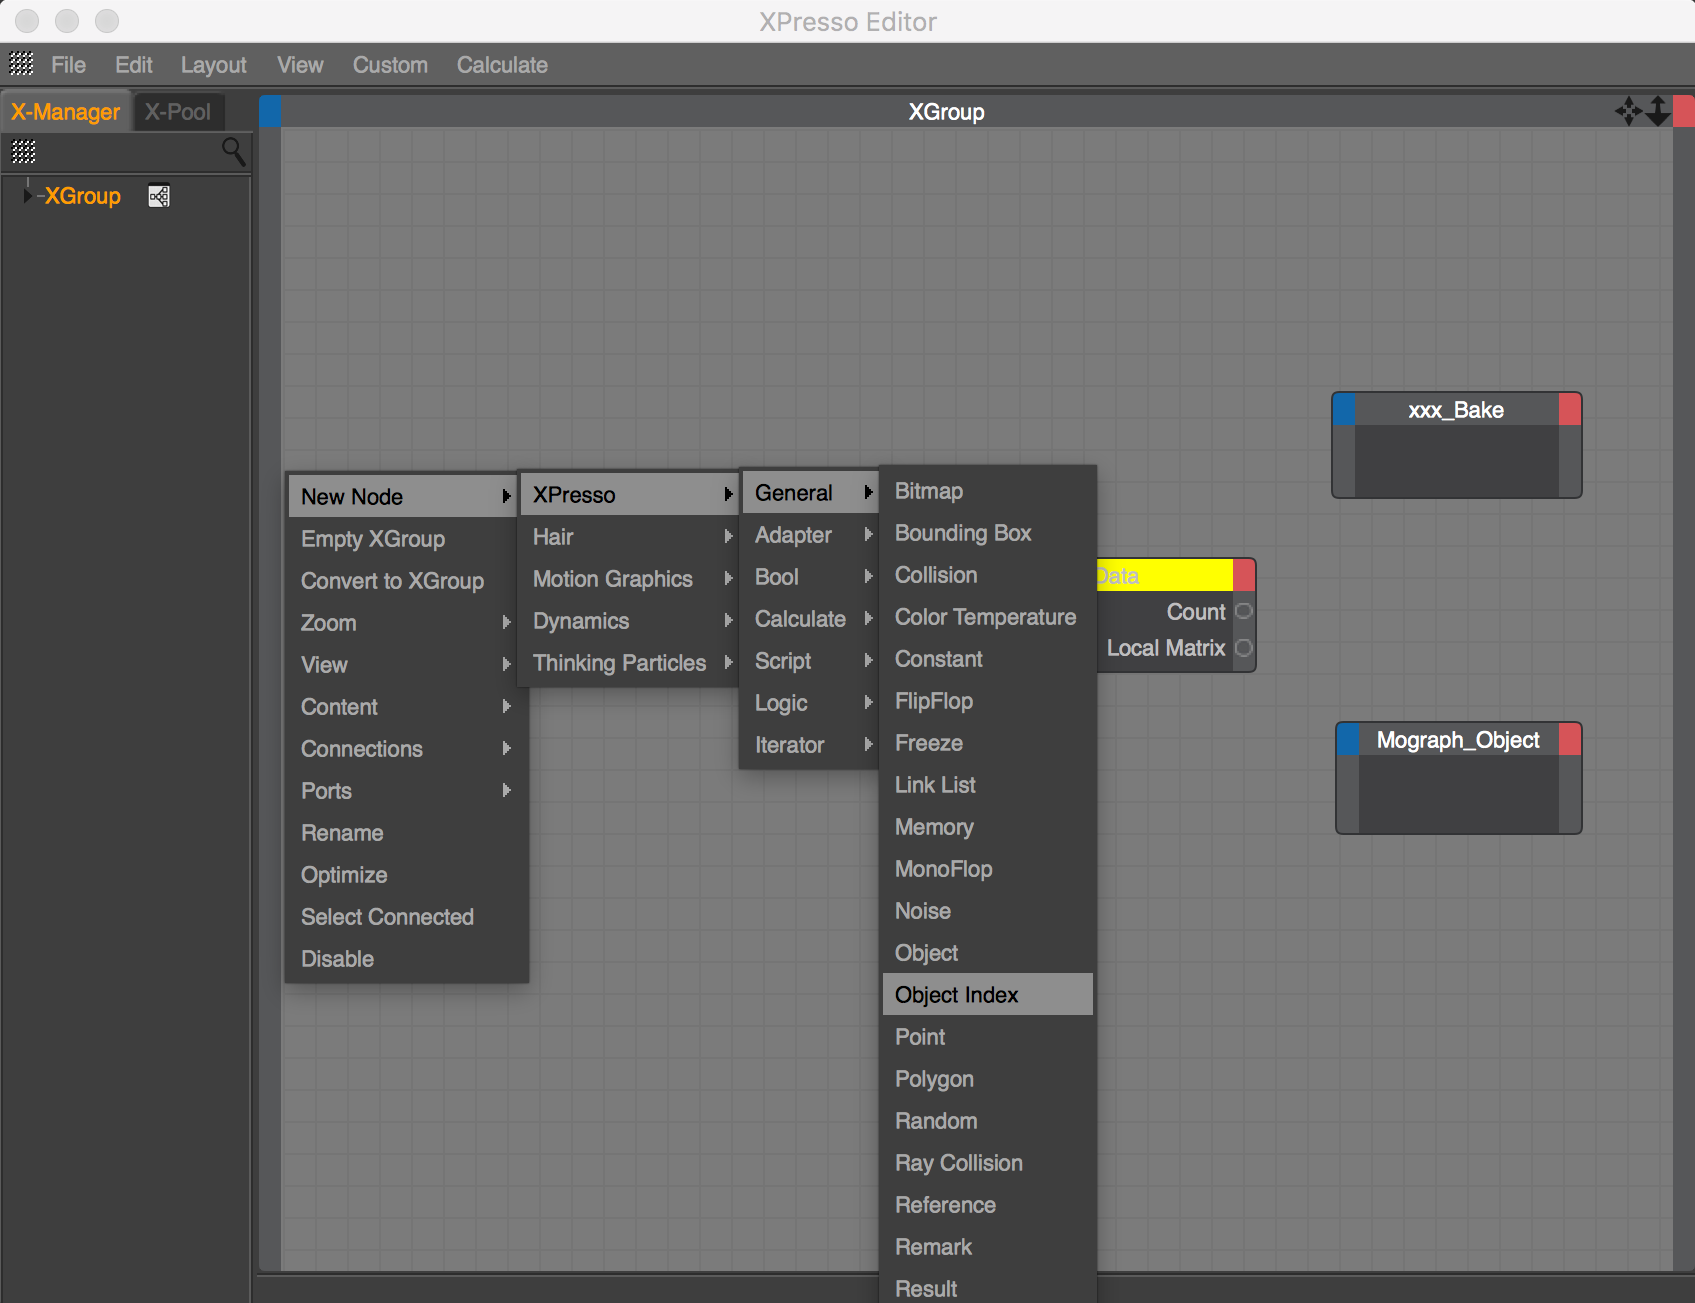
Next, we need to add the Object Index node by right clicking the grid and selecting New Node -> XPresso -> General -> Object Index.
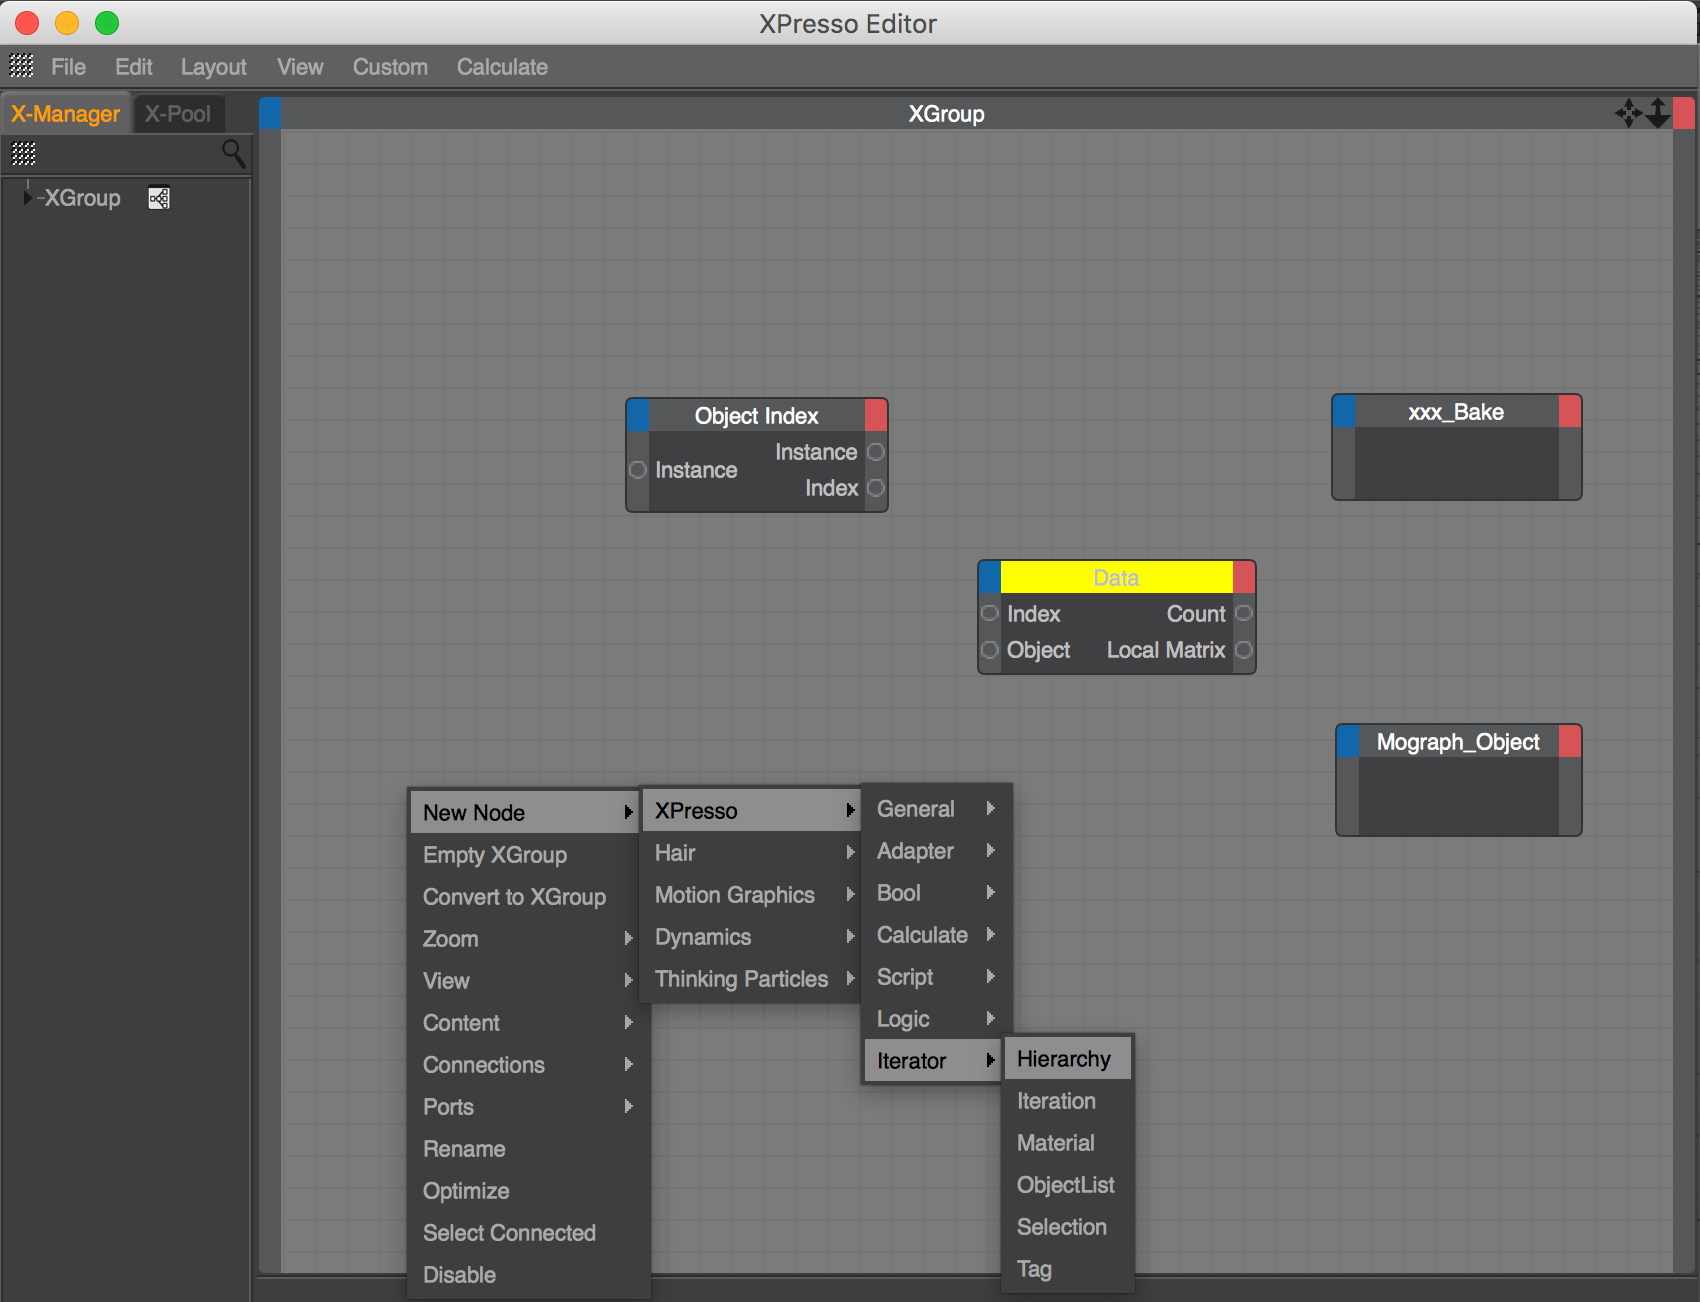
Next, we need to add the last node which is the Hierarchy node. In order to add the node, right click on the grid and select the New Node -> XPresso -> Iterator -> Hierarchy. The Hierarchy node allows us to access the selected object's children.
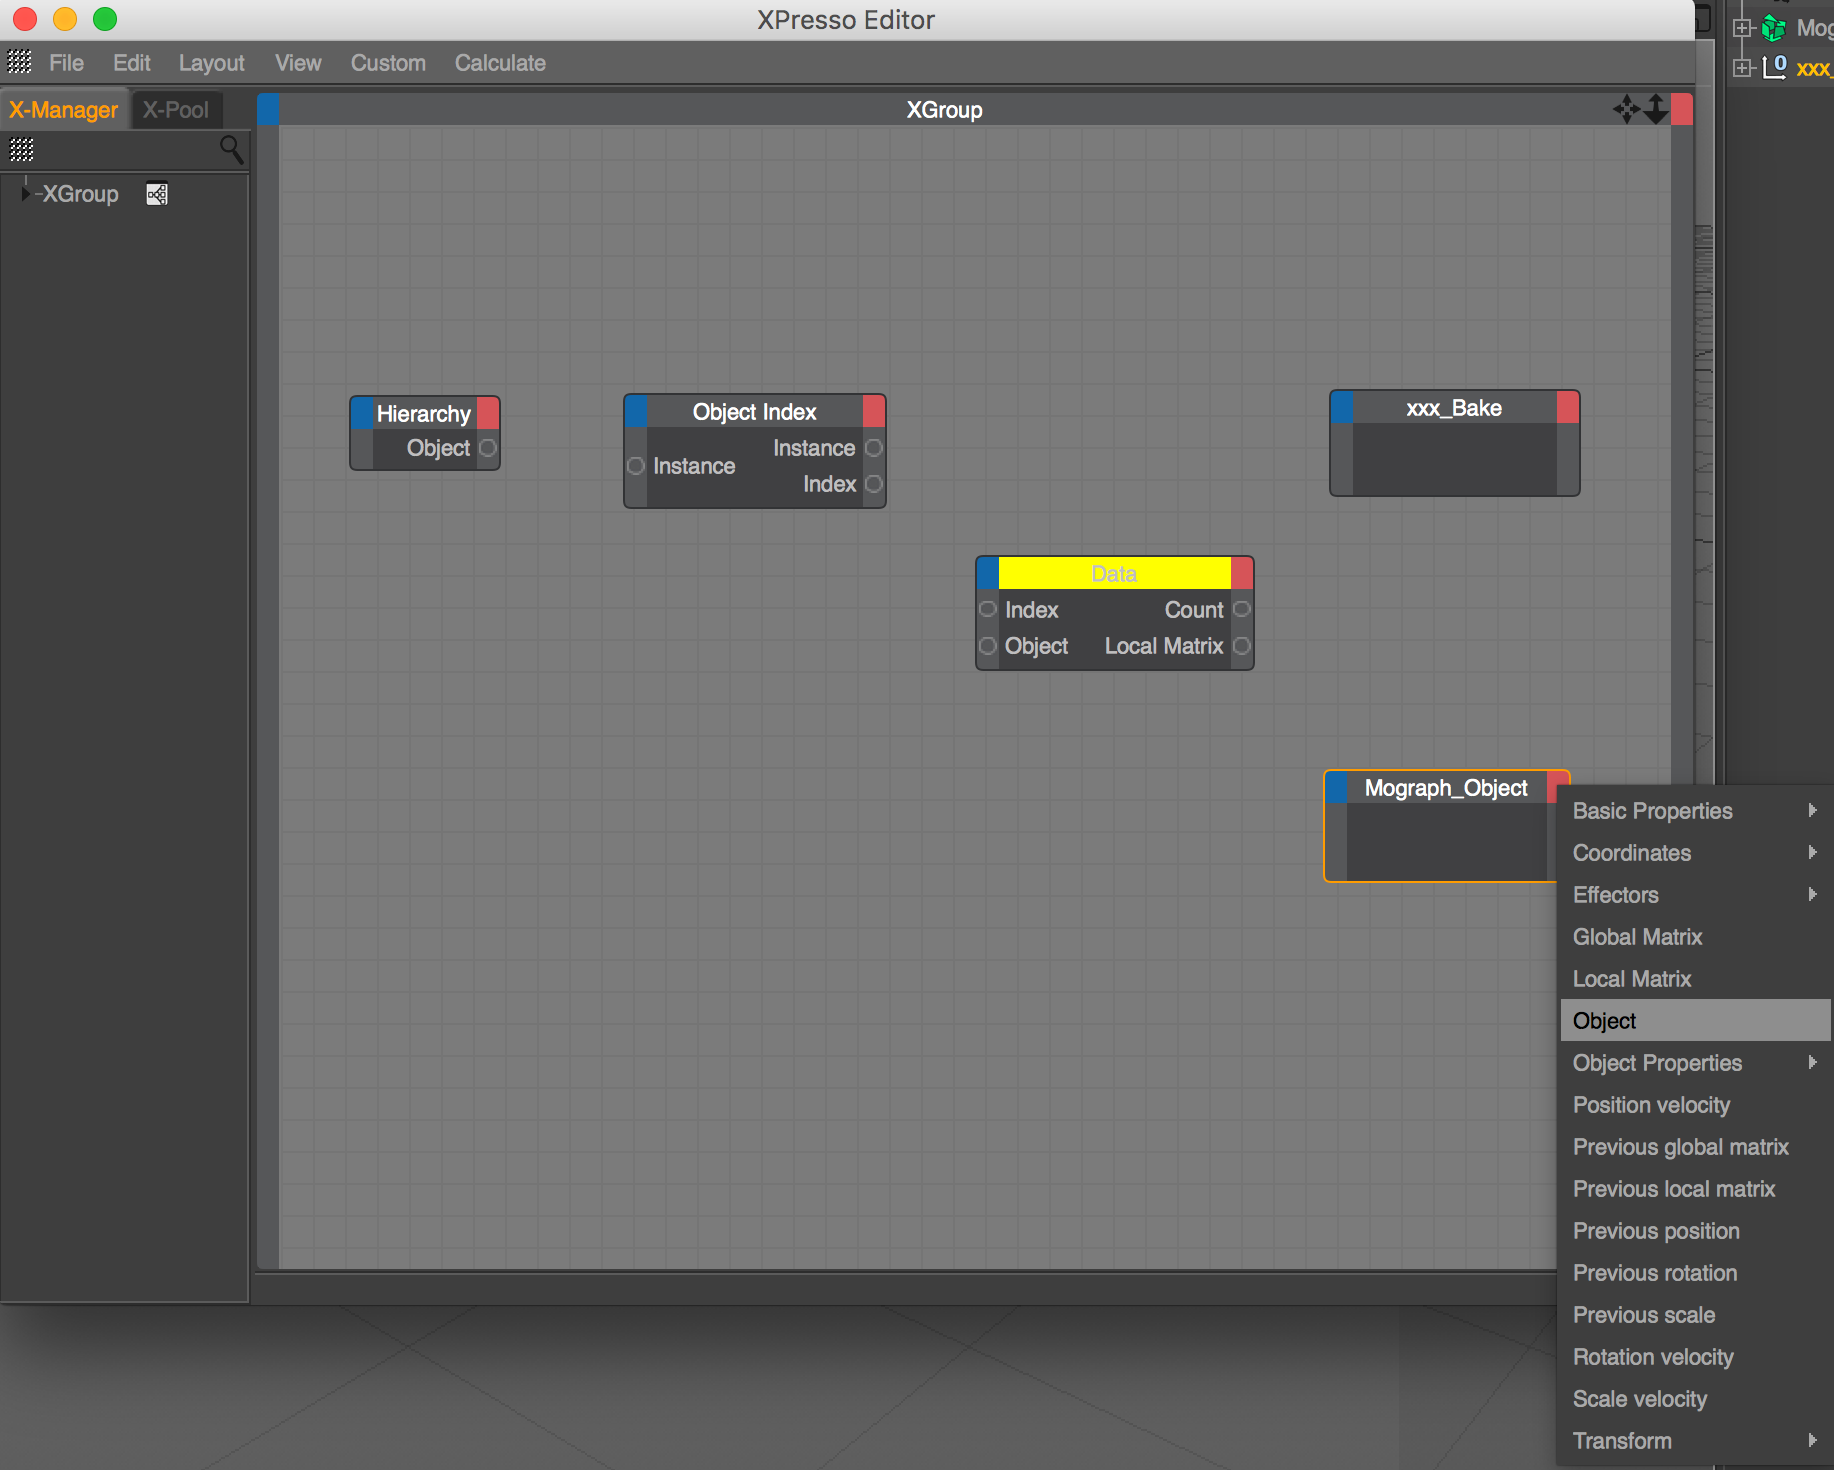
Each node has an input and an output. The blue square on the top left of each node indicates the input. The red square on the top right indicates the output. You can add input or output by clicking on these squares.

We need to add an output to our Mograph Object. Select the MoGraph Object in the Xpresso Window. Click the red square and select Object.
Now, let's add inputs to the xxx_Bake object. Select the xxx_Bake object and click on the blue square. Select Object. Click the blue square again and select Local Matrix.
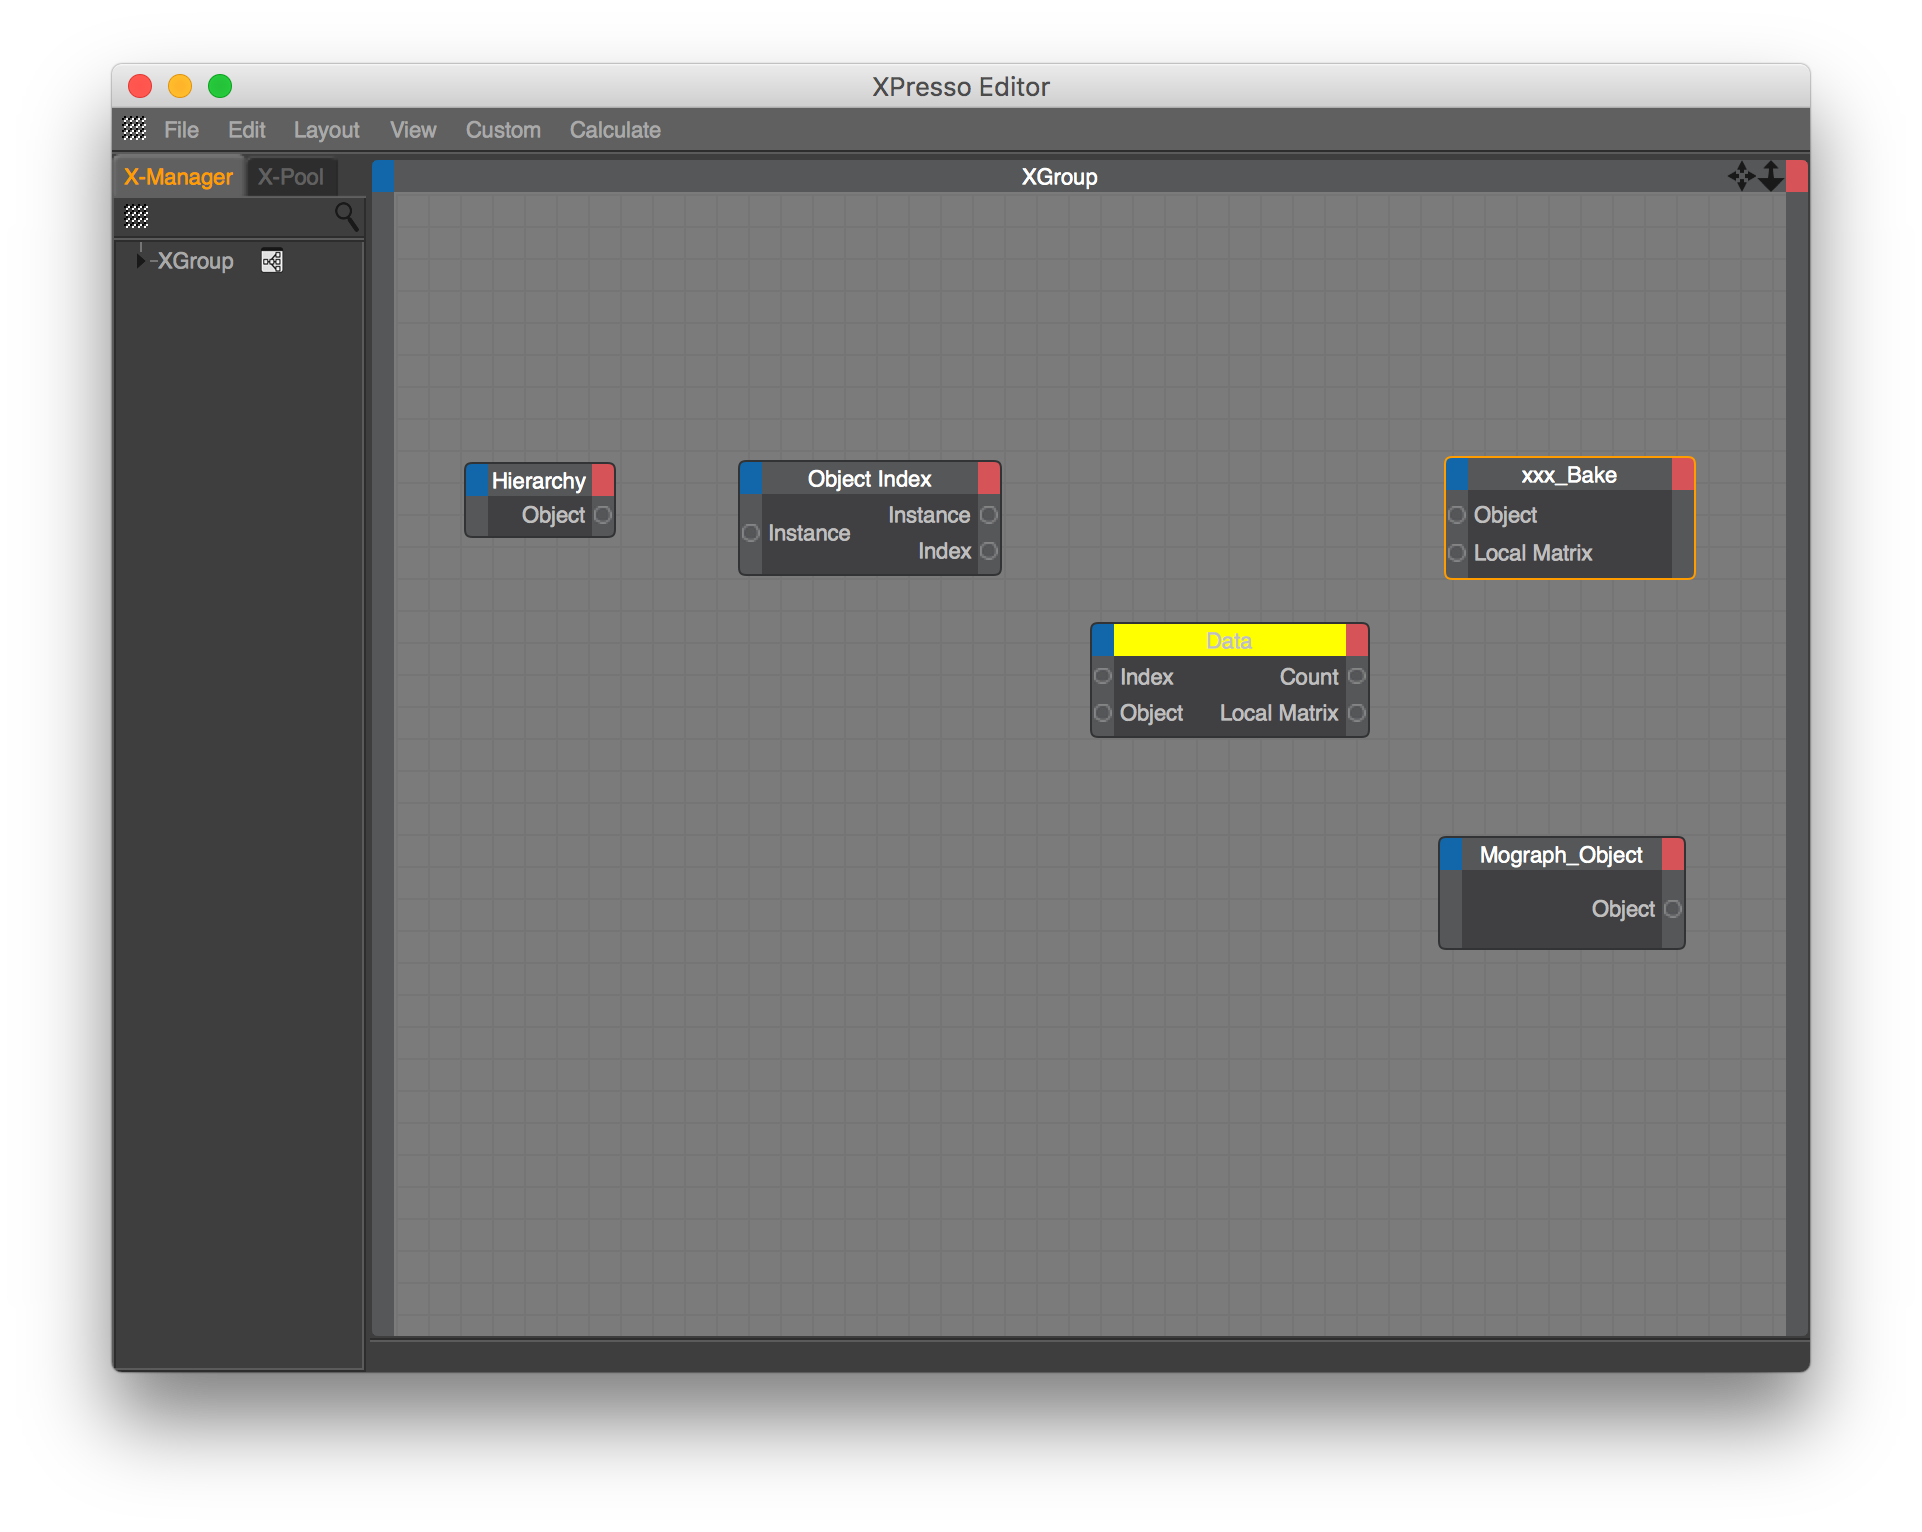
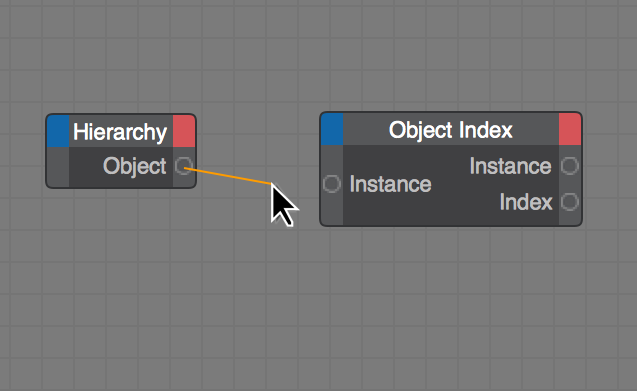
Next, we need to make connections between the nodes. To connect nodes together, click an output circle and drag it to an input circle. This will make a line connecting the two nodes together.
Follow the below picture to connect your nodes.
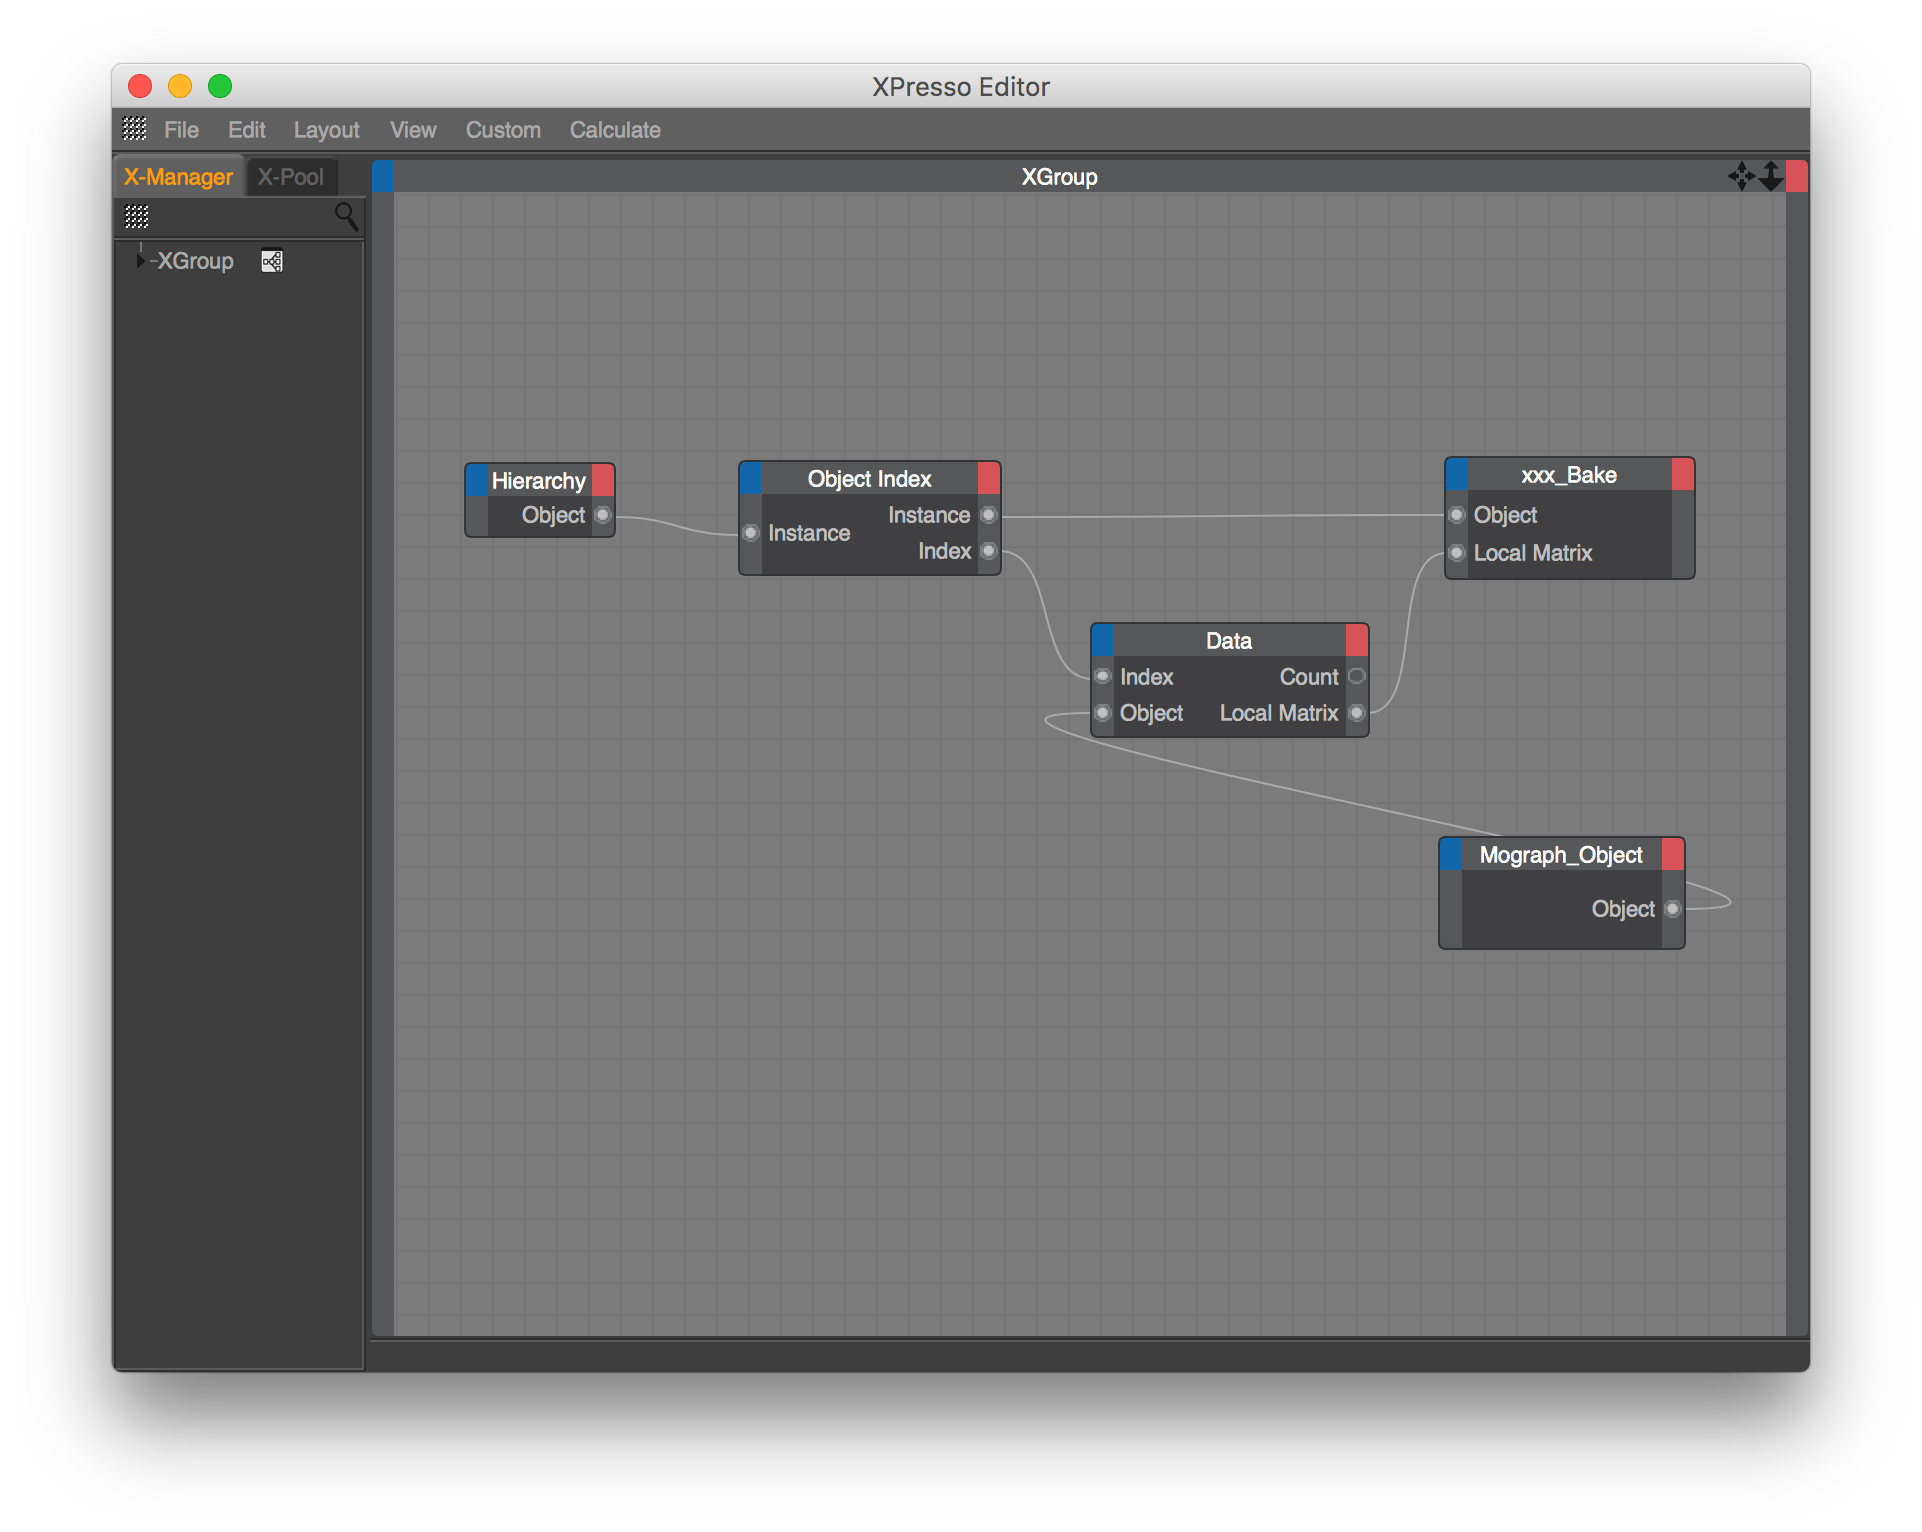
Now both the Mograph Object and xxx_Bake are linked and ready to be baked.
To bake the animation, make sure the xxx_Bake object is selected. Then, in Cinema 4D's top menu, select Character -> Manager -> Cappucino.
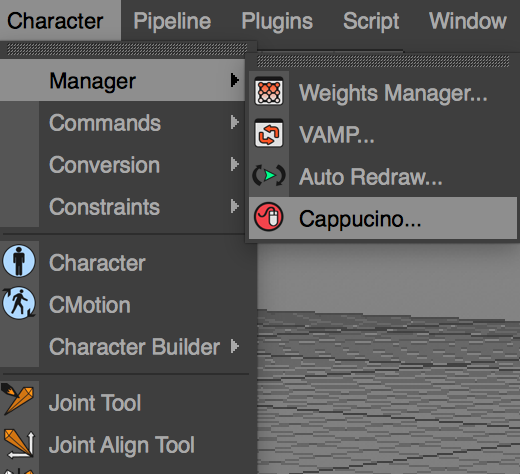
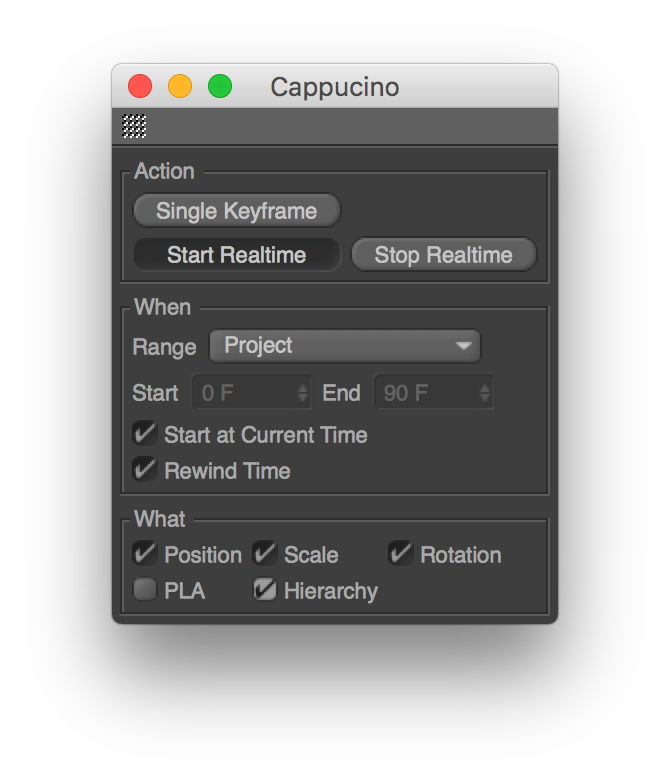
This will open the Cappucino window.
In this window make sure the Range is set to Project and both Start at Current Time and Rewind Time are checked.
Then in the What section, check everything that needs to be baked. If you have moving, scaling and rotating animation, make sure Position, Scale and Rotation are all checked.
Check the Hierarchy checkbox.
If the animation is not using scale or rotation, make sure to un-check those. This will make the file size smaller.
Lens Studio does not support PLA (Point Level Animation). Make sure to un-check the PLA checkbox.
With your keyboard, press Shift + F to navigate the timeline to the beginning of the animation.
Press the Start Realtime button and then click and hold on the Perspective window.
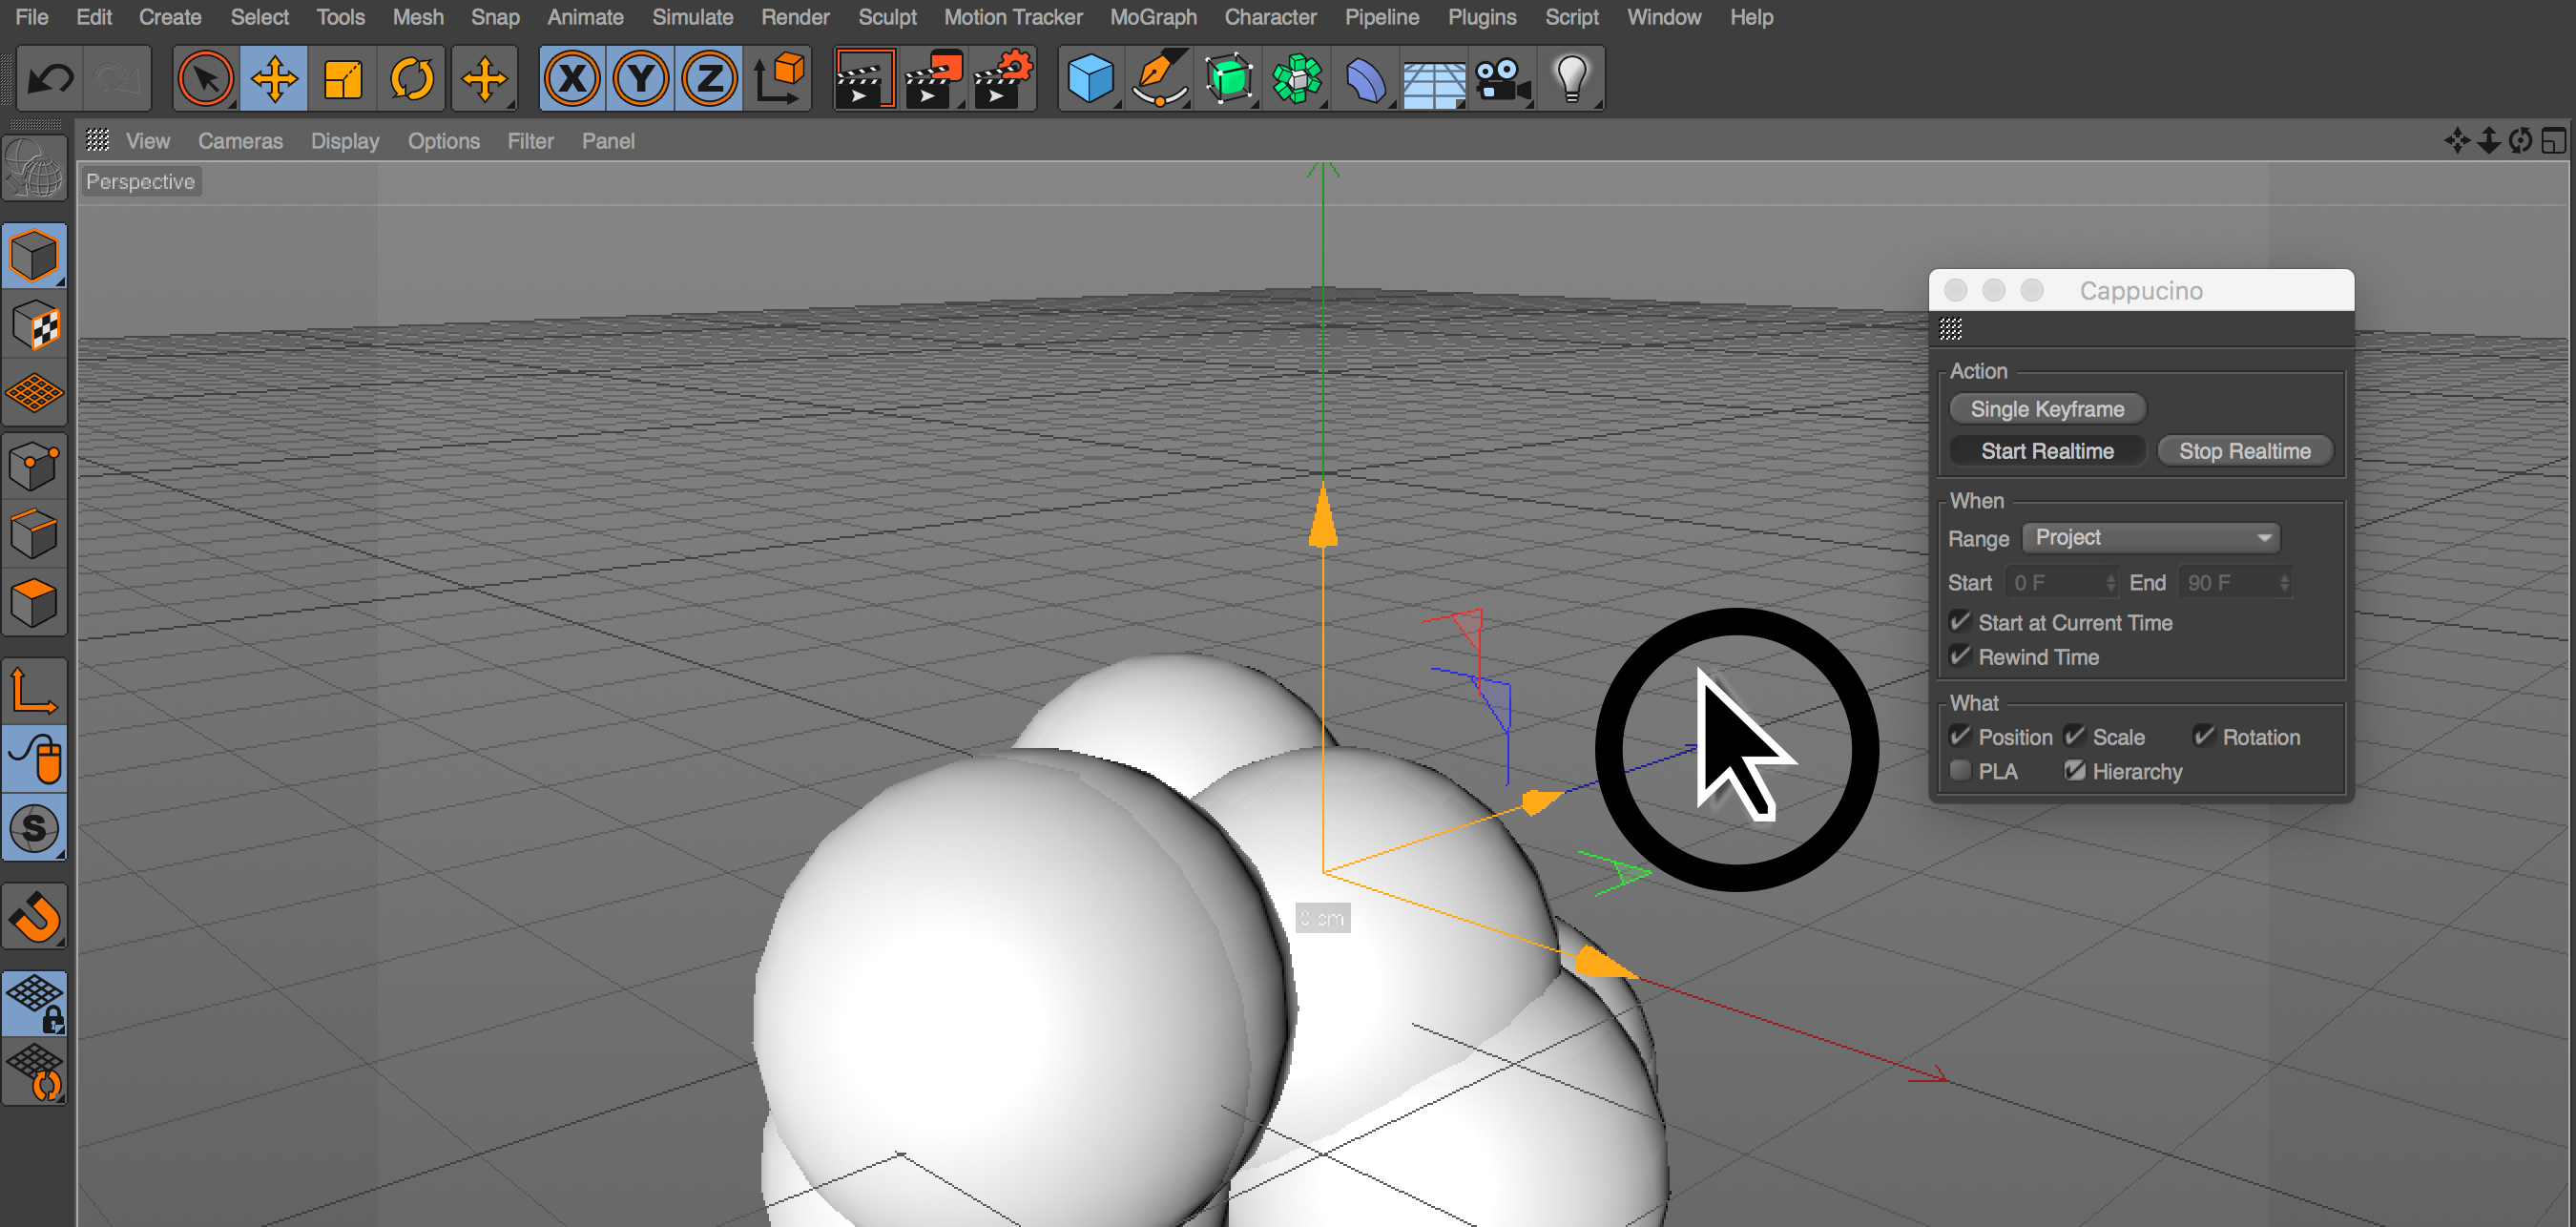
You should see the animation playing. Keep holding the left click button until the animation is done.
When the animation is done playing, delete the Mograph Object and any other effectors that we used in our project. We can also delete the Xpresso tag on the xxx_Bake object.
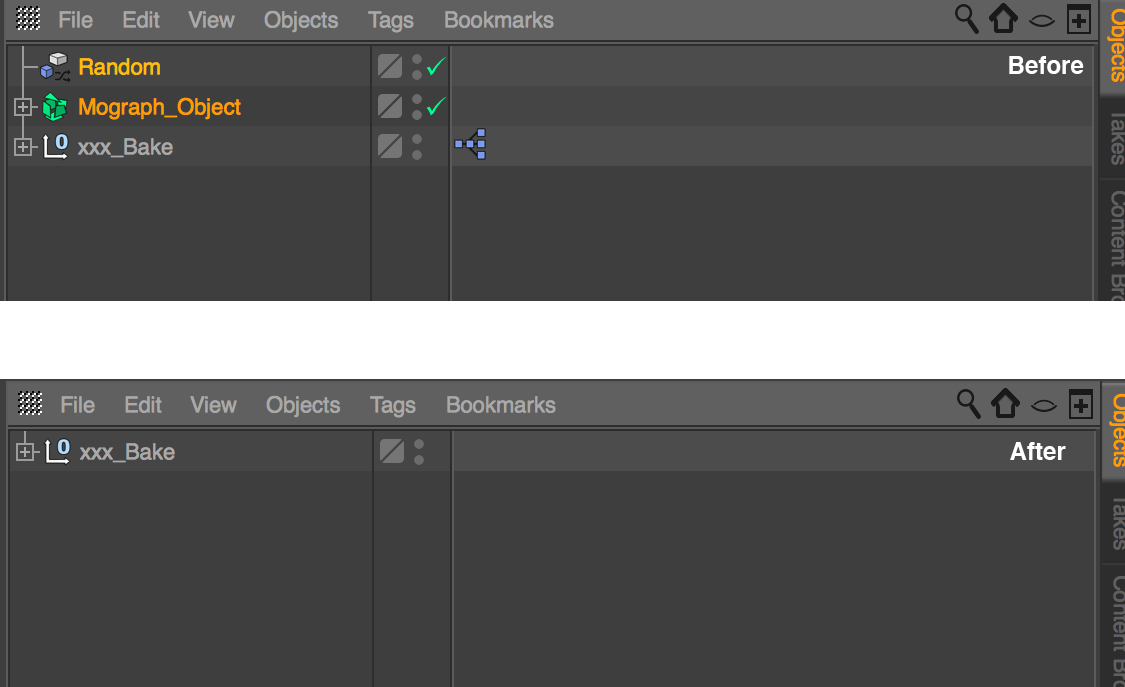
We now have a baked animation object ready to be exported as a FBX.