Combining World and Face
You're able to create Lenses with unique content on both the front and rear camera. This guide will walk you through how to combine a front and rear facing template together. In addition, this guide also includes a helper script which enables and disables objects based on front and rear camera.
Definition
While there are many definitions of world and face Lenses, in this guide, we will discuss with the definition of:
- Face Lens: When using a mobile phone's front camera, there are AR effects attached to faces found.
- World Lens: When using a mobile phone's rear camera, there are AR effects attached to the ground (6 degrees of freedom).
Guide
Below you will find a walkthrough of making a combined Lens using examples from the Asset Library. However, you can adapt this to any Lens you're working on!
Getting the assets we will add to our Lens
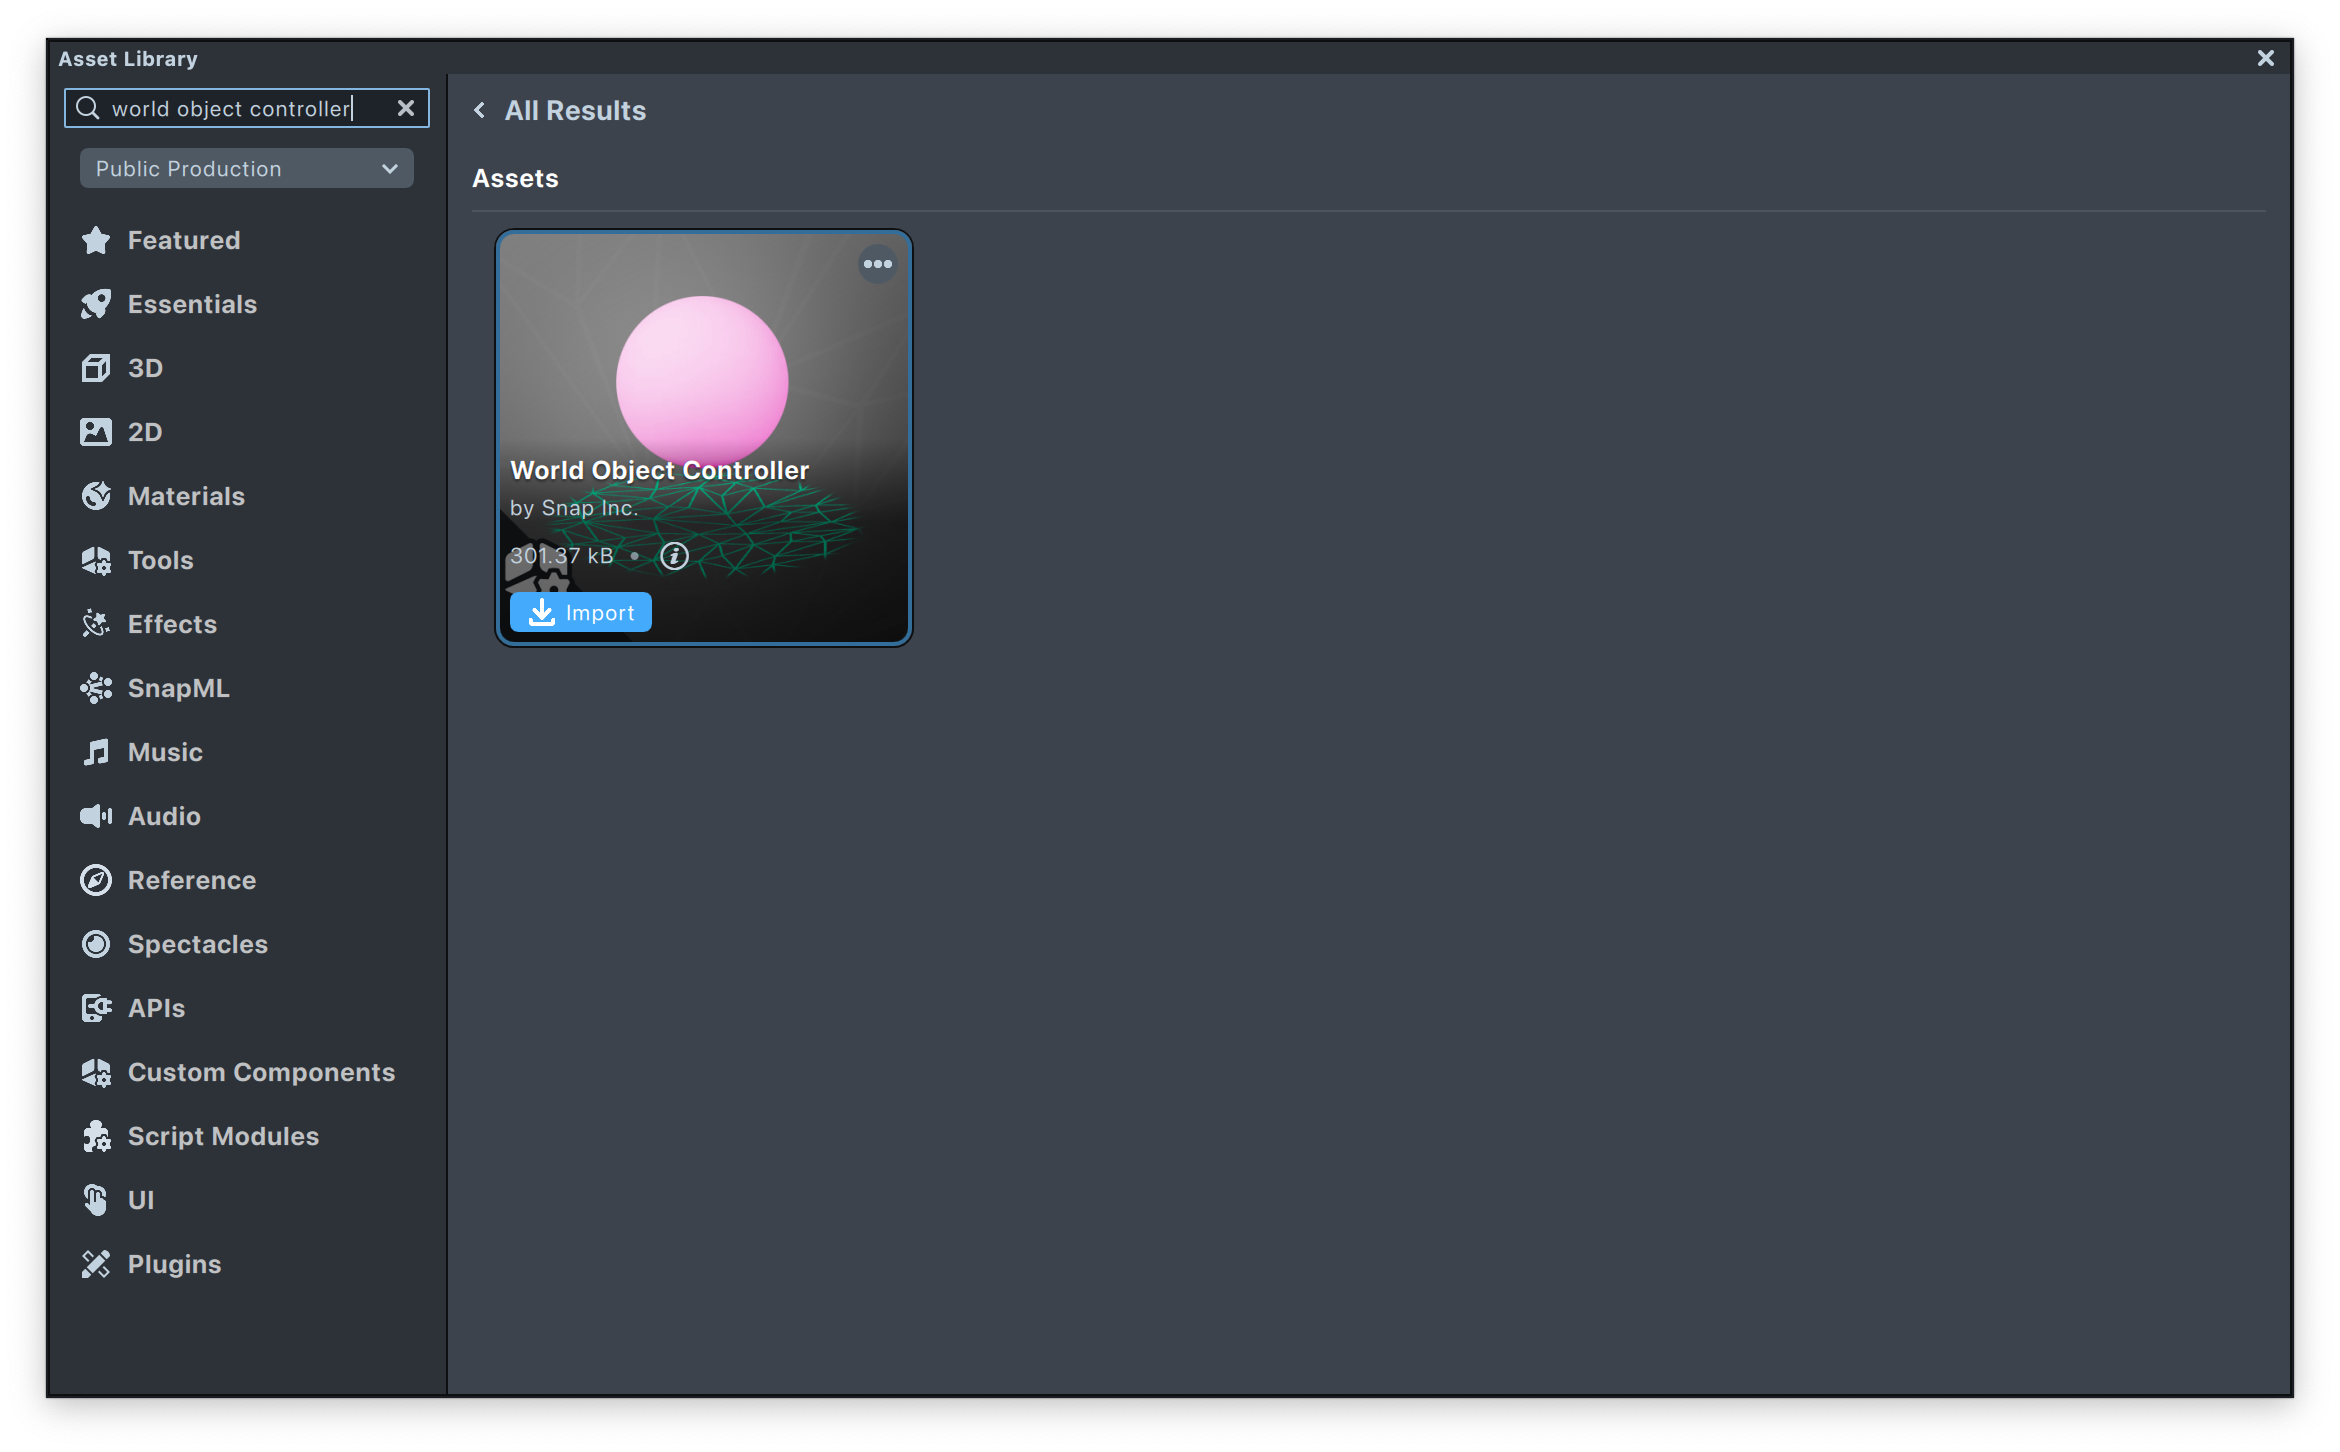
Lens Studio comes with many examples of both face and world Lenses. For the purpose of this guide, we will use the Sunglasses and World Object Controller assets found in the Asset Library.
-
Face Lens: Sunglasses asset will add a customizable sunglasses to the user's face.

-
World Lens: World Object Controller asset will add a sphere which can be manipulated (moved, resized, rotated) by two finger touches on the screen. You can replace the sphere with a 3D content of your choice.
You can combine face or world Lens content from other Sample Projects, or your own project by importing and exporting them. Take a look at the guide for more information.
Setting up the Lens
Although we've been talking about Face and World Lenses as if they are two distinct things, at a technical level, there is only one type of Lens. Rather, a Lens may have different object and components in them that helps them track, the face, the world, or anything else!
In the Project Settings window, you can mention that the Lens should work on "face" or "world" camera. This doesn't change the Lens itself, rather how the Lens should be distributed. Colloquially, we might say that a Lens that tracks the world and is distributed only when using the rear camera is a "World Lens".
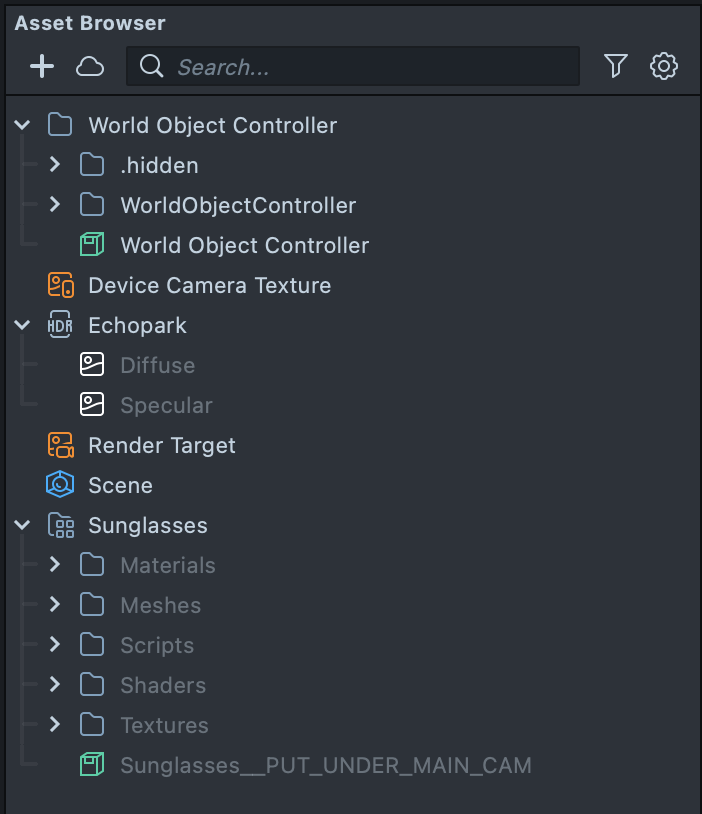
After importing the two assets above, in the Asset Browser panel, you will notice a folder added from each package.
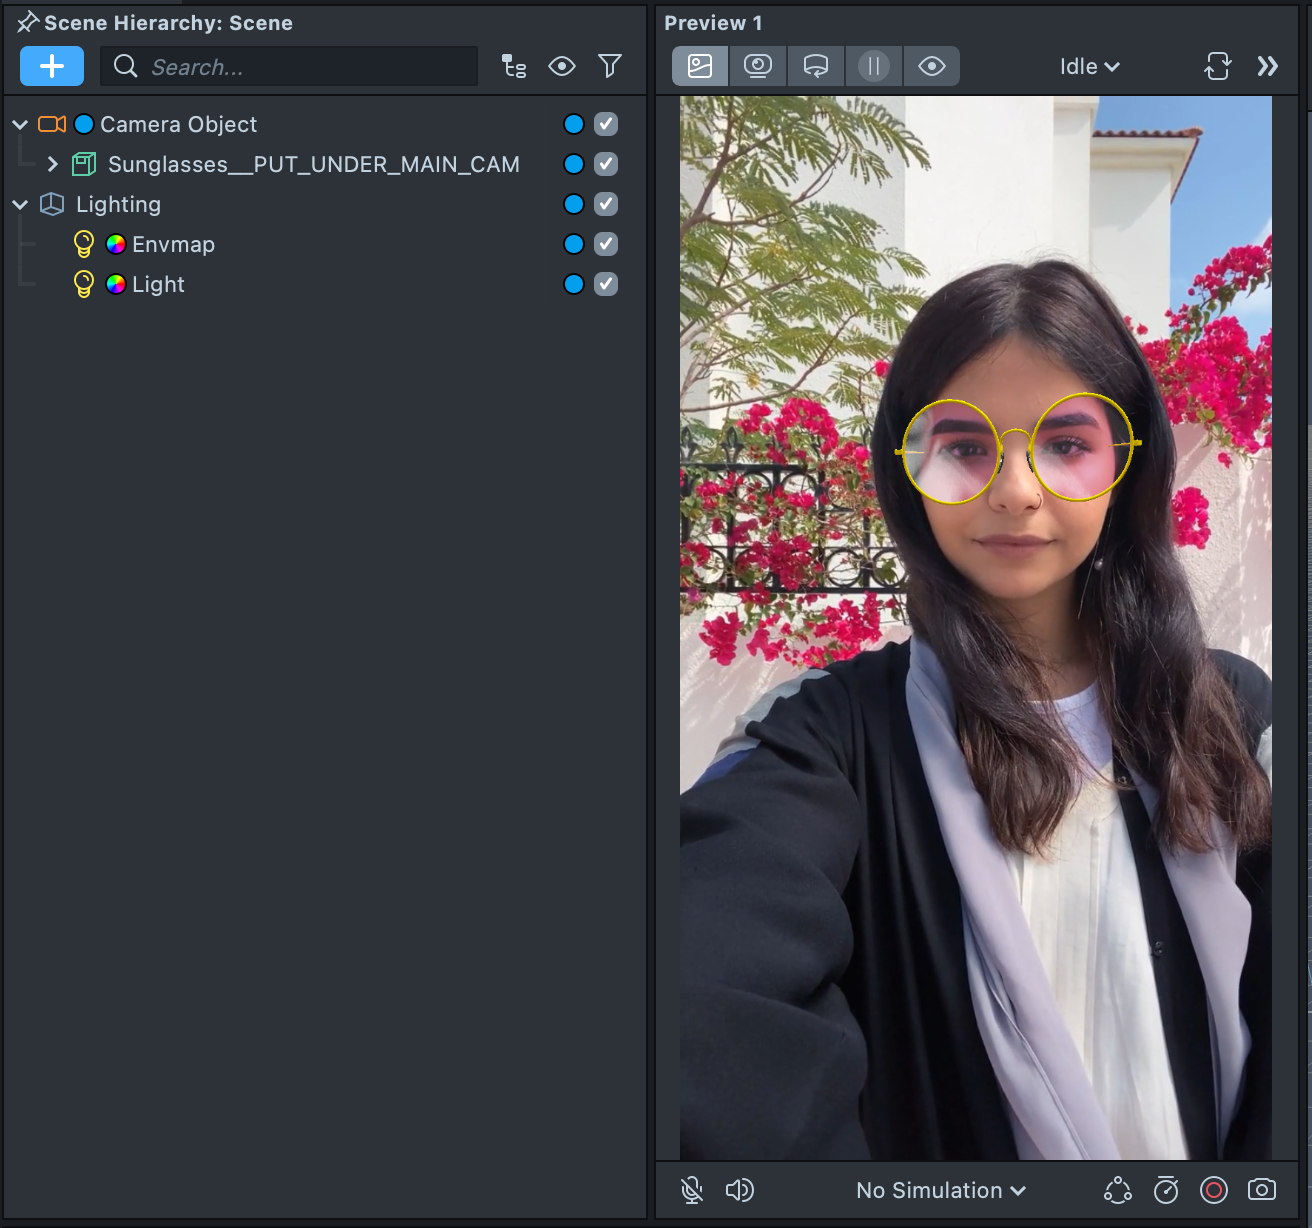
Inside the Sunglasses package, you will find a Sunglasses__PUT_UNDER_MAIN_CAM object. This is a Prefab that you can drag into the Scene Hierarchy panel to add (instantiate) it to your Lens. Note that it specifically says to add it under tha main camera, thus we will drag the prefab and drop it over the Camera Object.
On the other hand, the prefab World Object Controller inside the World Object Controller folder does not say that it should be added to some camera. Thus, we can drag it at the root of the Scene Hierarchy panel.
When we want things to track the world, it should not be a children of a camera--since that object should "move" independent of the camera.
Telling the camera to track the world
With the sunglasses and face Lens set up, we can set up the world side of the Lens.
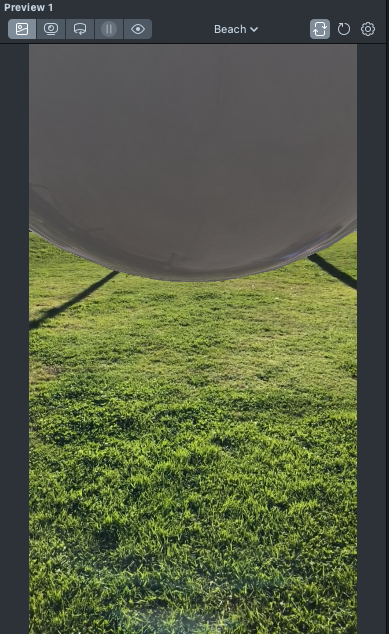
In the Preview panel we can press the Switch to Back Camera button to have Lens Studio preview the rear camera.

You'll notice that the Sphere is just in front of the camera and not tracking the surface. To fix this, we want to give the camera information about how the device is moving, so it can understand how the world is related to it.
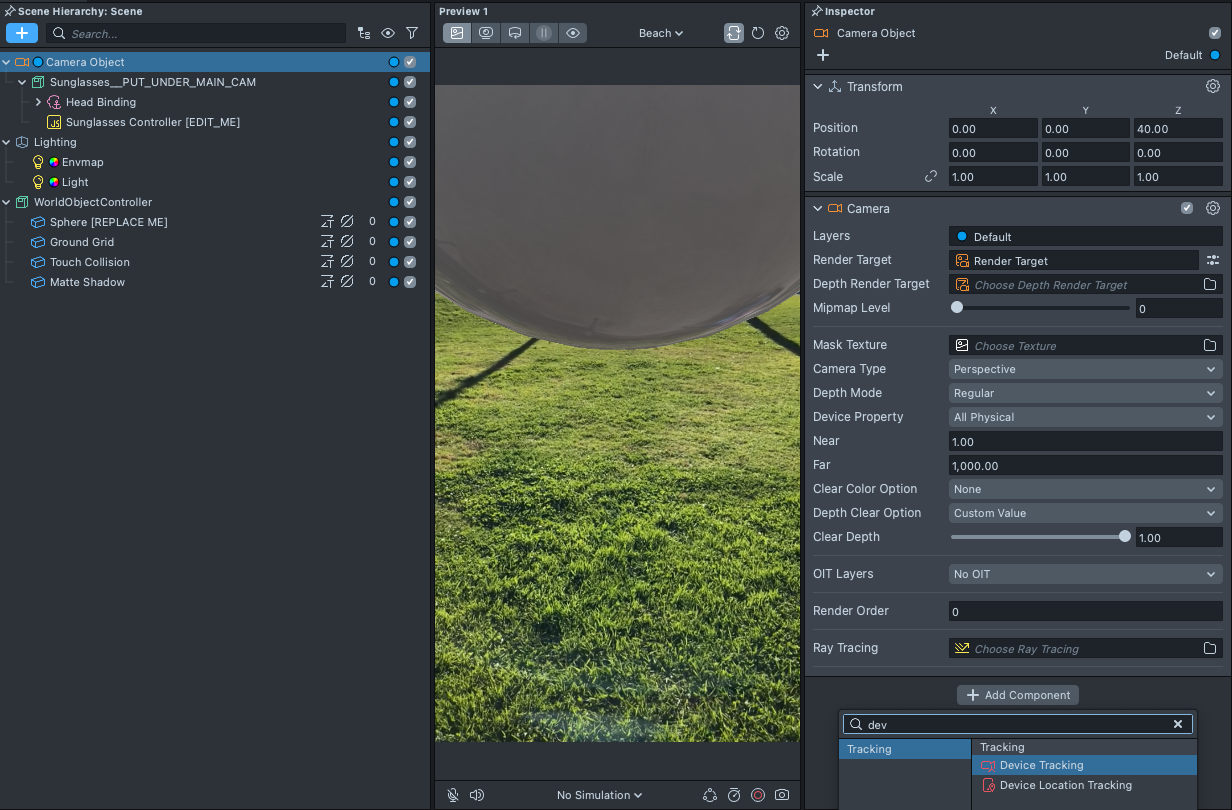
Select the Camera object in the Scene Hierarchy panel, then in the Inspector panel, press Add Component and choose Device Tracking. You can learn more about various tracking capabilities in the tracking guide.
To make things more realistic in the world, you can add shadows. In the Scene Hierarchy panel, click on the Light object. Then, in the Inspector panel, toggle the Shadows checkbox in the Light Source component.
Optimizing world Lens tracking
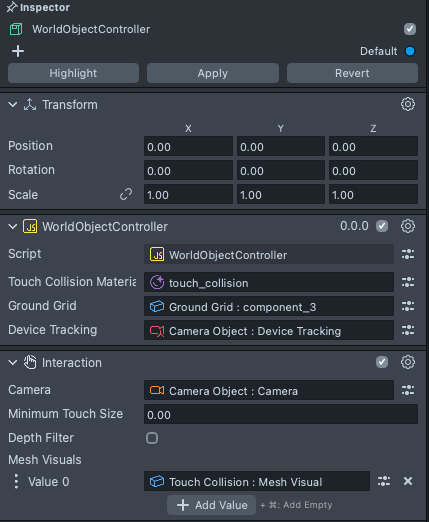
The World Object Controller helper also allows you to set the object which our tracking should optimize for. Select the World Object Controller object in the Scene Hierarchy panel, then click on the Device Tracking field in the World Object Controller component, and in the selector, select the newly added Device Tracking.
Similarly, you can explicitly tell the Interaction component that it should judge interaction based on our main camera.
Turning on and off object depending on the active camera
Since the face and world Lens is the same Lens, in some cases you will want to turn off objects depending on which camera is active.
When using the World Object Controller, this will happen automatically. However, you can use the following script to tell the Lens to enable/disable certain objects depending on the camera!
CombineFaceWorldContent.js
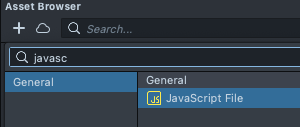
First, create a new script named CombineFaceWorldContent.js and add below to the contents. In the Asset Browser panel, click +, then Javascript. Next, paste the following script and save it (cmd + s (macOS), or ctrl + s (Windows)).
To rename the asset, with the newly added script selected, press Enter on your keyboard and type in the new asset's name CombineFaceWorldContent.
// CombineFaceWorldContent.js
// Version: 0.0.1
// Event: Lens Initialized
// Description: Hides the face content on rear camera and world content on front camera
// @input SceneObject[] faceContent
// @input SceneObject[] worldContent
function onFrontCamEvent(eventData) {
  for (var i = 0; i < script.faceContent.length; i++) {
    var faceObject = script.faceContent[i];
    if (faceObject) {
      faceObject.enabled = true;
    }
  }

  for (var i = 0; i < script.worldContent.length; i++) {
    var worldObject = script.worldContent[i];
    if (worldObject) {
      worldObject.enabled = false;
    }
  }
}
var cameraFrontEvent = script.createEvent('CameraFrontEvent');
cameraFrontEvent.bind(onFrontCamEvent);
function onBackCamEvent(eventData) {
  for (var i = 0; i < script.faceContent.length; i++) {
    var faceObject = script.faceContent[i];
    if (faceObject) {
      faceObject.enabled = false;
    }
  }

  for (var i = 0; i < script.worldContent.length; i++) {
    var worldObject = script.worldContent[i];
    if (worldObject) {
      worldObject.enabled = true;
    }
  }
}
var cameraBackEvent = script.createEvent('CameraBackEvent');
cameraBackEvent.bind(onBackCamEvent);
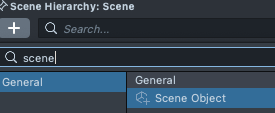
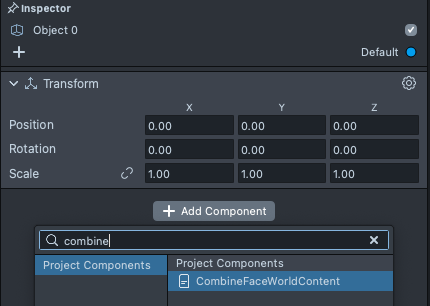
Then, we'll use the script by adding it to an object in the scene. Create a new object by selecting + -> Scene Object in the Scene Hierarchy panel.
With this new object selected, press Add New and choose the CombineFaceWorldContent script.
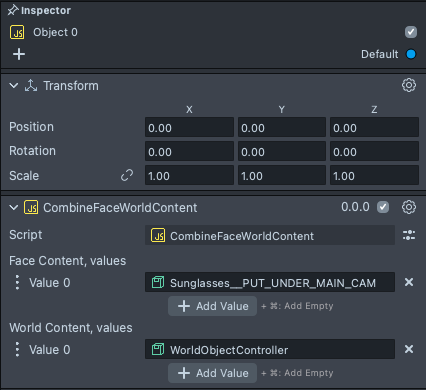
Input the face and world content accordingly. The script will hide world content on front camera and show world content on rear camera, vice versa for face content.
With everything set up, you should now be able to switch the camera back and forth and see both face and world content in your Lens!