Creating an Icon
![]()
Best Practices
The icon for a Lens should depict the content of the Lens in the most simplistic way. Below are some best practices to use when creating your Lens's icon:
- Create icon elements using vector shapes
- Use simple forms that are easy to visualize at low resolution
- Work in an illustrated, cartoon-like style
- Work in bright and clear colors
- Use sharp lines and clearly recognizable shapes
- Avoid photos and screenshots
- Deliver icons as a 320x320 PNG and use the standard frame found in the icon template
Lens Icon
There is a variety of ways to generate a project icon:
![]()
Capture from Preview
-
In the Lens Icon section, click on the
Capture from Previewbutton. -
Adjust crop and click
Save Changes.
Import from computer
-
In the Lens Icon section, click on the
Import Imageoption.- This will open a file browser window where you can choose an icon file from your local device.
-
Review and crop the Icon
-
Once uploaded, the icon will appear in the Lens Icon preview area.
- Adjust the crop area as necessary to ensure a perfect fit.
-
Apply the Icon
- Сlick
Applyto set the imported file as the Lens icon. - Your custom icon will now be displayed in the
Project Settings.
- Сlick
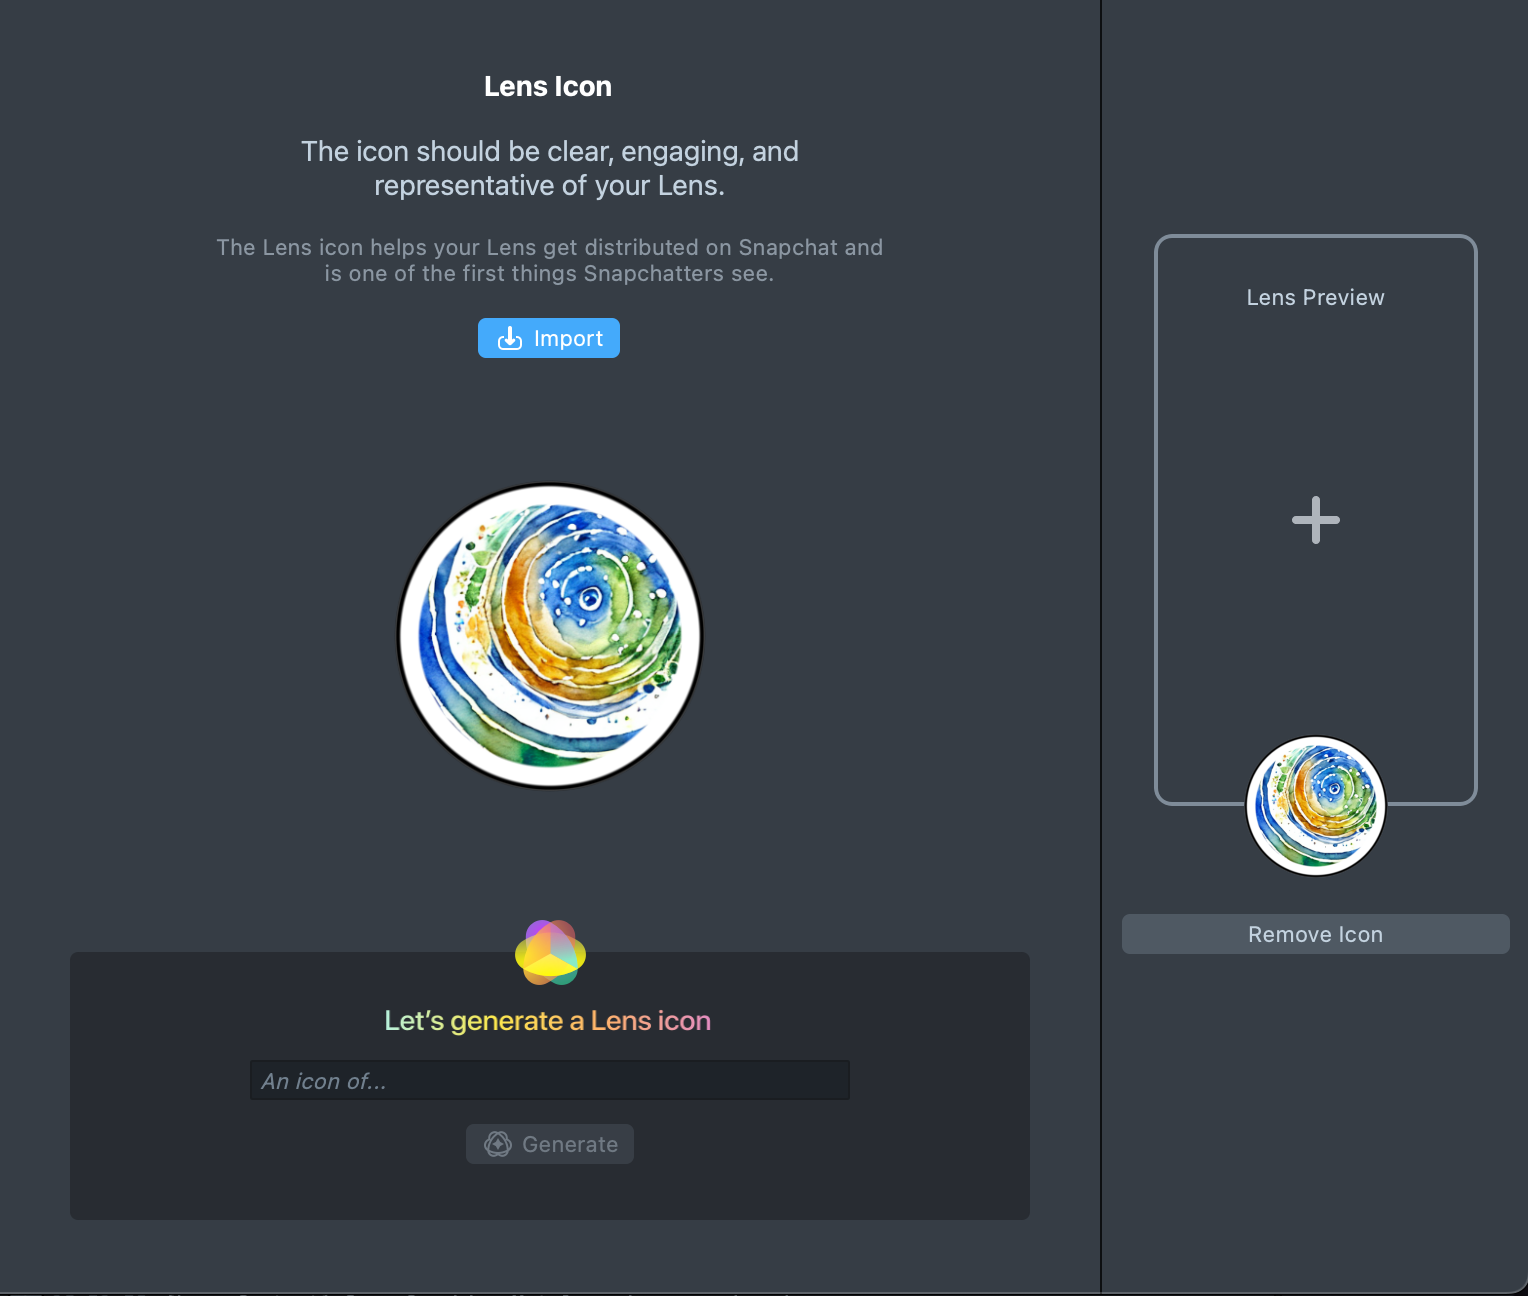
Generate Lens icon
-
You can access the
Lens Icon Generatorin theProject Settings:-
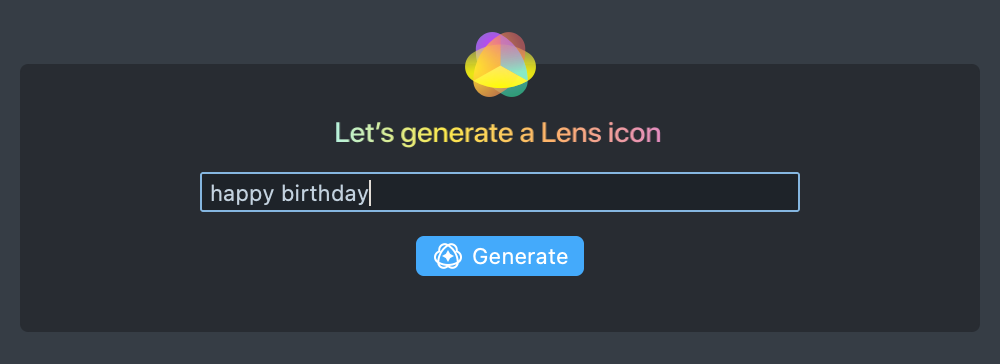
In the icon generation section, you will see a prompt field.
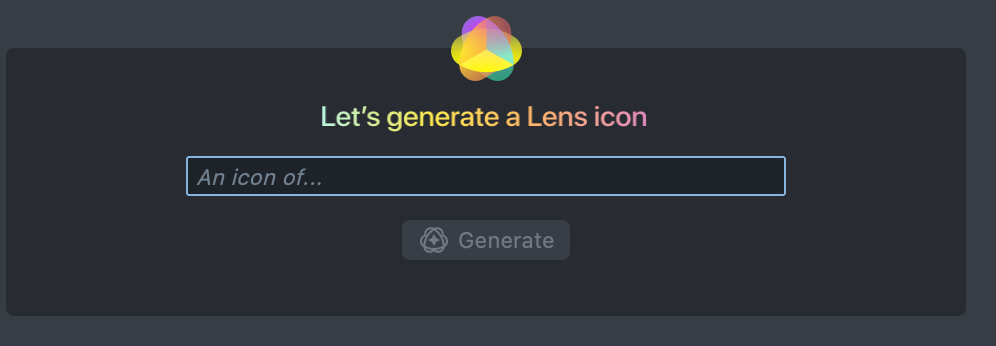
-
Type a description of the icon you want to create and press generate.
-
-
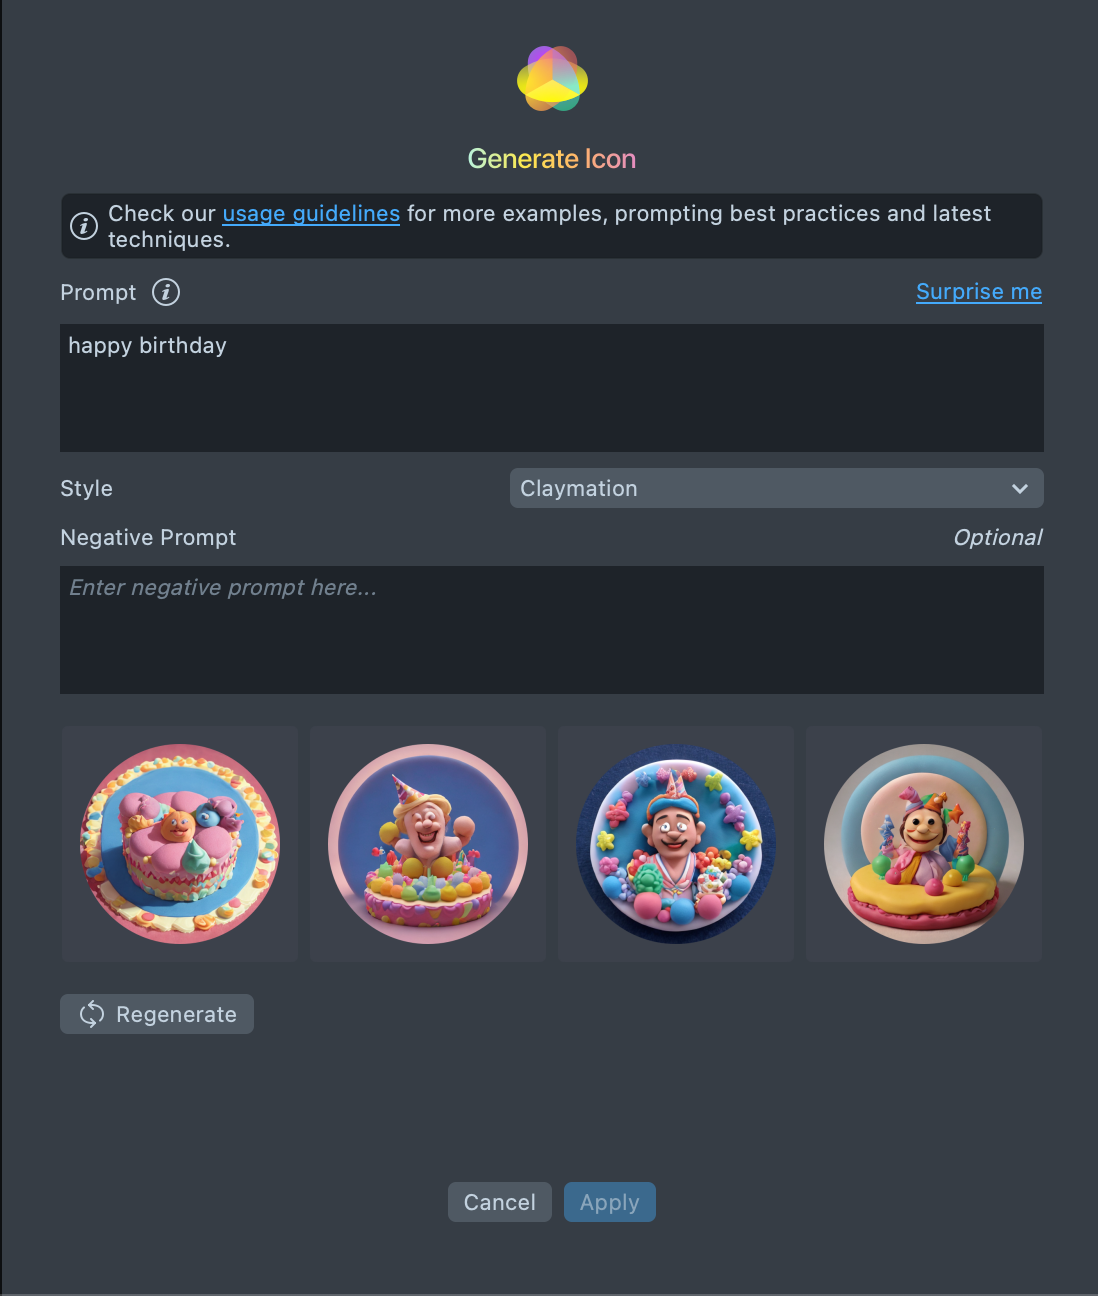
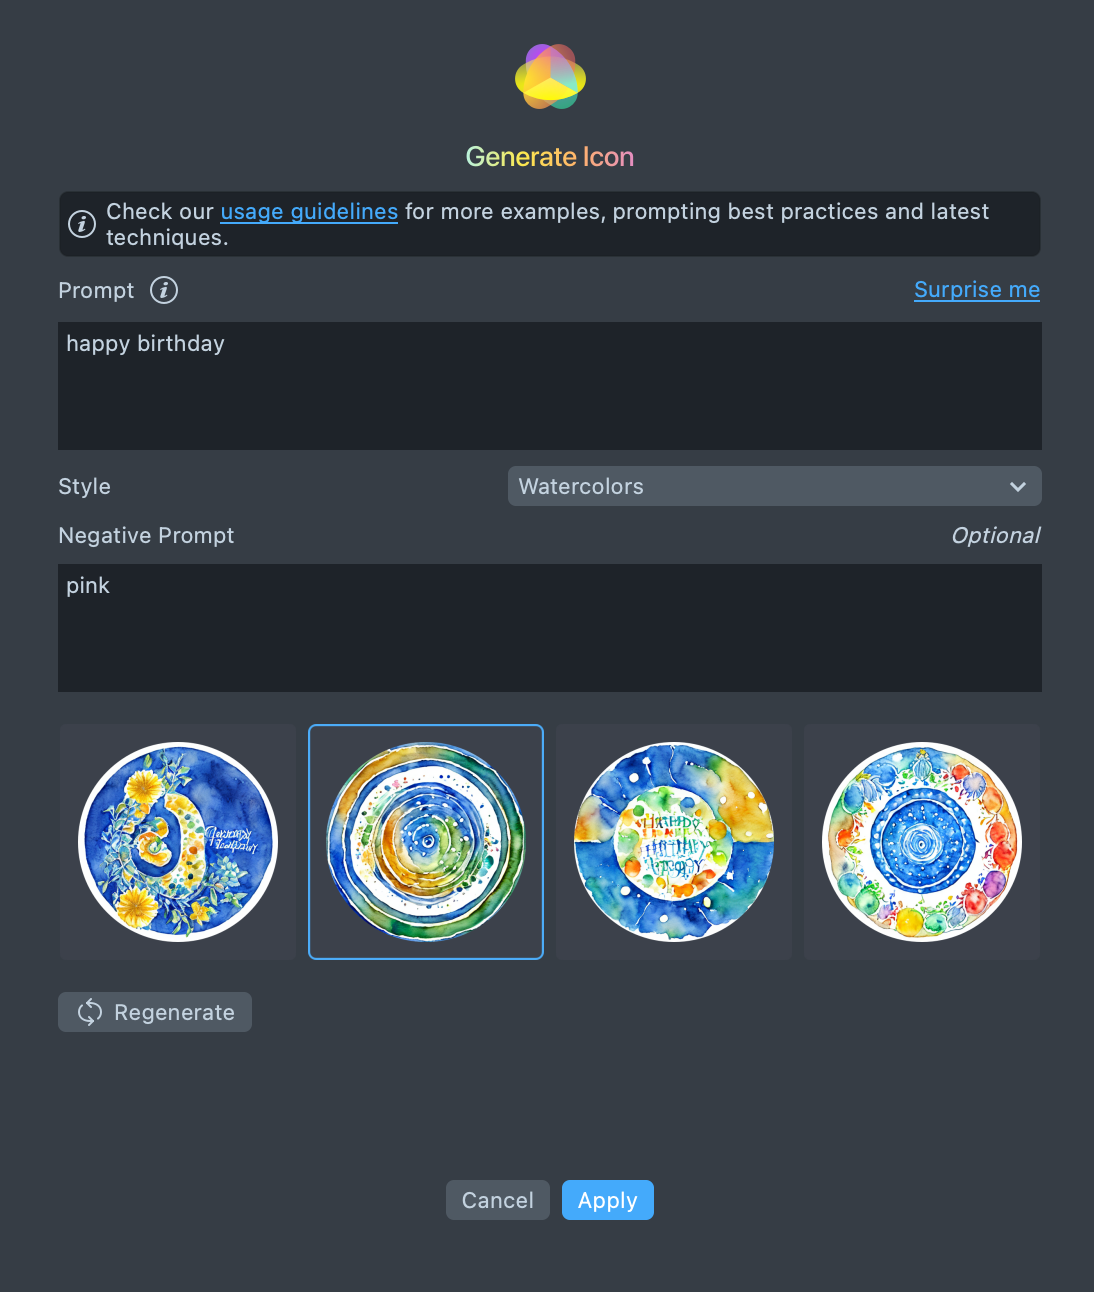
Pick from Generated Options
-
Once the tool generates several icon options based on your prompt, you can view them and select the one that fits your needs.
-
If you don’t like any of the options, you can proceed to the next step.
-
-
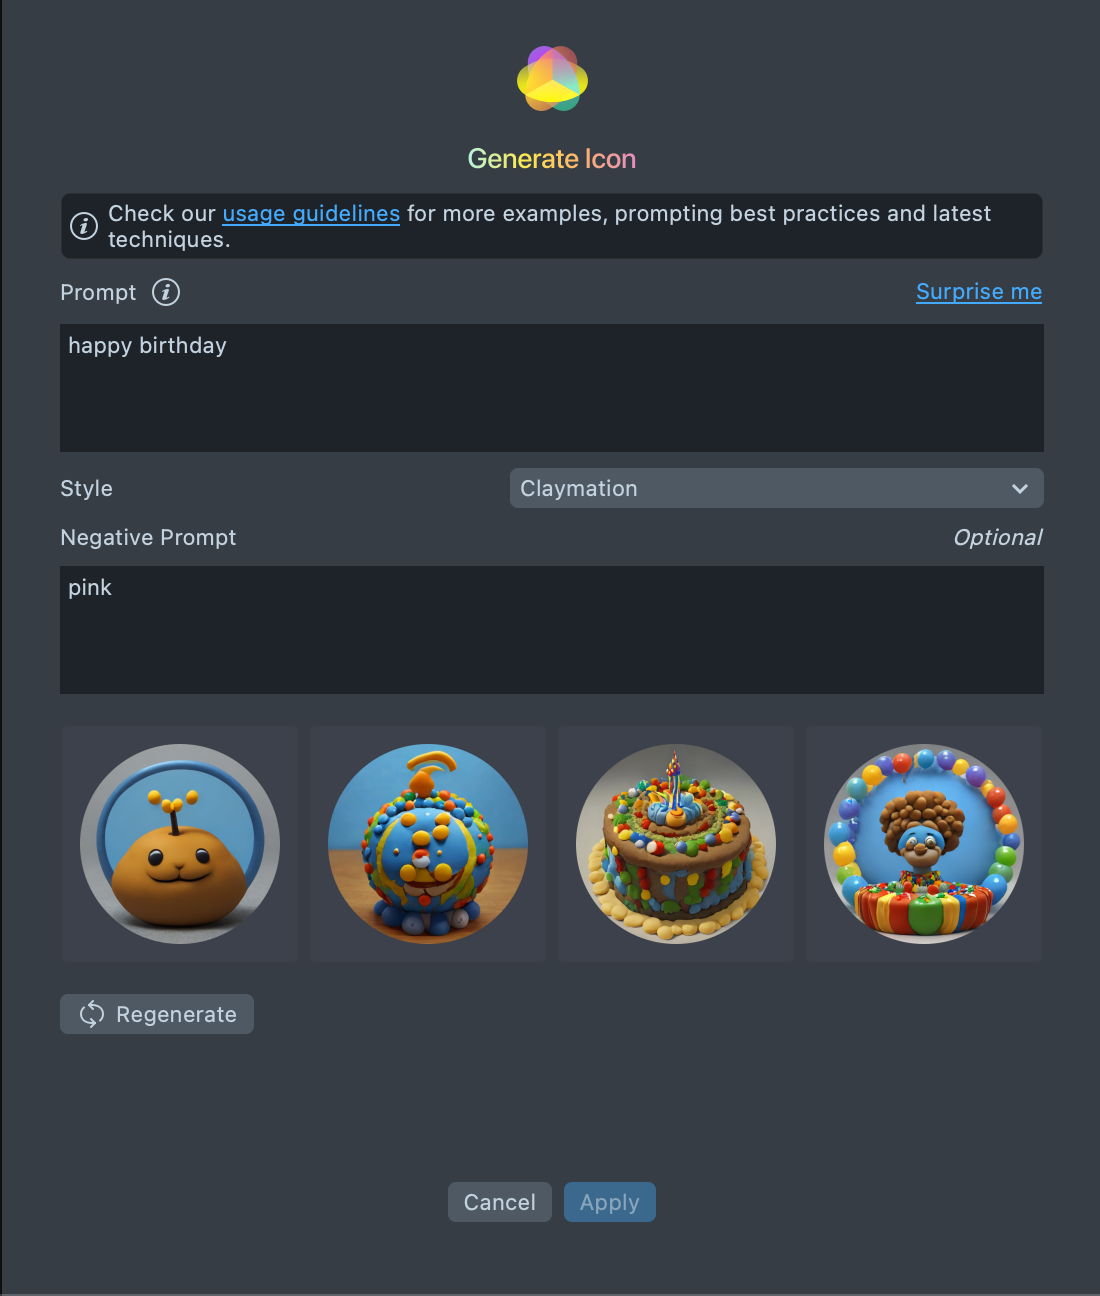
Regenerate Icons
- If the generated options aren’t suitable, click Regenerate to create a new set of icons based on your original or modified prompt.
- If you want to exclude certain elements from the icon, use the negative prompts feature.
-
Type in what you don’t want to appear, and the tool will adjust accordingly in the next generation.
-
-
Change Styles from the Dropdown Menu
-
The tool provides a dropdown menu with different styles.
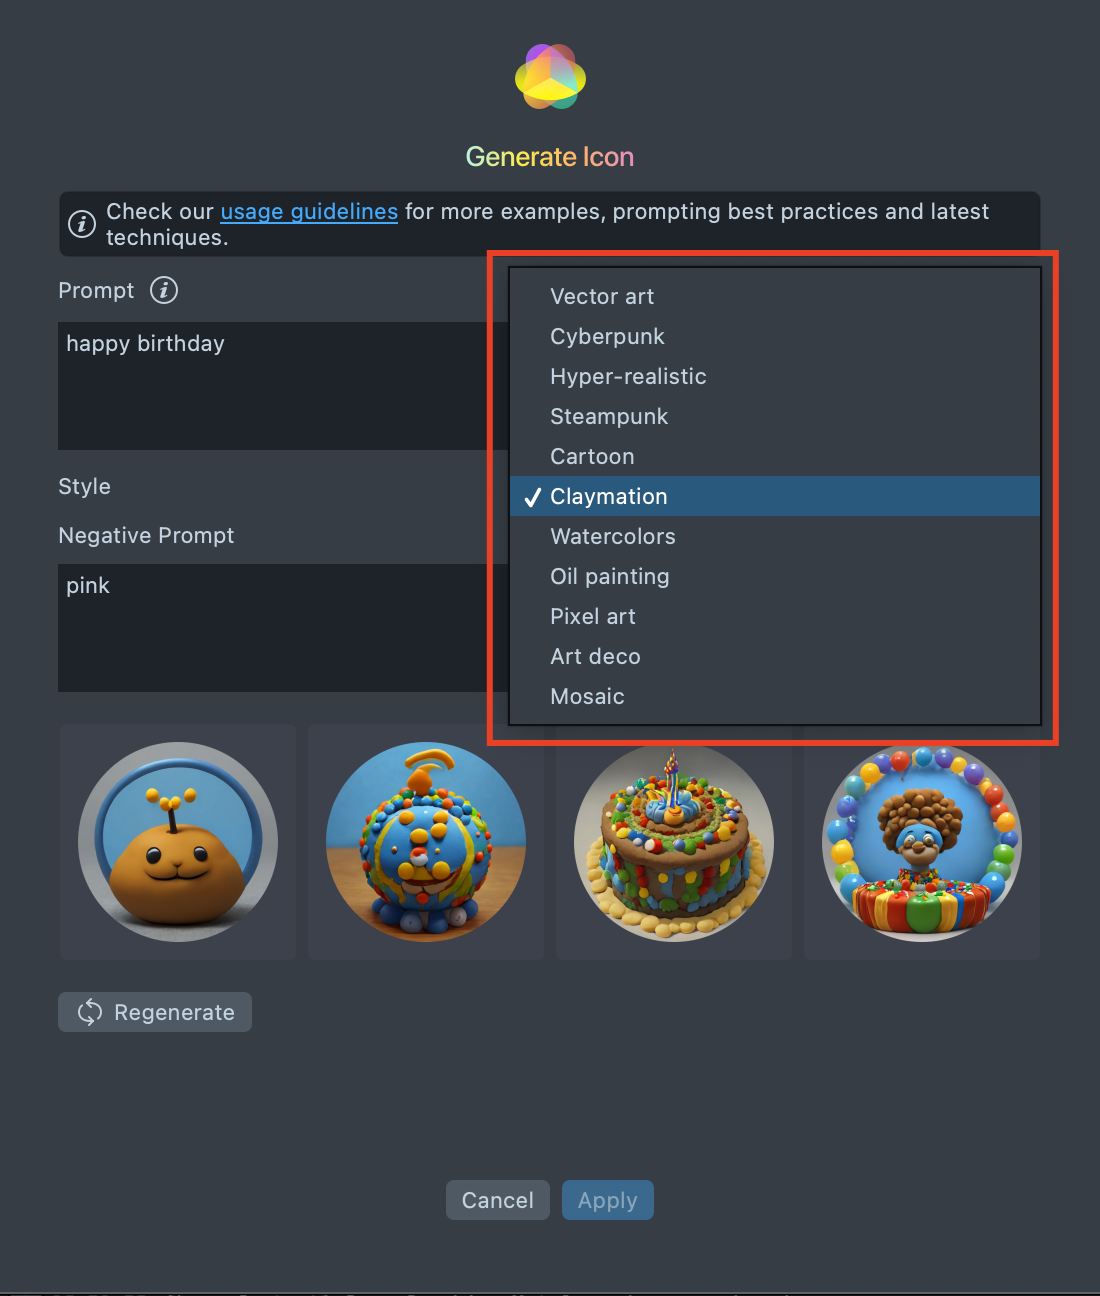
-
Select a style that aligns with the design of your project to refine the visual appearance of the generated icons.
-
-
Select Your Favorite Icon
-
After making adjustments, select the icon you like the most.
-
-
Crop the Icon
- Once you’ve chosen your icon, you’ll have the option to crop it to fit the required dimensions.
-
Apply the Icon
-
Сlick Apply to set the selected icon in your project.
-
The icon will now appear in the Project Settings and be used for your Lens.
-
Photoshop Template
Download the Photoshop Lens icon template below to create your Lens' icon.
You can use the PHOTOSHOP - Lens Icon Template to get started.
Open the template within Adobe Photoshop. Replace the content in the layer labeled [REPLACE ME]. This will mask your content within a circle. Additionally, you can tune the background color by adjusting the Color Overlay effect on the Color BG layer.
![]()
To export your icon, select File -> Export -> Export As... and select PNG as the export format.
![]()
Illustrator Template
Download the Illustrator Lens icon template below to create your Lens's icon.
You can use the Illustrator - Lens Icon Template to get started.
Open the template within Adobe Illustrator. Replace the content in the layer labeled [REPLACE ME]. This layer has a clipping mask which masks the content to a circle. Additionally, you can tune the background color by adjusting the color of the Frame BG layer.

To export your icon, select File -> Export -> Export for Screens and select PNG as the export format.
![]()