Marker Tracking
Lens Studio’s Marker Tracking gives you the ability to a Lens which tracks content to a unique physical image. Marker Tracking is ideal for Lenses which are meant to be used in the presence of a custom image. For example, you can create a Lens that places an animated 3D character overlaid on a poster or mural of your own design. You can also set up a Marker Tracking Lens to detect and track Snapcodes.
This guide covers how to create a custom tracking Marker and include it in a Lens.
Creating a Marker Tracking Lens
This section covers how to create a Marker Tracking Lens in a new project. You can also follow these steps to add Marker Tracking to an existing Lens.
There are several assets in the Asset Library that can help you create your marker Lens including: Marker Tracking Helper.
Prepare an Image for Tracking
If you're planning to use a custom image as a tracking marker, keep the following guidelines in mind to make sure that it will have smooth and accurate tracking:
- Make sure your image has a lot of detail and contrast
- Avoid repetitive patterns
- Avoid low resolution images
- Use a
PNGorJPGwith a resolution of 2048 x 2048 or less
Here is an example of a bad marker. Notice the low contrast and high repetition.
Here is an example of a good marker for mobile, but NOT for Spectacles. This image has a lot of detail, constrast, and doesn't contain a repeating pattern. However, because the image is highly detailed, it won't work as well when tracking from far away, or when the camera has a wide FOV, such as Spectacles.
Here is an example of a great marker. This image has a lot of details, contrast, and doesn't contain a repeating pattern. Additionally, there are high constrasting features from both close and far away (e.g. the rocket is distinguishable from the planets, and even within the planets, there are distinguishible features).
You can download these images to see the full size resolution.
Create a New Project
Create a new project by selecting File -> New Project from the Lens Studio menu.
![]()
Create a Marker Tracking Object
Marker Tracking requires a Marker Tracking object to be added to your Scene. Your Lens can use either Image Tracking or Snapcode Tracking.
Adding Image Tracking
To set up your Lens to track a custom Image:
-
In the
Scene Hierarchypanel, select+ -> Image Tracking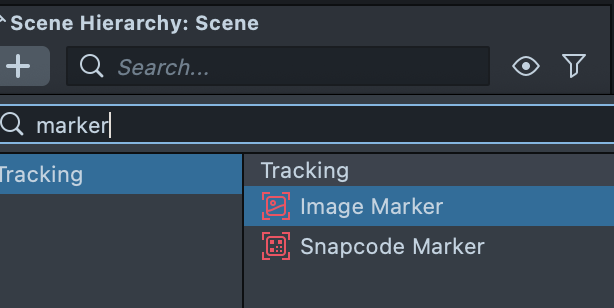
You can also do this manually by adding a scene object under a camera, then selecting the newly added object, and finally adding a
Marker Trackingcomponent in theInspectorpanel.You can also get a setup with the example image marker by searching for
markerin the Asset Library!You can also do this manually by adding a scene object under a camera, then selecting the newly added object, and finally adding a
Marker Trackingcomponent in theInspectorpanel. -
Select a custom image file from your computer and select
Open -
In the
Scene Hierarchypanel, you should now see anImage Trackingobject parented to your mainCameraobject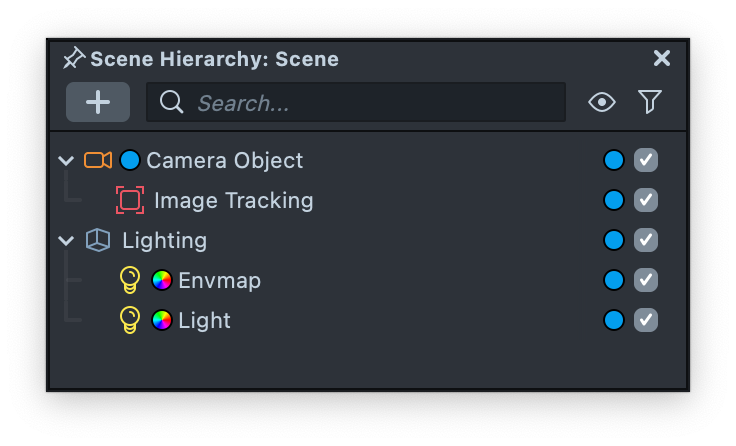
-
In the
Asset Browserpanel, you should now see anTracking Markerresource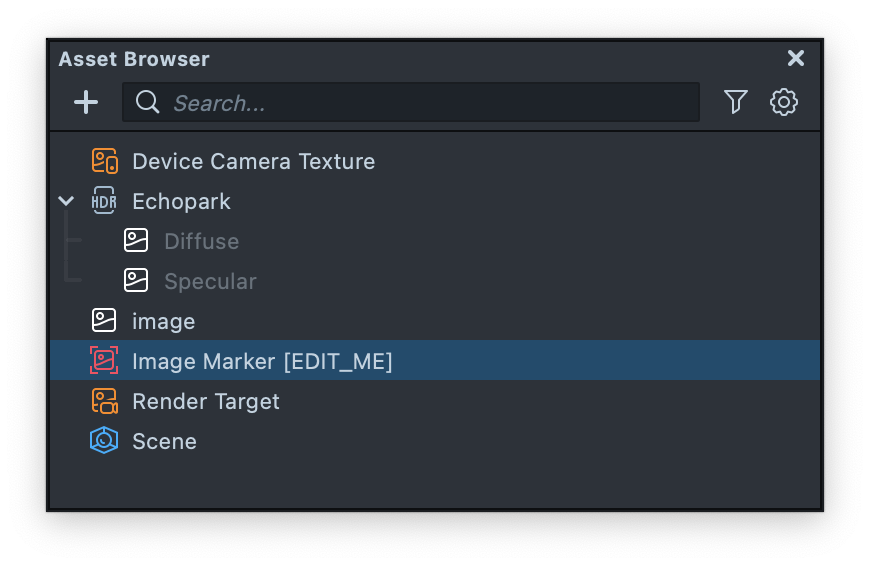
-
Select the newly created
Tracking Markerresource in theAsset Browserpanel -
In the
Inspectorpanel, note theMarker Heightfield. You should set it to match the expected vertical size of the physical image, in centimeters (cm). For example, if you are planning to create a Lens which tracks content to a printed sticker that’s 8 cm in the vertical dimension, you should set your Image Marker’sMarker Heightto 8.0.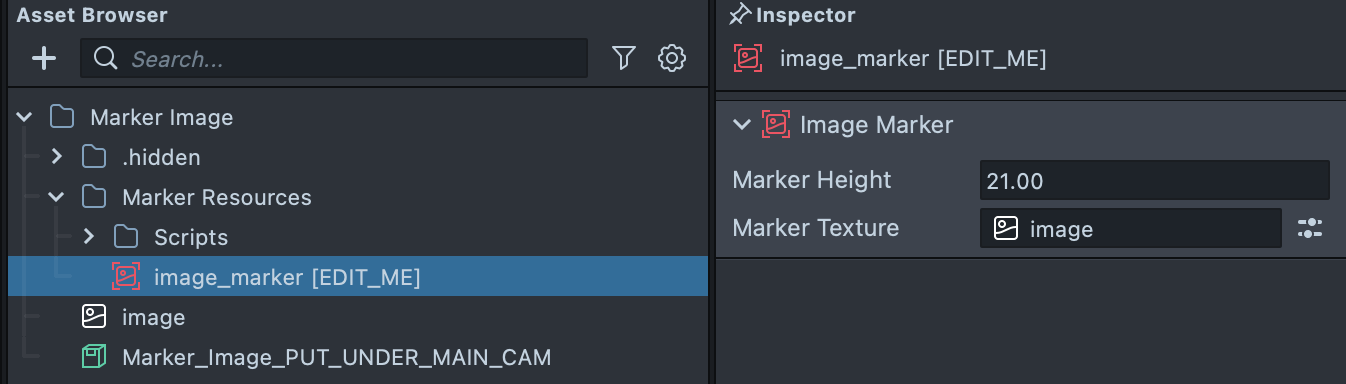
Adding Snapcode Tracking
-
In the
Scene Hierarchypanel, select+ -> Snapcode Tracking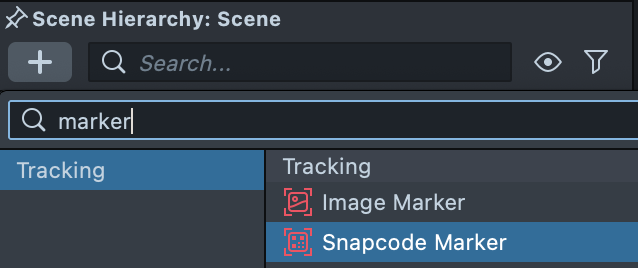
-
In the
Scene Hierarchypanel, you should now see aSnapcode Trackingobject parented to your mainCameraobject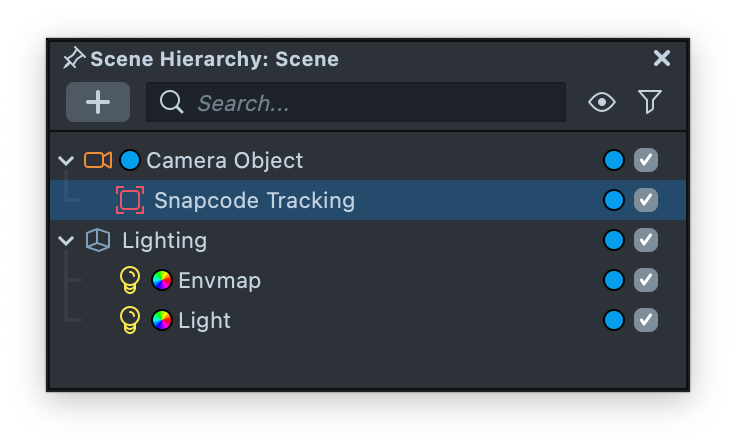
-
In the
Asset Browserpanel, you should now see aSnapcode Markerresource -
Select the newly created
Snapcode Markerresource in theAsset Browserpanel -
In the
Inspector, note theMarker Heightfield. You should set it to match the expected vertical size of the physical Snapcode, in centimeters (cm). For example, if you are planning to create a Lens which tracks content to a printed sticker that’s 8 cm in the vertical dimension, you should set your Snapcode Marker’sMarker Heightto 8.0.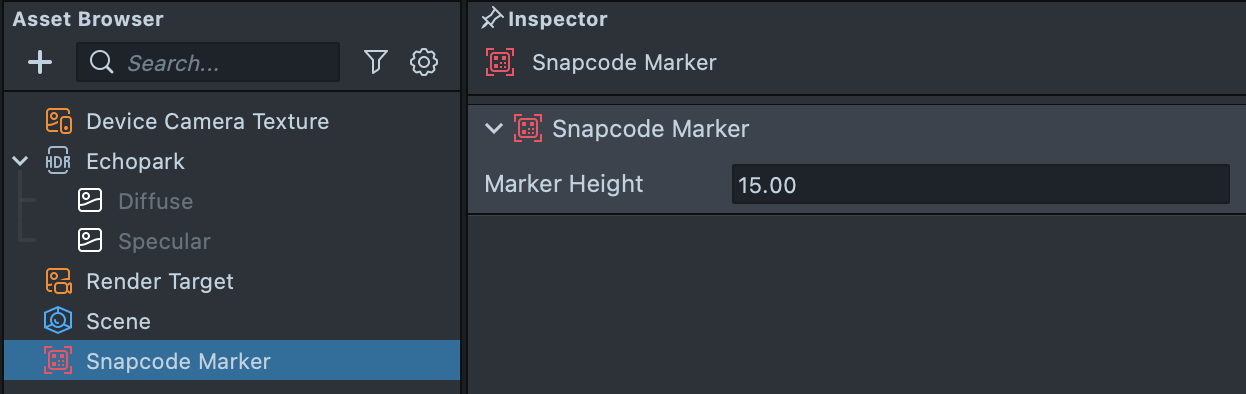
Image Tracking and Snapcode Tracking objects must be parented to your Scene's main Camera in order to track properly.
You can include up to 10 Marker images in a Lens, as well as a Snapcode Tracking objects to your Scene. For image tracking, only one image will be tracked at a time. For Snapcode tracking, only one Snapcode will be tracked at a time. That said, a single image and a single Snapcode can be tracked at the same time.
Orienting the Marker Tracking Object
By default, the Marker Tracking object is created in a vertical orientation. However, since objects are simply tracked to the marker image, if a marker is oriented horizontally in Lens Studio, it will still track that same image when it is vertical in real life.
Since objects are simply tracked to the marker image, if a marker is oriented horizontally in Lens Studio, it does not mean that it will not track that same image when it is vertical in real life. Orienting your marker in Lens Studio simply helps your development process.
Placing Content
Any content you want to track to your marker should already be imported to your Scene and set up as a Scene Object. This Scene Object should be parented to the Marker Tracking Object you created in the previous section.
To set up your content:
-
In the
Scene Hierarchypanel, select the Scene Object you want to track to the Marker -
Click and drag the Scene Object so that it’s parented underneath the
Marker Trackingobject you created -
In the
Scenepanel, align the Scene Object’s position with the position of theMarker Trackingobject -
Scale the Scene Object as you see fit. Remember that the
Marker Heightproperty you set on the Marker resource represents the size in centimeters in physical space. You can use its size as a relative guide for scaling your content
To learn more about importing 2D and 3D content to your Scene, visit the Lens Studio guide on Importing and Updating Resources.
Previewing The Lens
To properly preview your Marker Tracking Lens in the Preview panel, you’ll need to import a video of your Marker. To import a video file from your computer:
-
Select the dropdown at the top of the
Previewpanel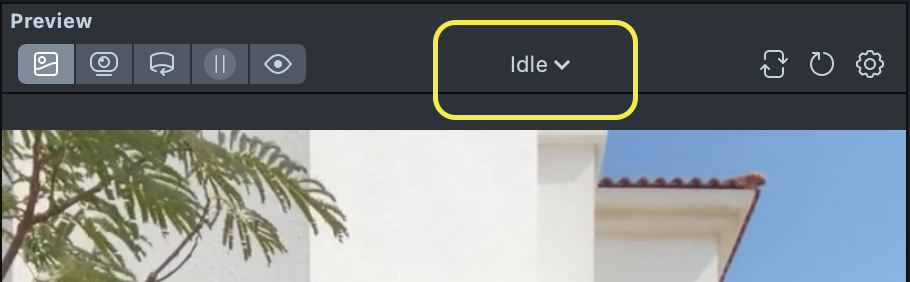
-
Select
+ From Filesat the bottom of the dropdown
-
Find the video file and open it
-
In the
Previewpanel, the video you imported should automatically be selected.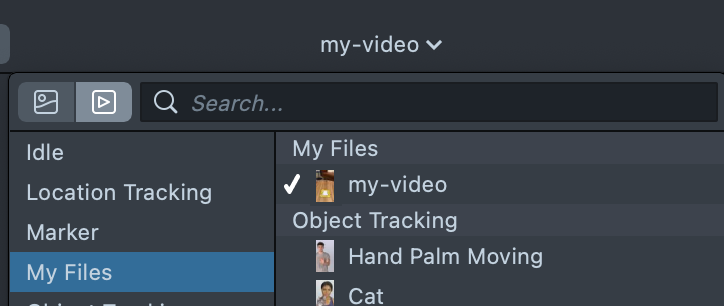
-
You should now see your video playing in the
Previewpanel. Your content should be aligned to the Marker when it’s on screen.
Additional Information
Marker Resources
Marker Tracking requires a Marker resource. The Marker resource defines the target image the Lens should track, as well as is expected physical size. There are two types of Marker resources: Image Marker and Snapcode Marker.
While a Marker Resource is created automatically when you add an Image Tracking or Snapcode Tracking object to your Scene, you can also create one manually.
Creating an Image Marker Resource
If you want your Lens to track a specific image, you can create an Image Marker.
To create an Image Marker:
-
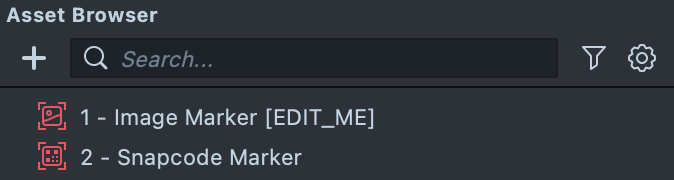
In the
Asset Browserpanel, select+ -> Image Markerto create the marker asset. -
Import your texture into Lens Studio.
-
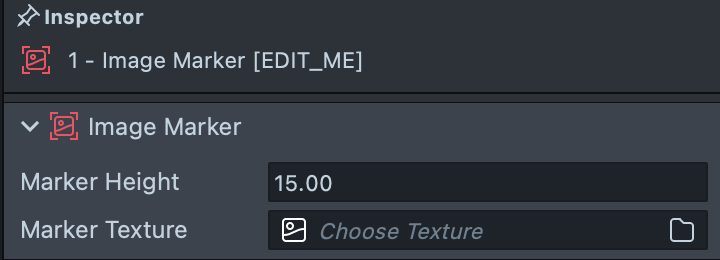
Select the newly created
Image Markerresource in theAsset Browserpanel. In the Inspector panel, select theMarker Texturefield and choose the texture you've imported that you want to track. -
In the Inspector, note the
Marker Heightfield. You should set it to match the expected vertical size of the physical image, in centimeters (cm). For example, if you are planning to create a Lens which tracks content to a printed sticker that’s 8 cm in the vertical dimension, you should set your Image Marker’sMarker Heightto 8.0. By doing this, the transform of this object will be scale accurate (i.e. 1 unit in theTransformcomponent will represent 1cm.)
Creating a Snapcode Marker Resource
If you want your Lens to track Snapcodes, you can create a Snapcode Marker.
To create a Snapcode Marker:
-
In the
Asset Browserpanel, select+ -> Snapcode Marker -
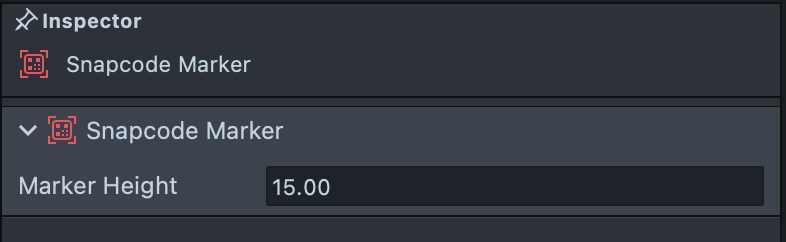
Select the newly created
Snapcode Markerresource in theAsset Browserpanel -
In the
Inspector, note theMarker Heightfield. You should set it to match the expected vertical size of the physical image, in centimeters (cm). For example, if you are planning to create a Lens which tracks content to a printed Snapcode that’s 8 cm in the vertical dimension, you should set your Snapcode'sMarker Heightto 8.0