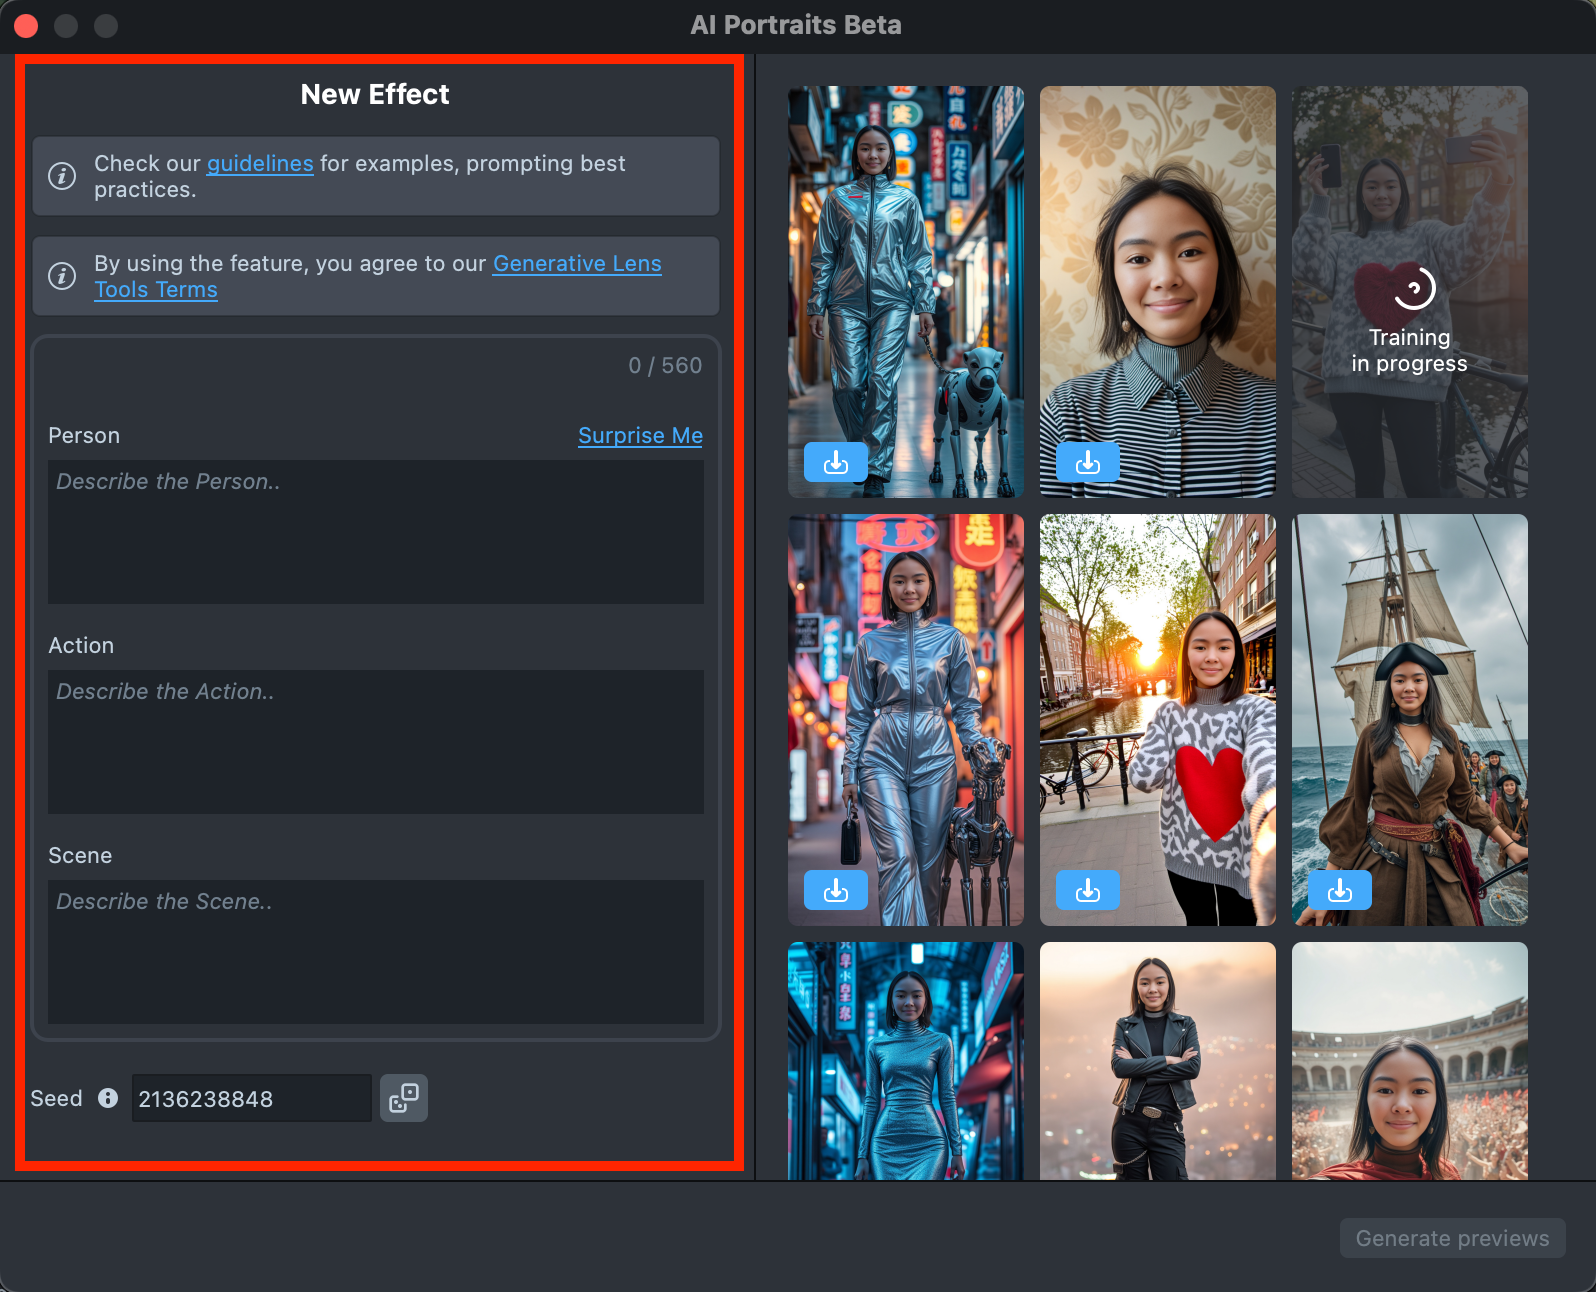
AI Portraits
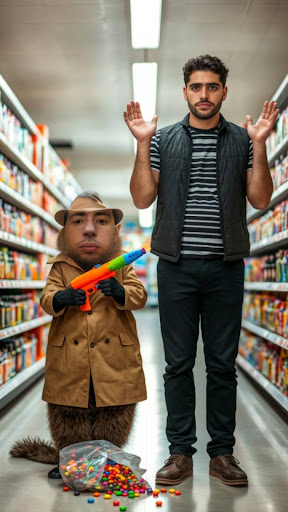
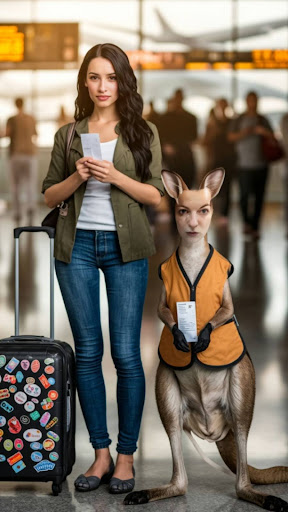
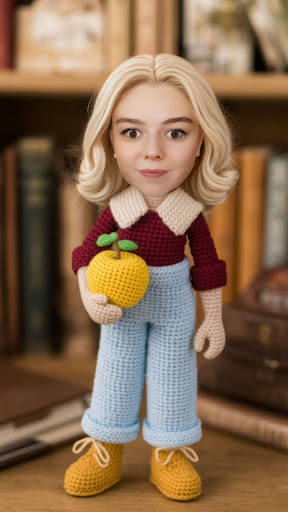
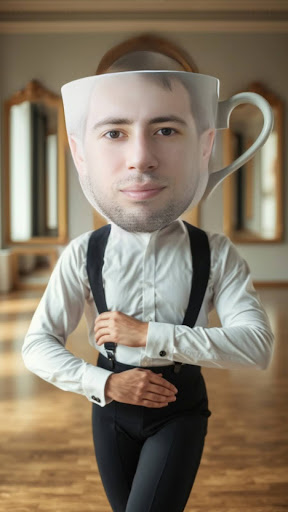
AI Portraits creates an image transformation based on your prompt. With the AI Portraits feature, you define a concept by specifying three key factors: Person, Action, and Scene. These Lenses that generate static images on-device are called AI Snaps on Snapchat.
Getting Started
Launching AI Portraits
-
Navigate to the
Lens Studio AIoption in the top right corner of the Lens Studio. Then, click in theGenAI Home Pagetab in the sidebar.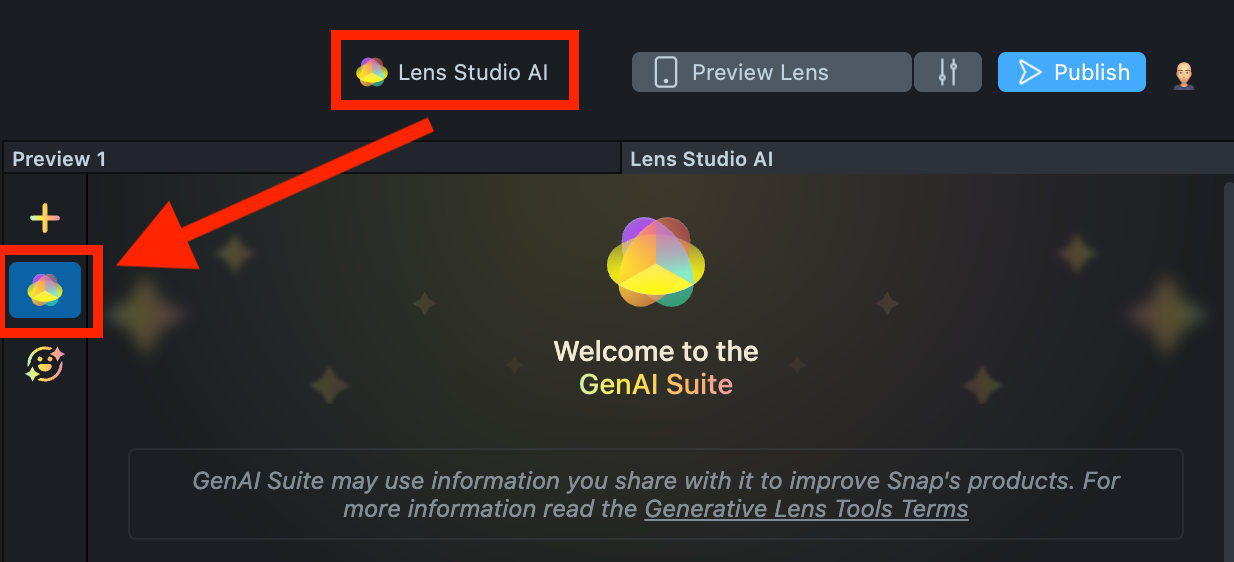
-
On the
GenAI Home Pagetab, you may need to scroll down to find AI Portraits.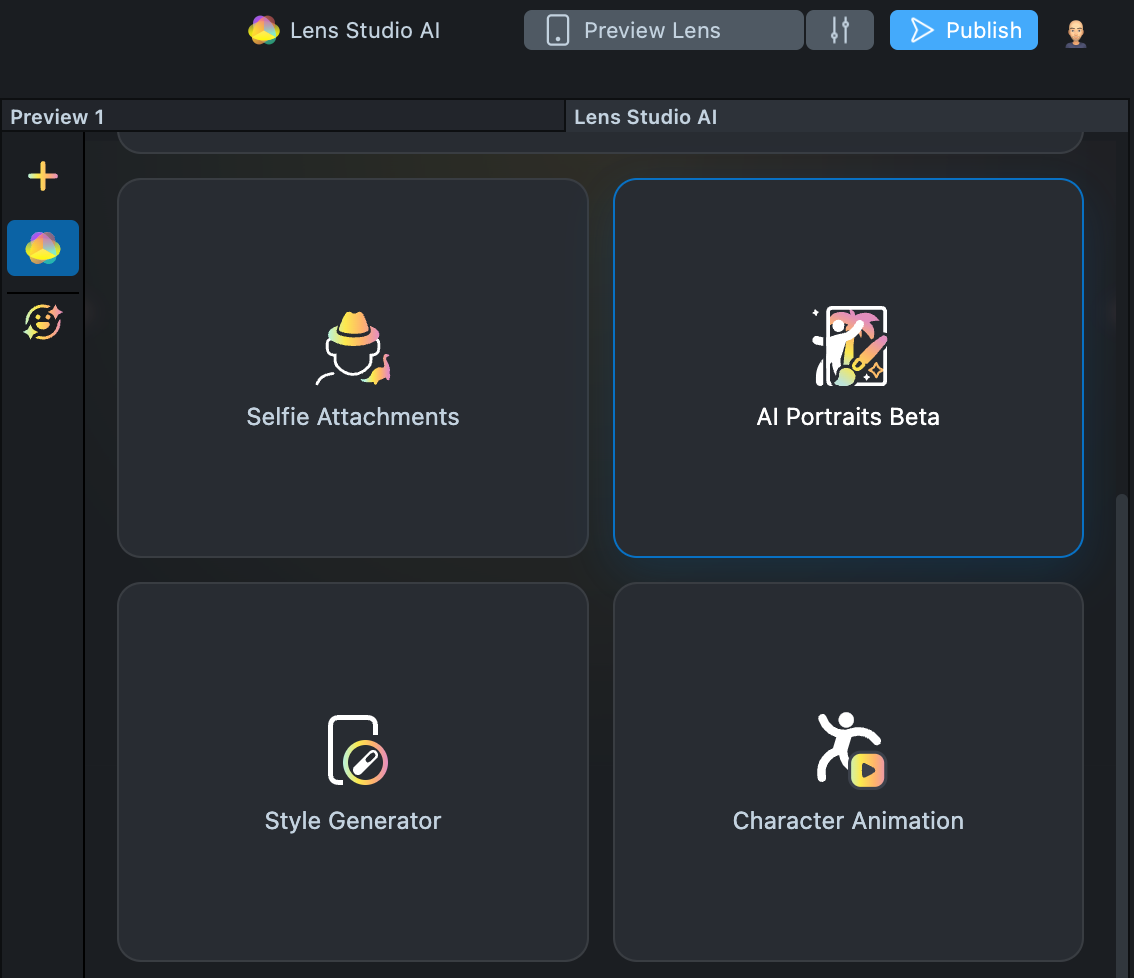
User Interface Overview
- Creation Panel: Provides tools for creating and editing AI Portrait effects.
- Gallery: Shows all the effects you’ve created along with their statuses.
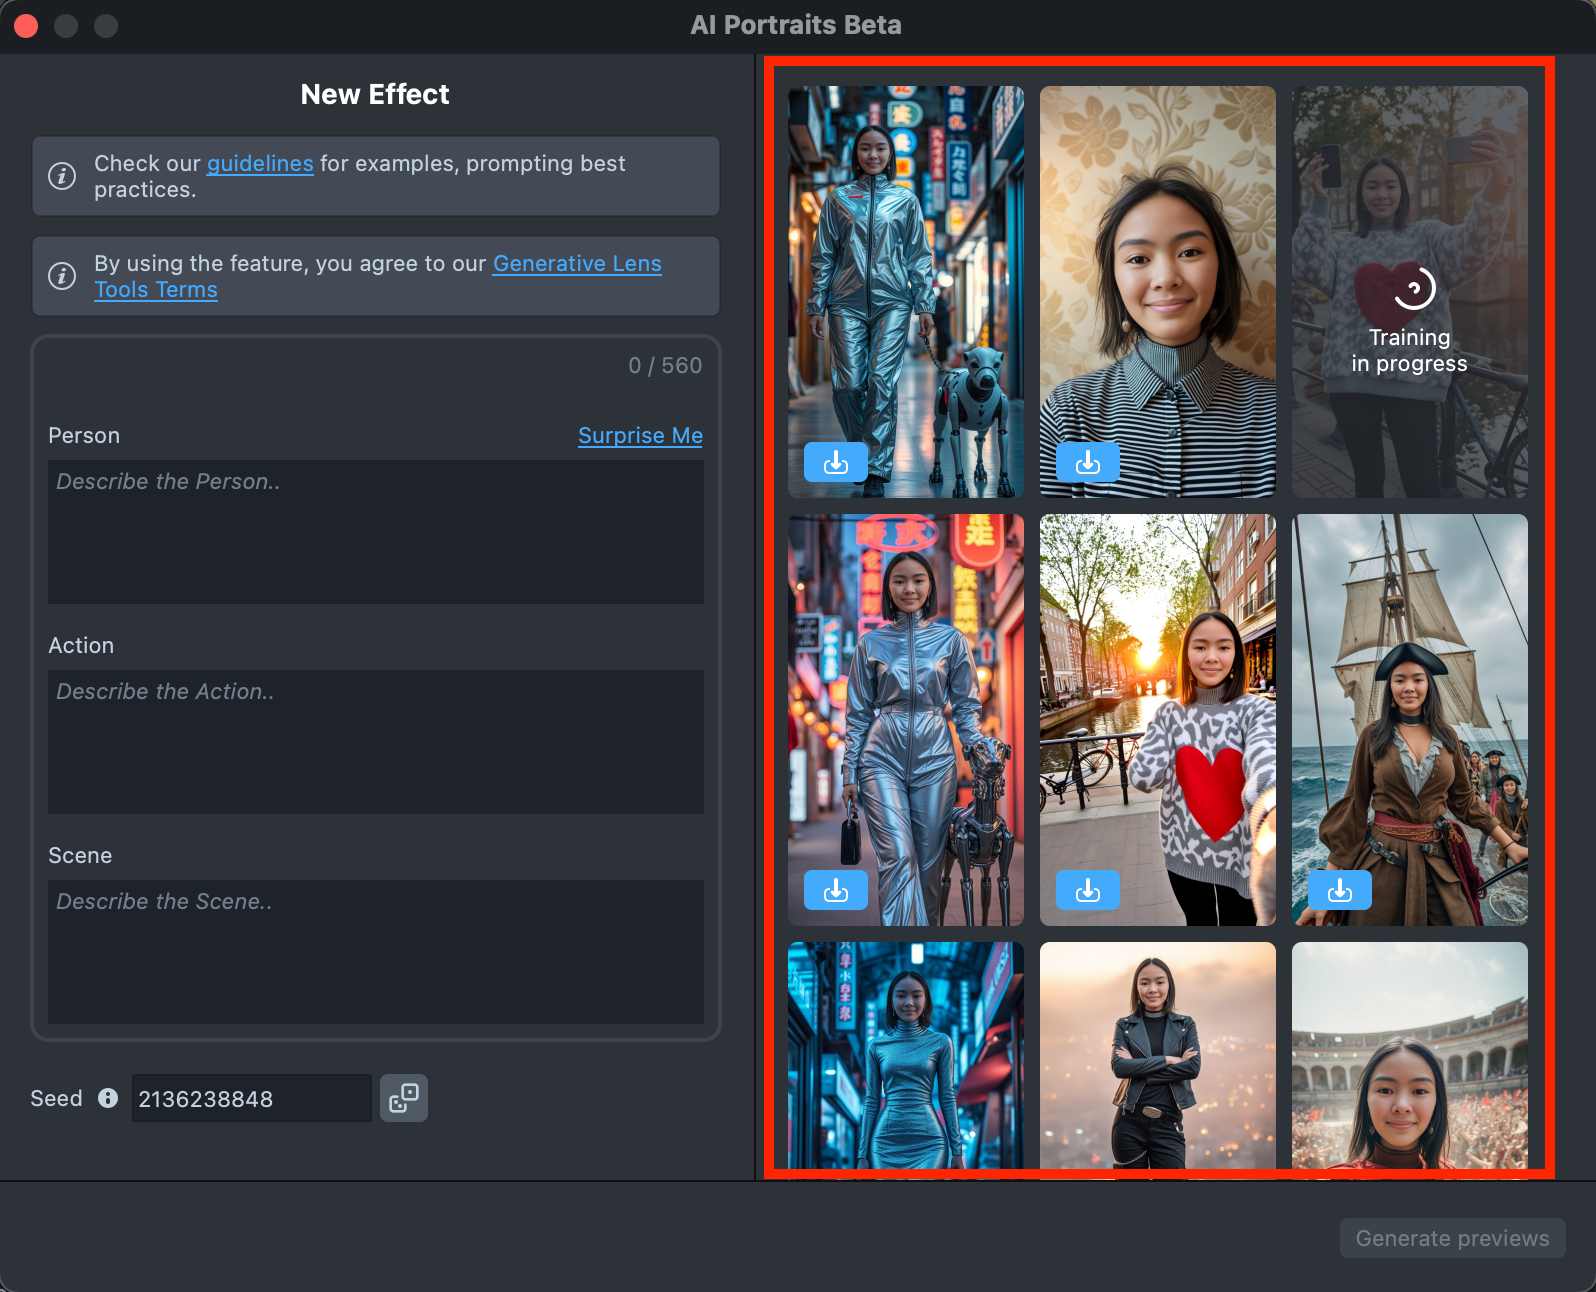
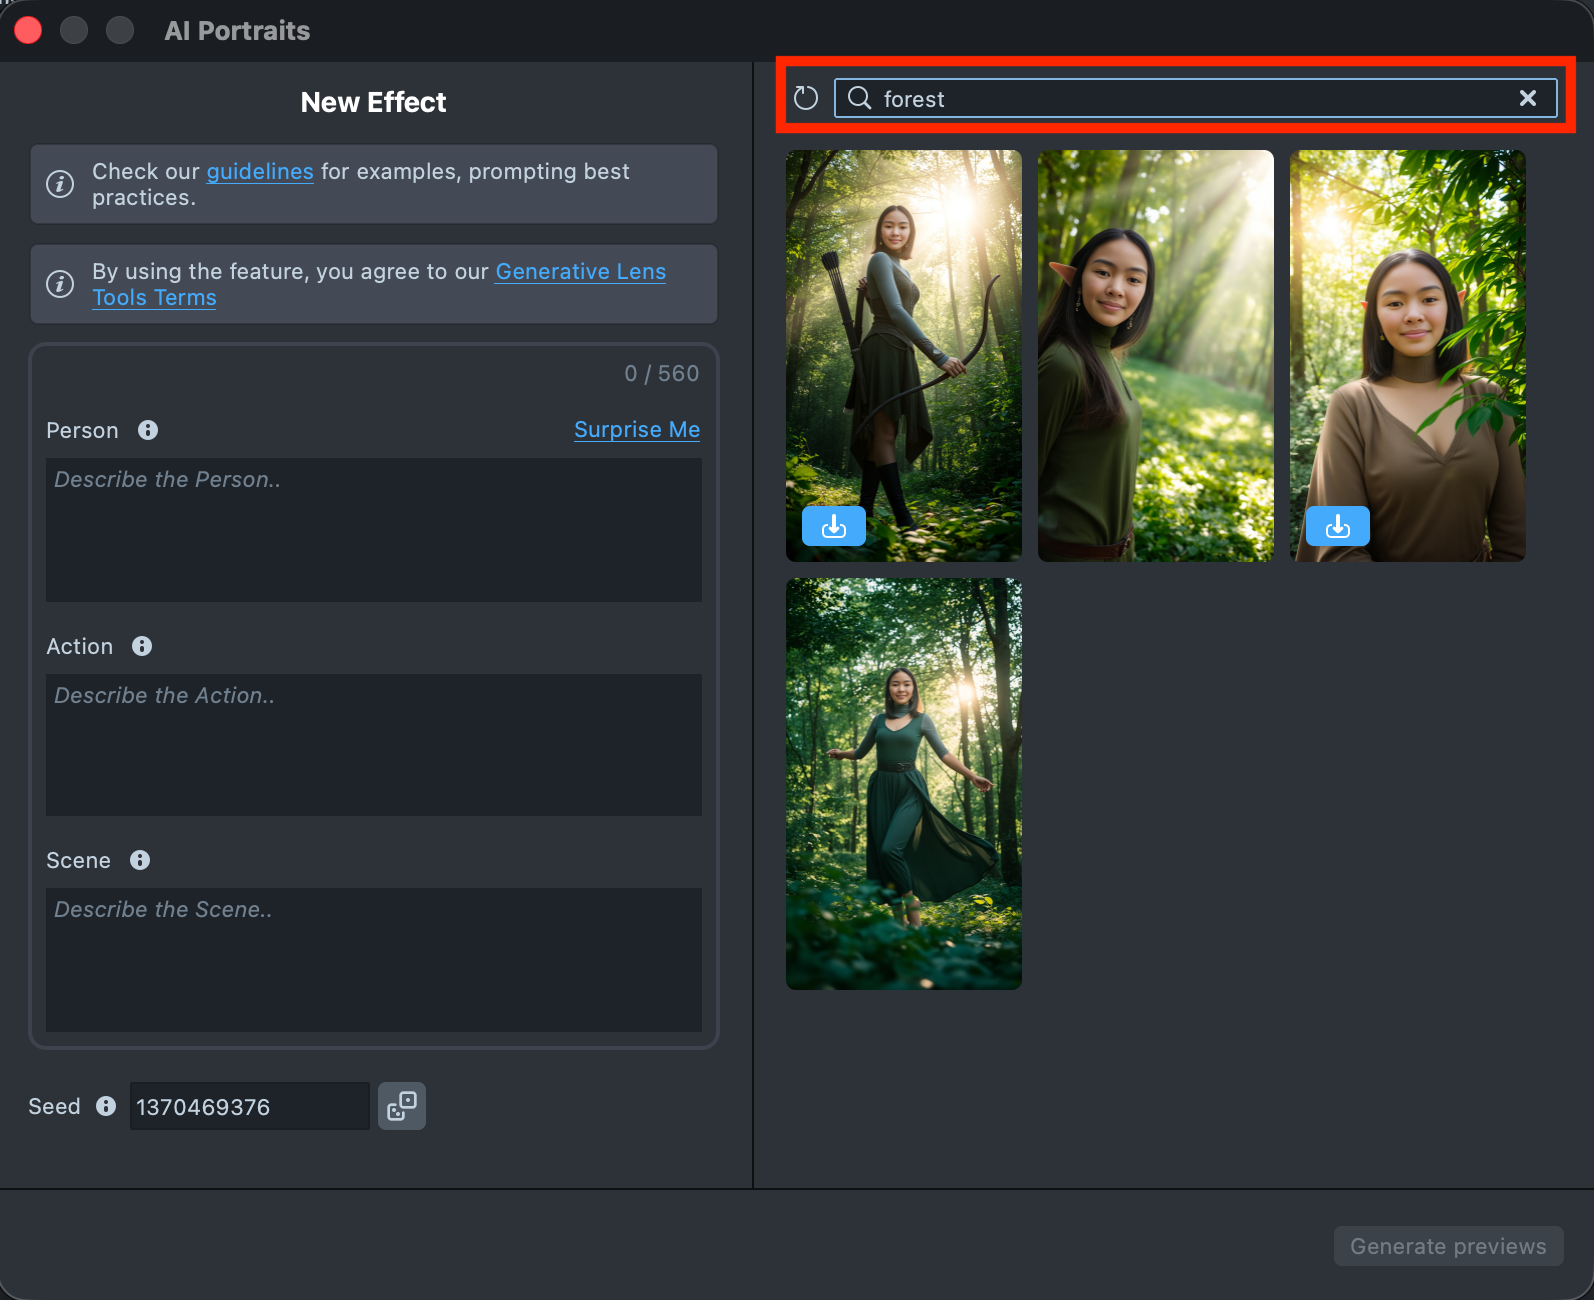
- Search: Allows you to quickly find specific effects by name or keyword within your Gallery.
Effect Creation flow
-
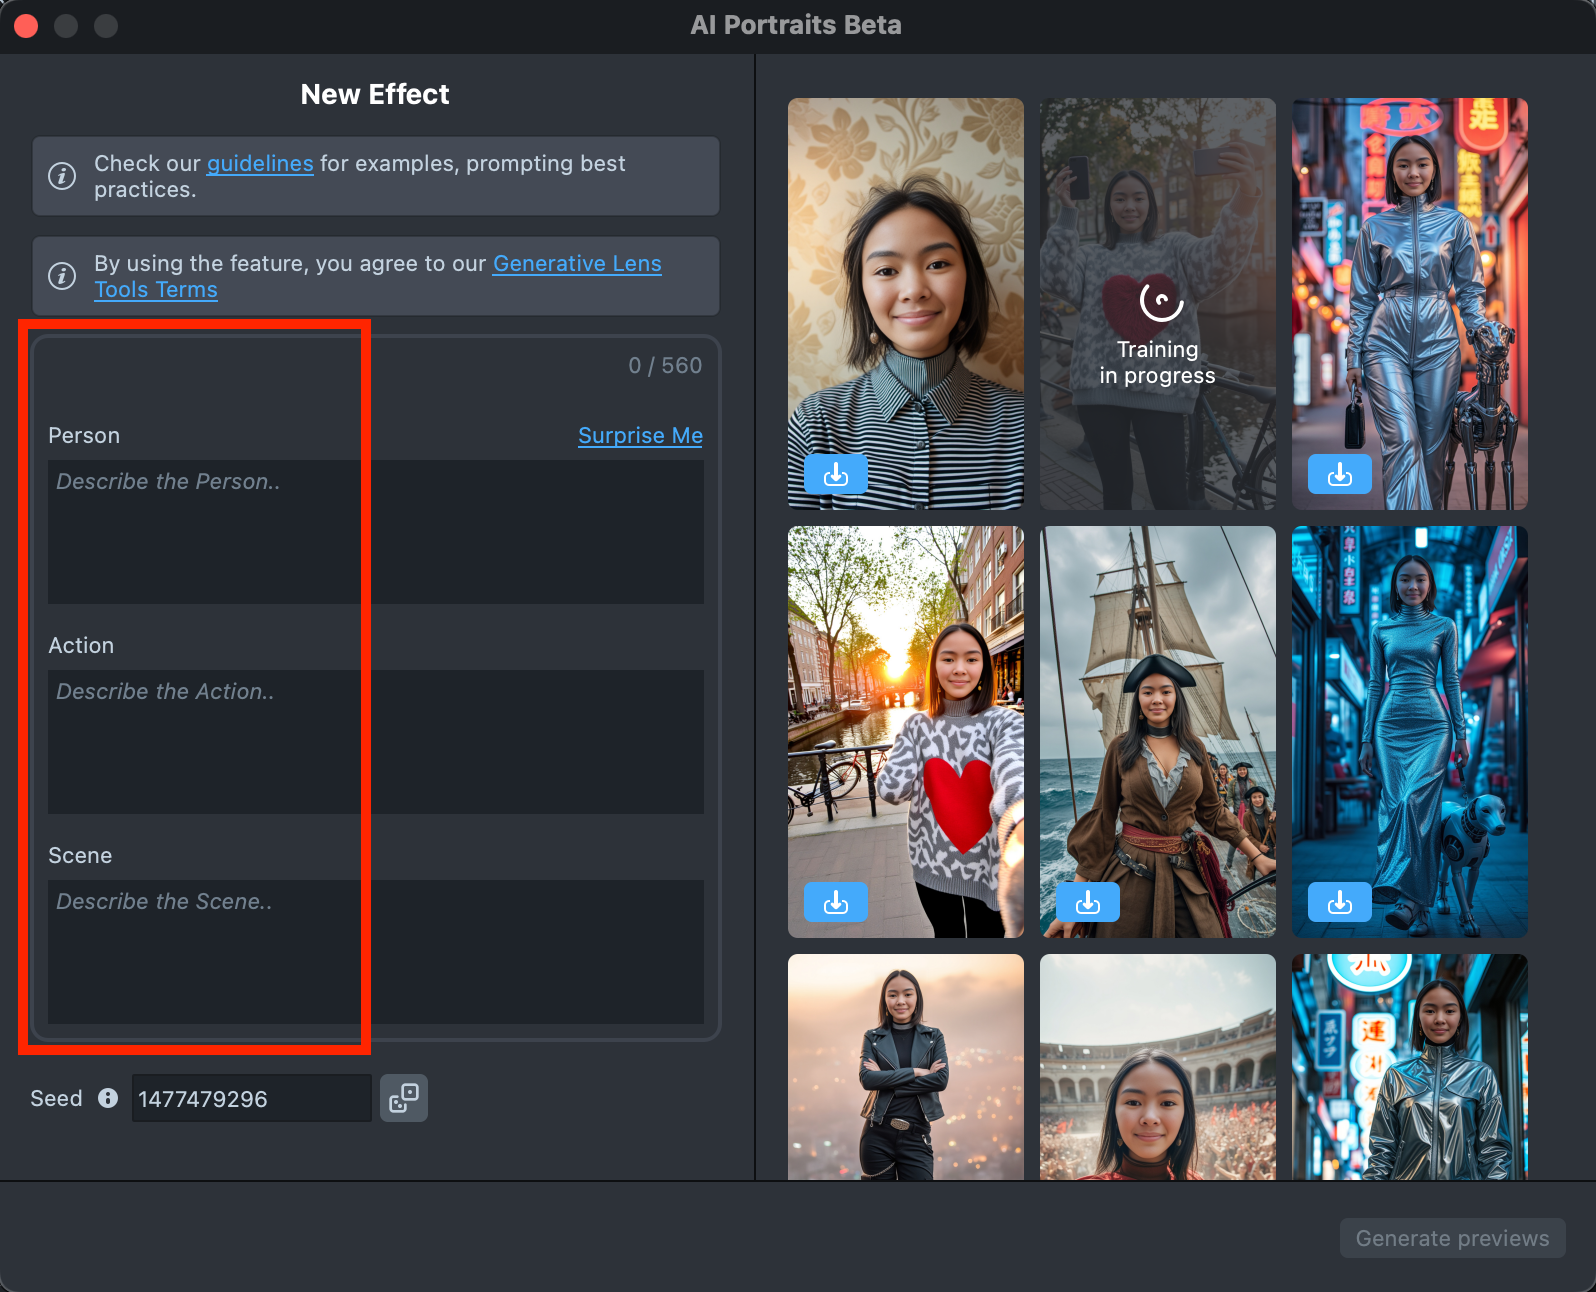
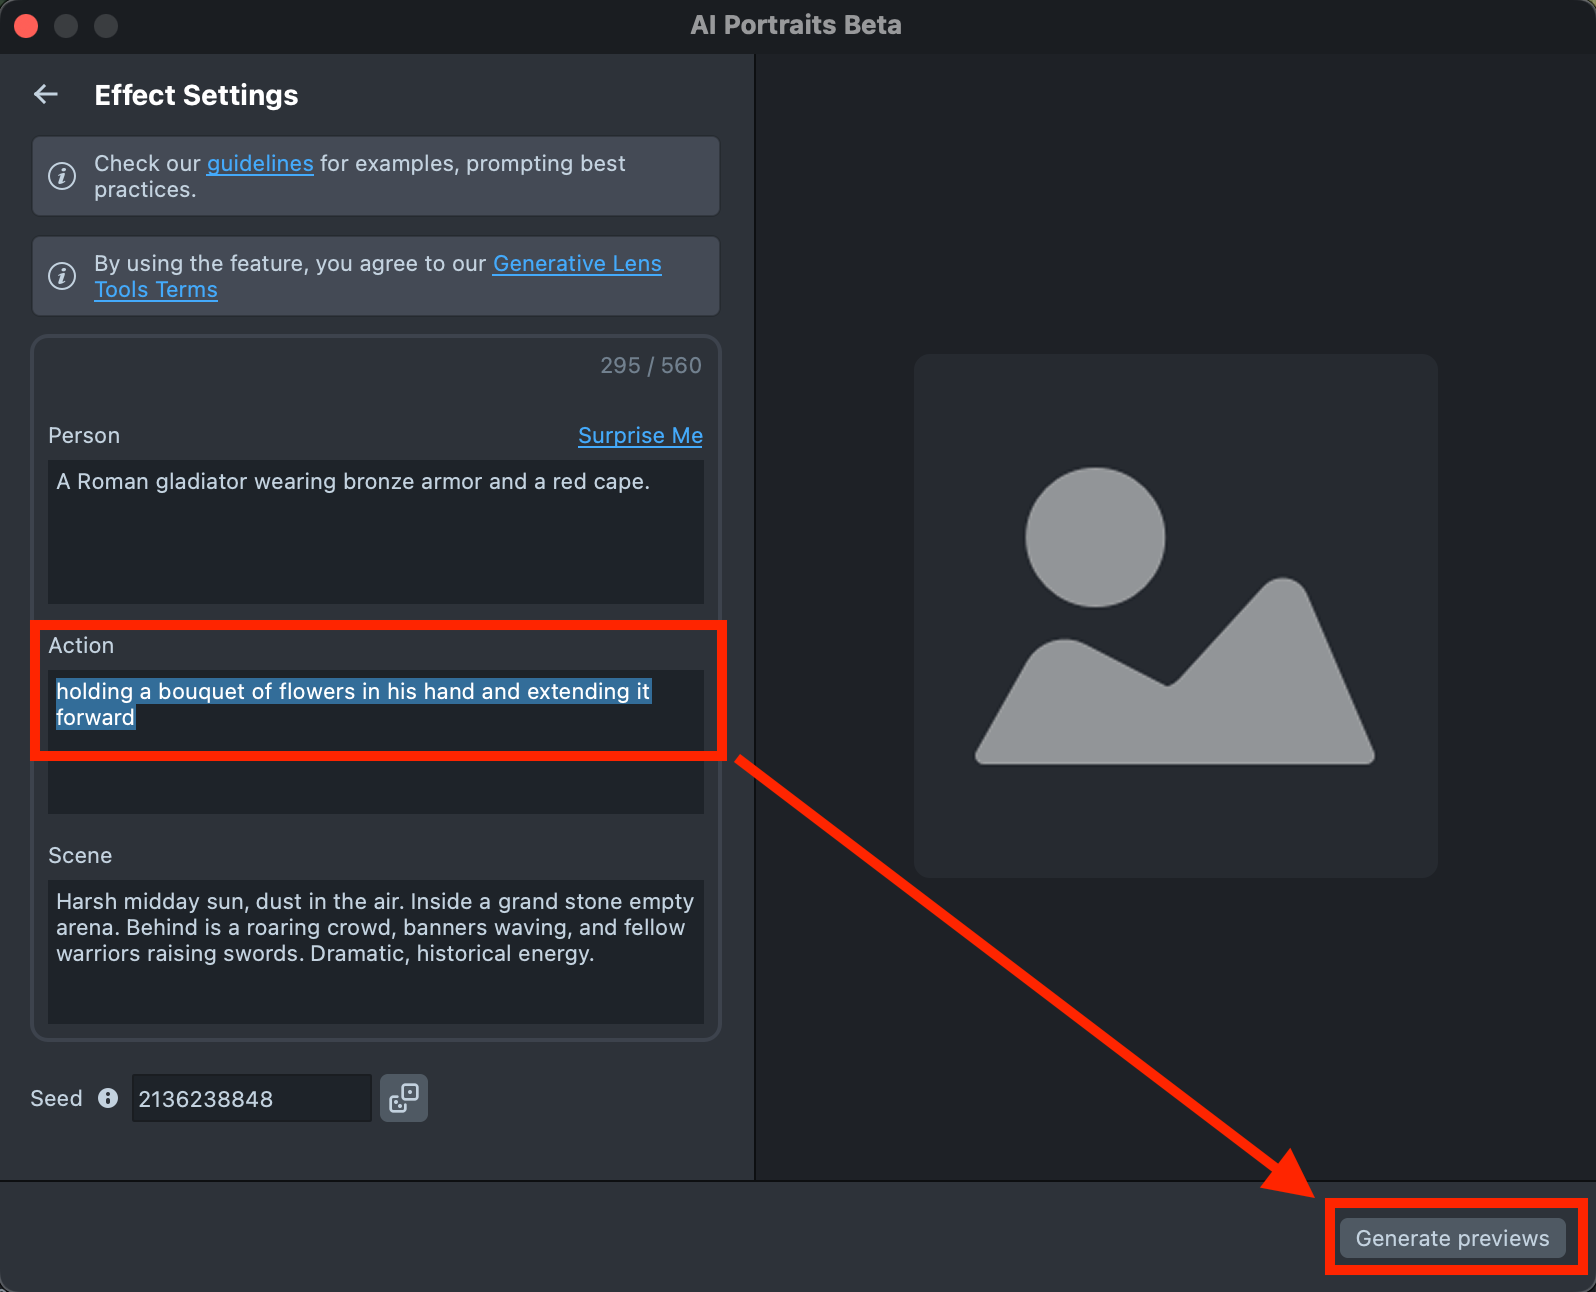
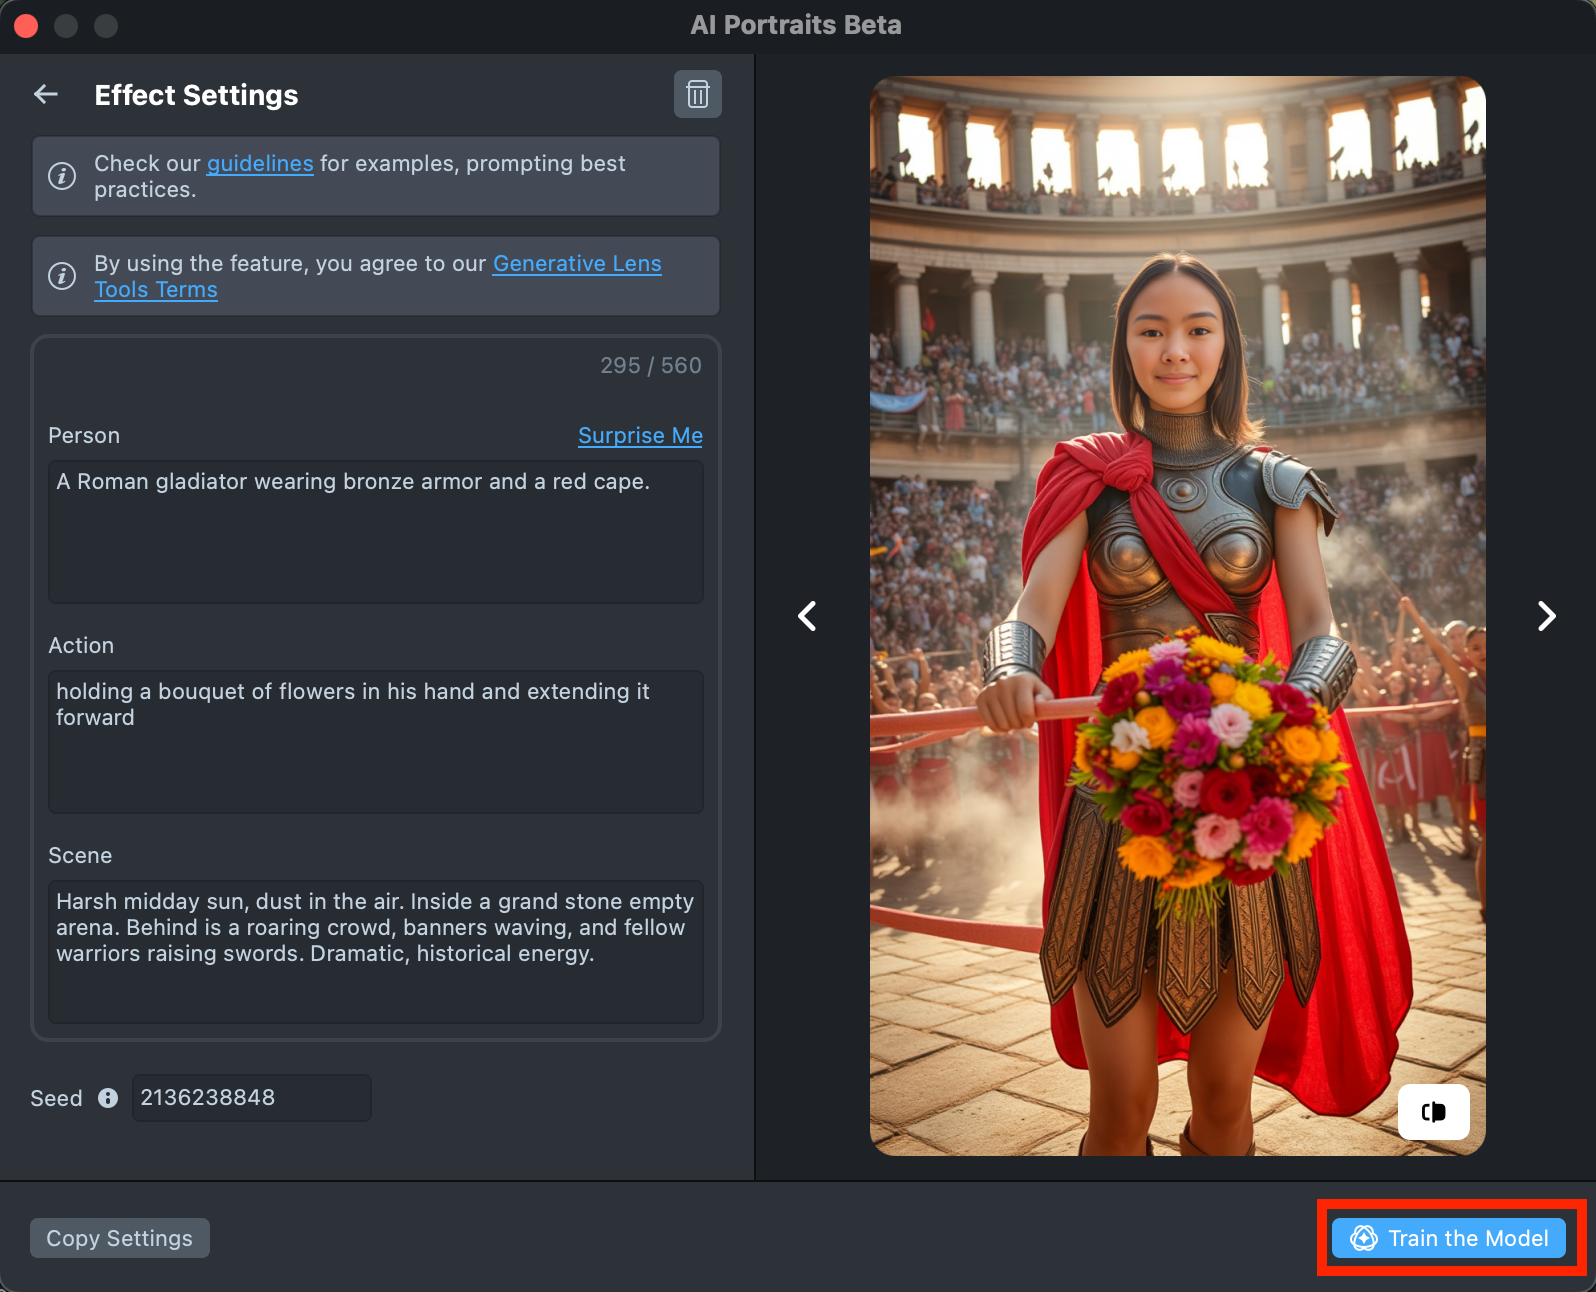
In the creation window, you’ll find three fields for entering text prompts:
- Person: Describe the person - what they look like, what they’re wearing, hairstyle, accessories, hats, etc.
- Action: Describe what the person is doing. It can be anything like standing, sitting, dancing, running, and so on.
- Scene: Describe the environment - the mood, background, and overall aesthetic.
Filling out all three fields helps build an optimal prompt structure, which increases the chances of getting the best possible result.
-
You’ll also find a
Surprise mebuttons next to the prompt field - click it to see example prompts that can help you get started.
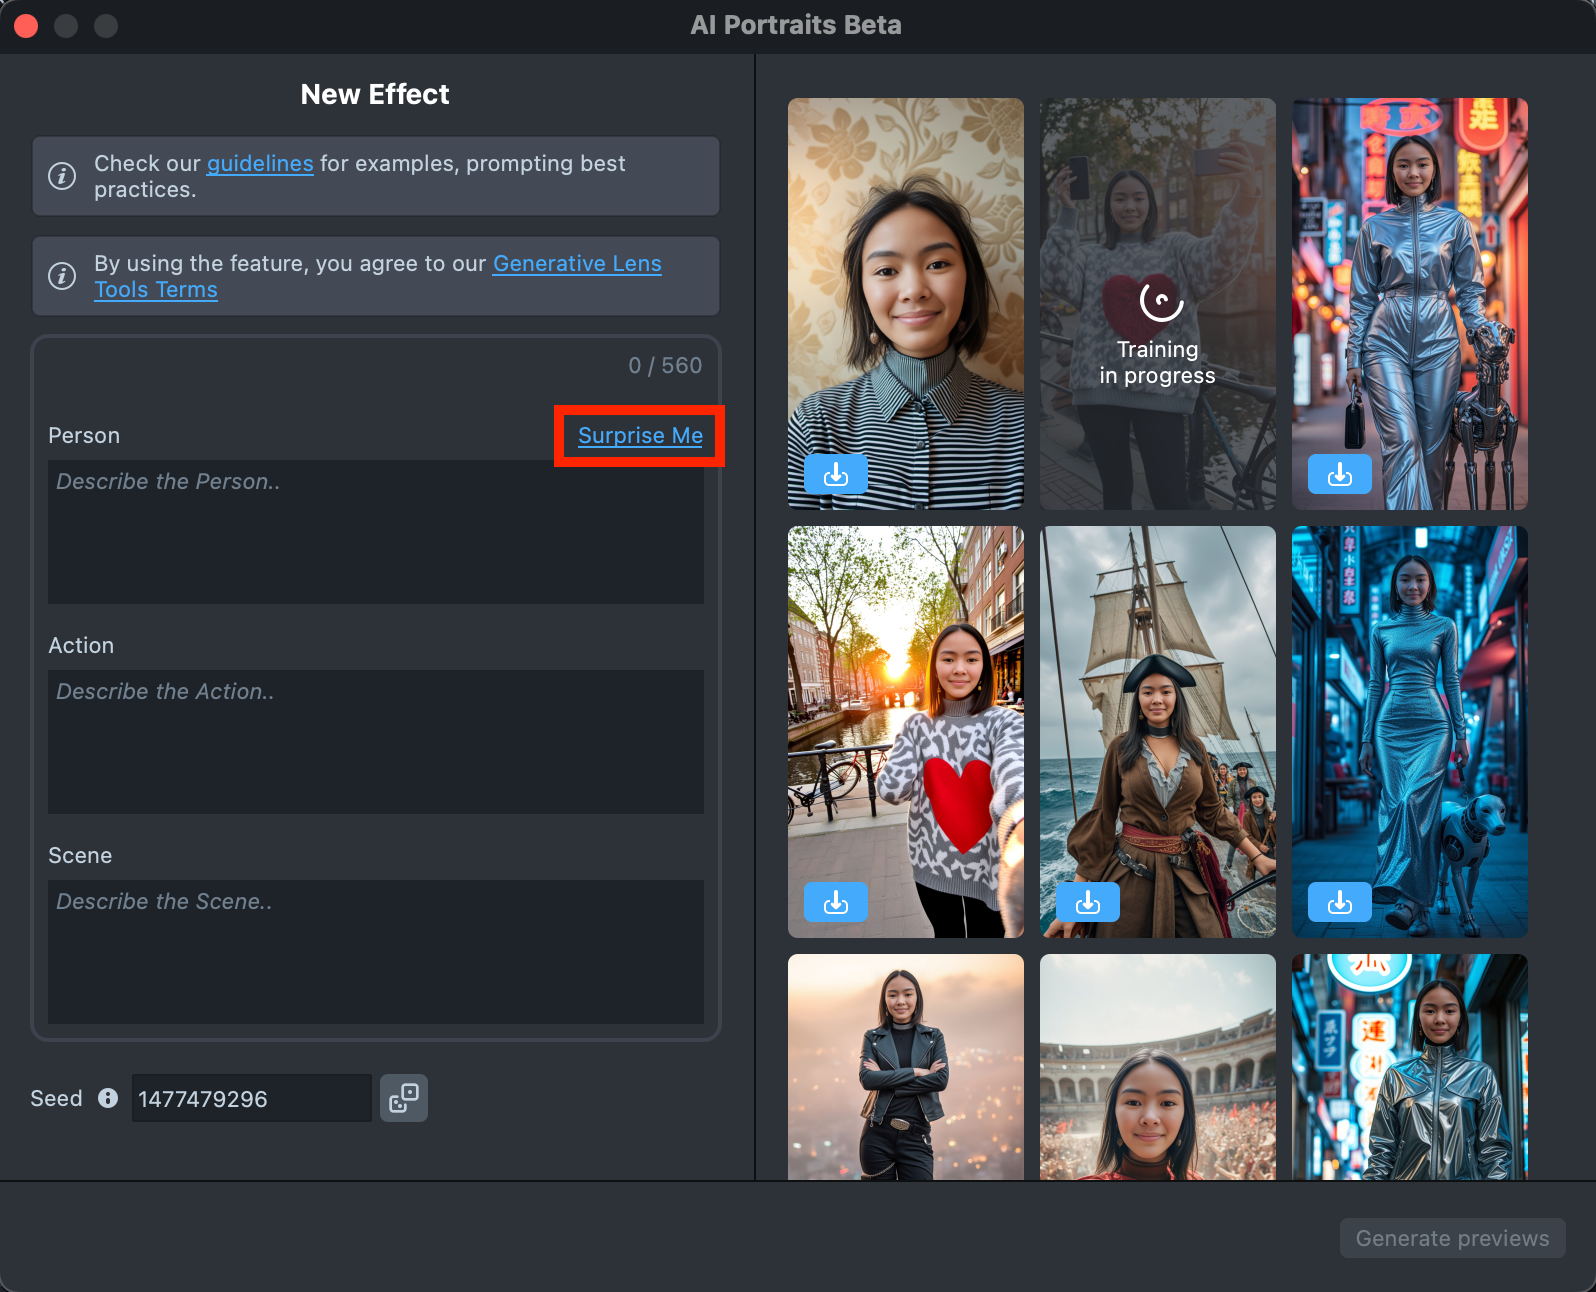
- Use Seed to reproduce experiments and control the randomness of generation.
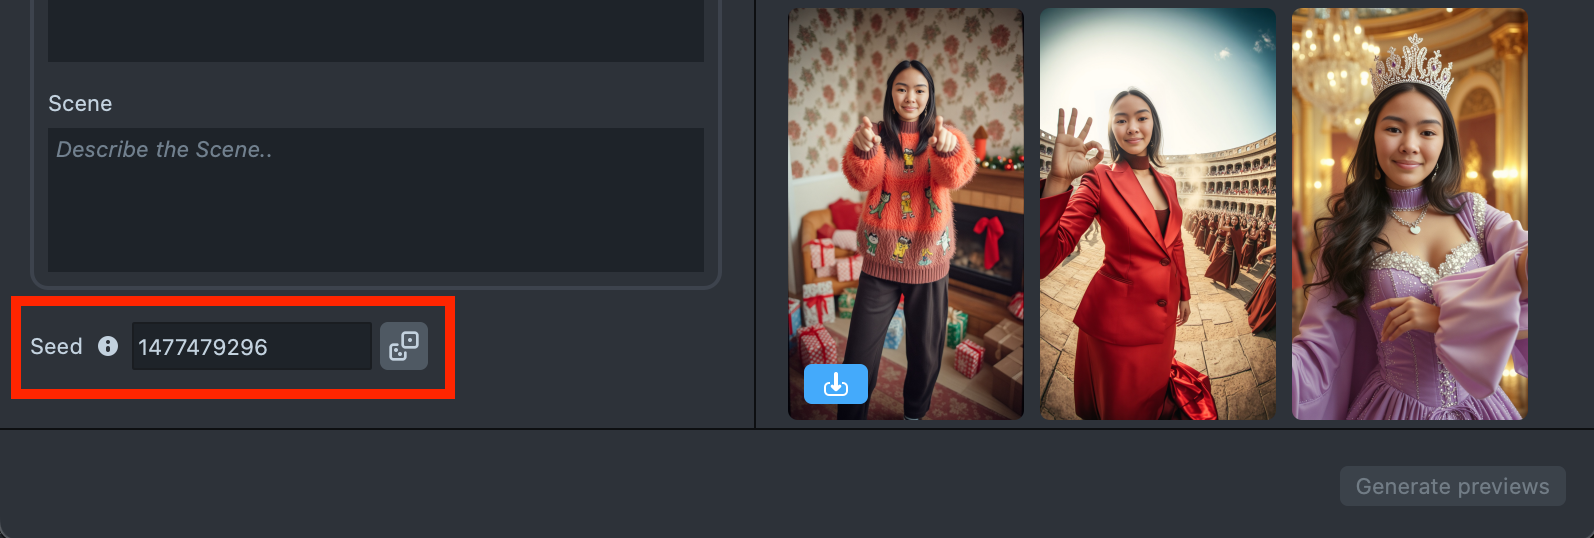
- Once you’ve entered your prompts and selected a Seed, click the
Generate previewsbutton to generate a sample of your effect.
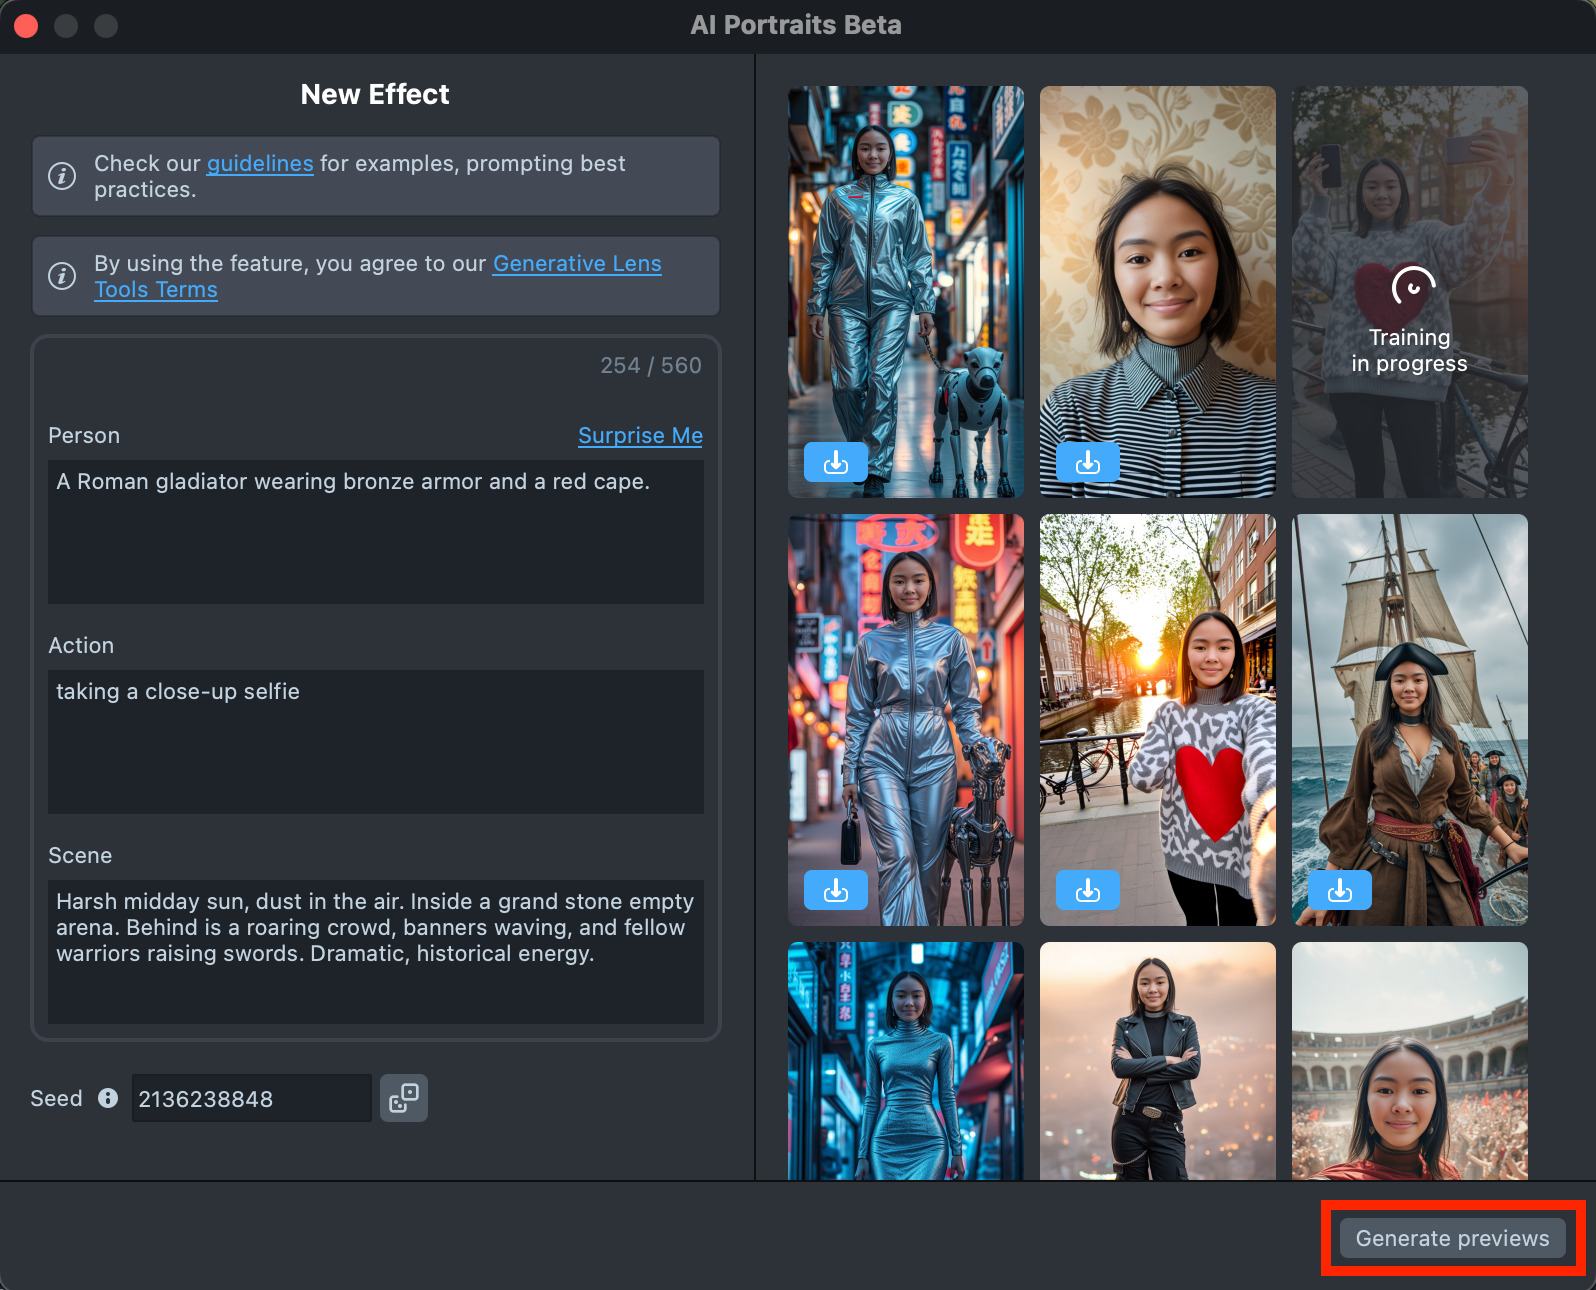
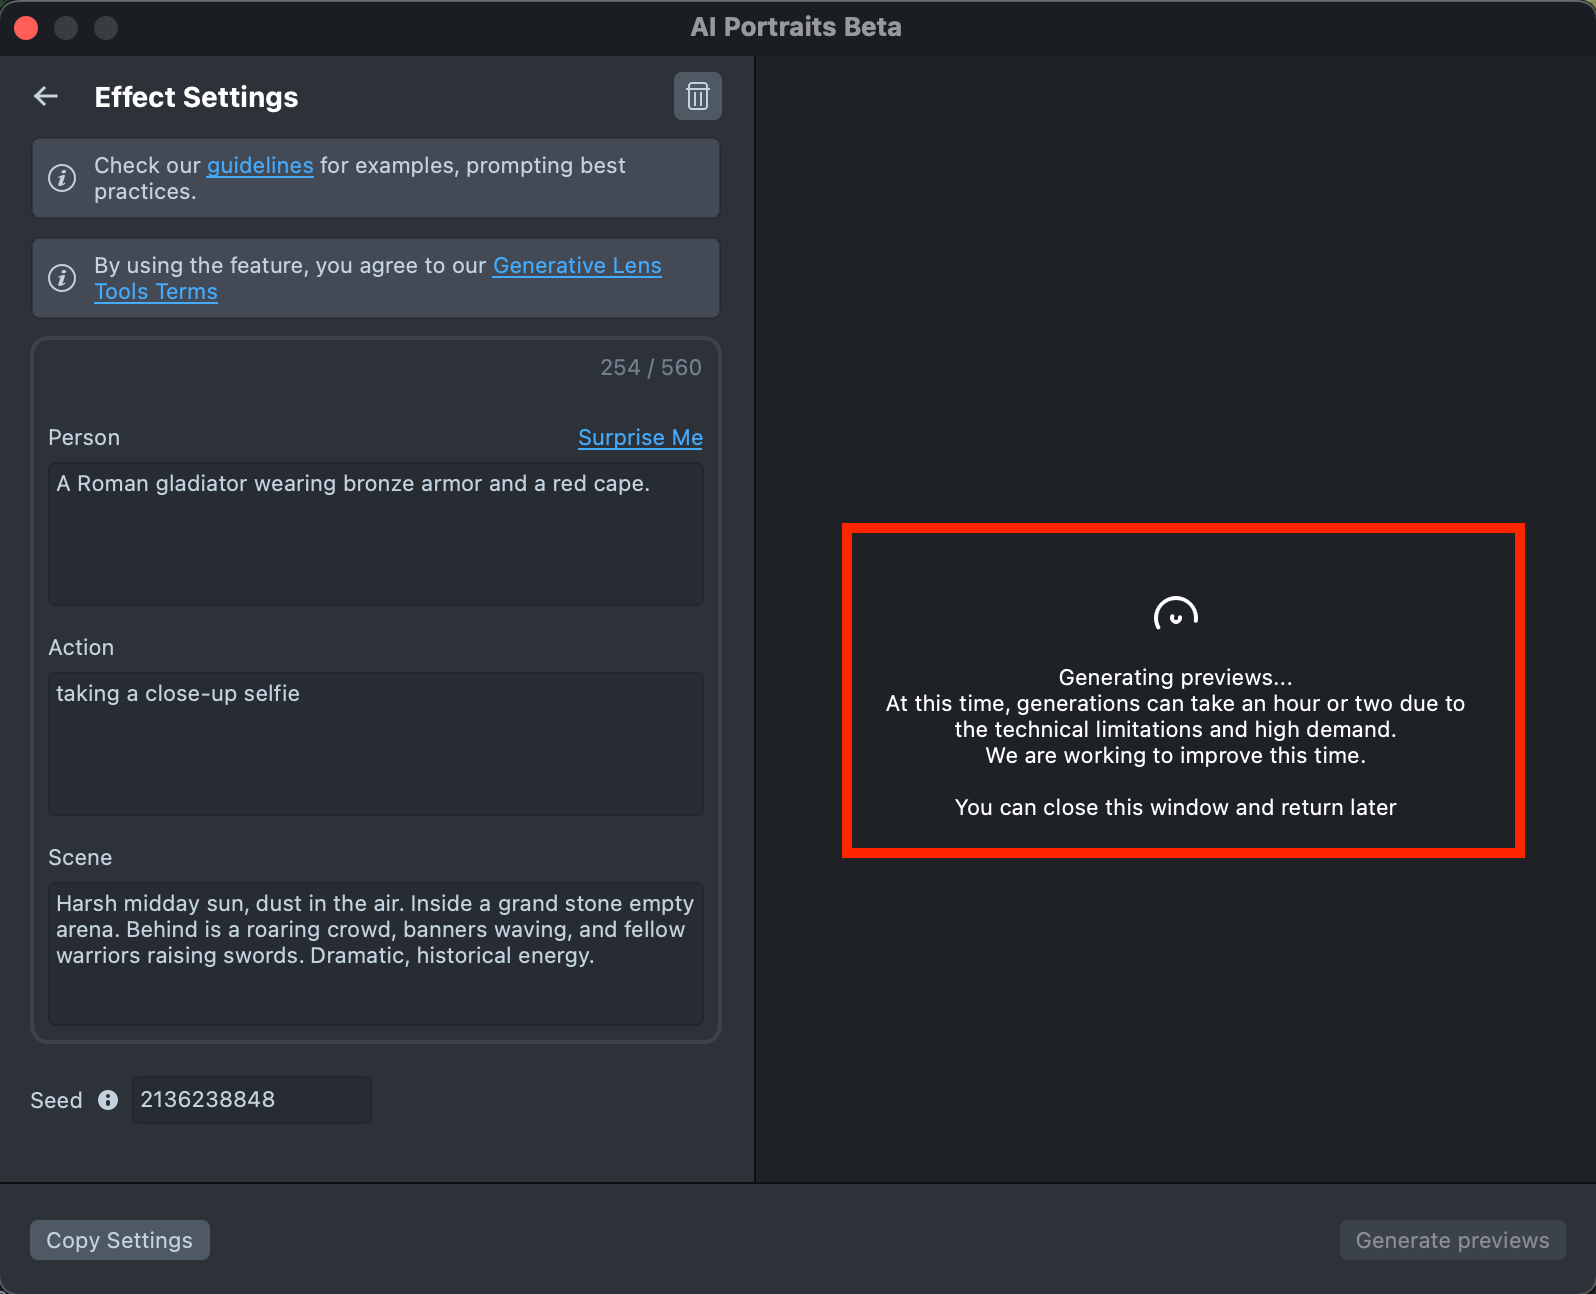
-
You’ll see a message indicating that preview generation has started. Feel free to close the plugin window or switch to another one - your preview will remain in the Gallery, showing its generation progress.
Generating the preview may take up to 1 minute, but you can close the plugin and return later.
-
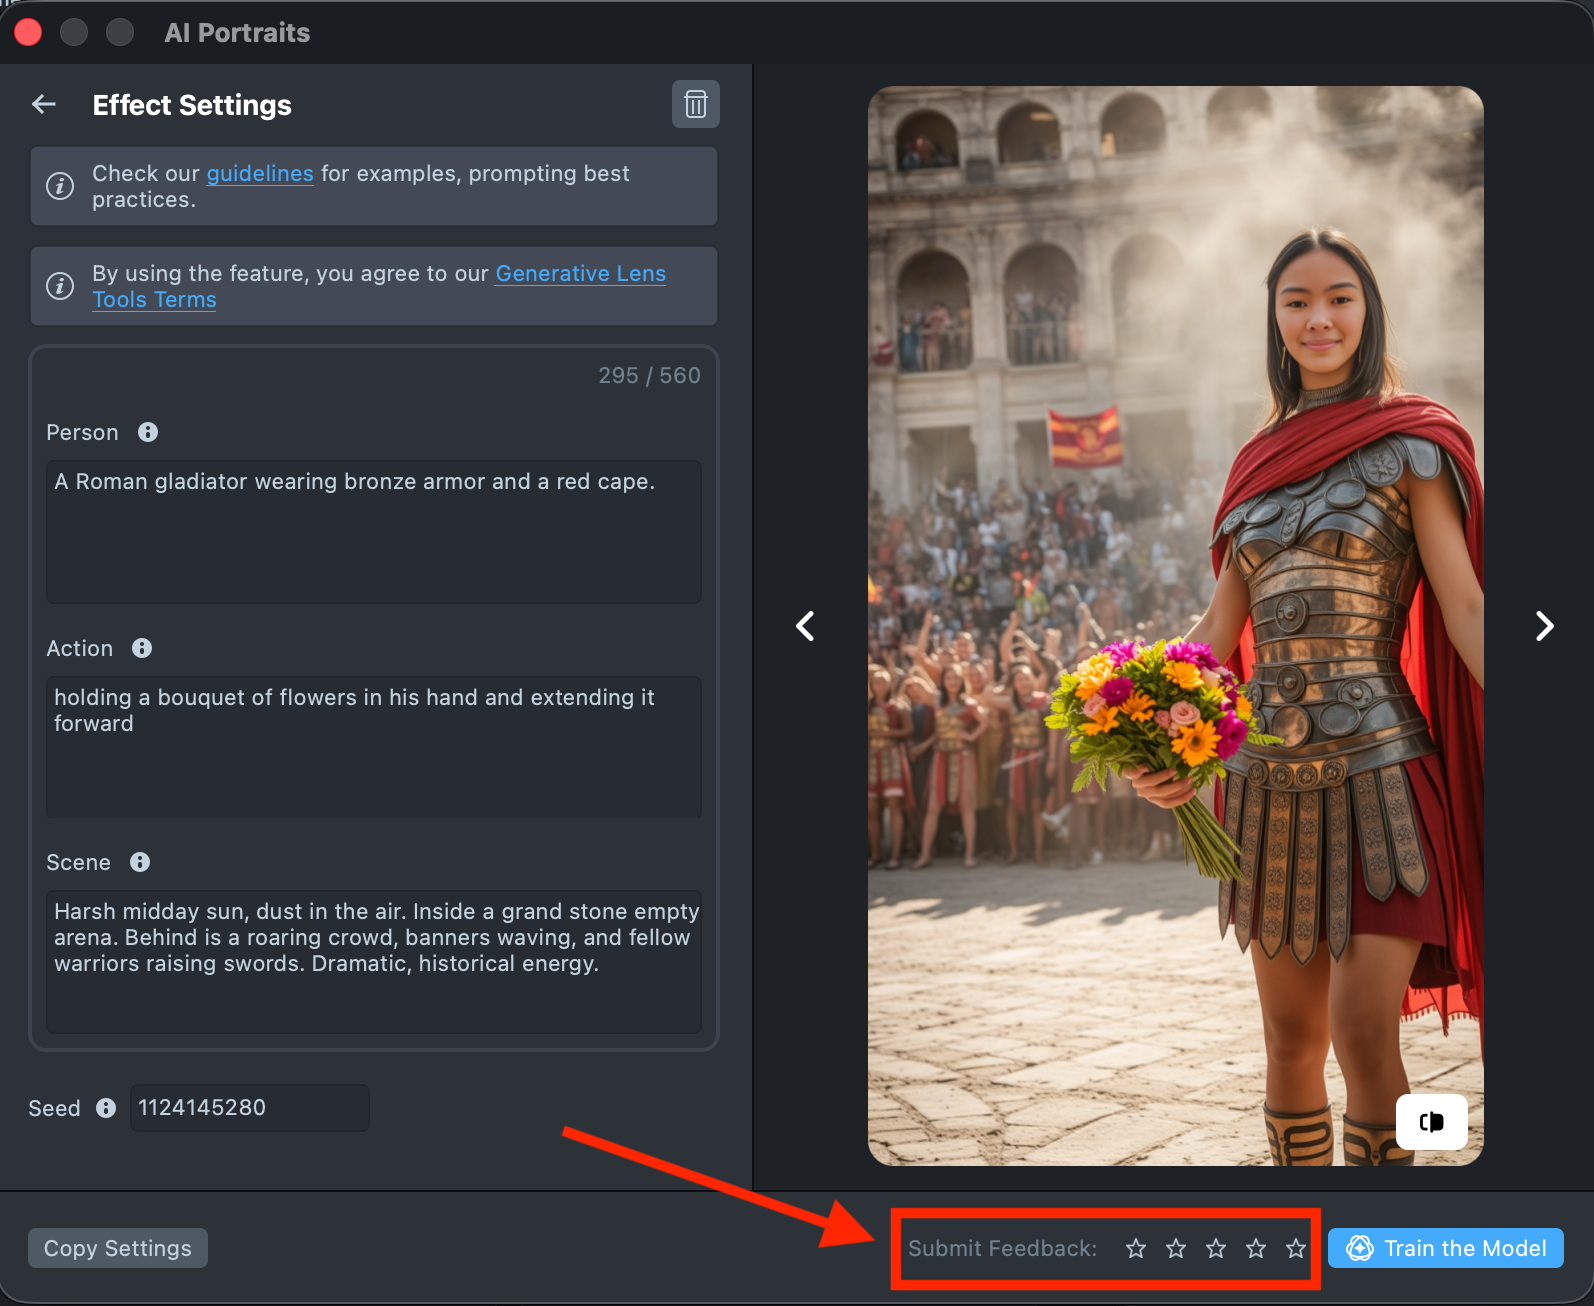
Once the preview has been generated, you can click its tile in the Gallery to open the details page. Here, you can use the arrows on the sides to preview the effect on different models. Additionally, you can click the button in the bottom-right corner to view the original image the effect was applied to.
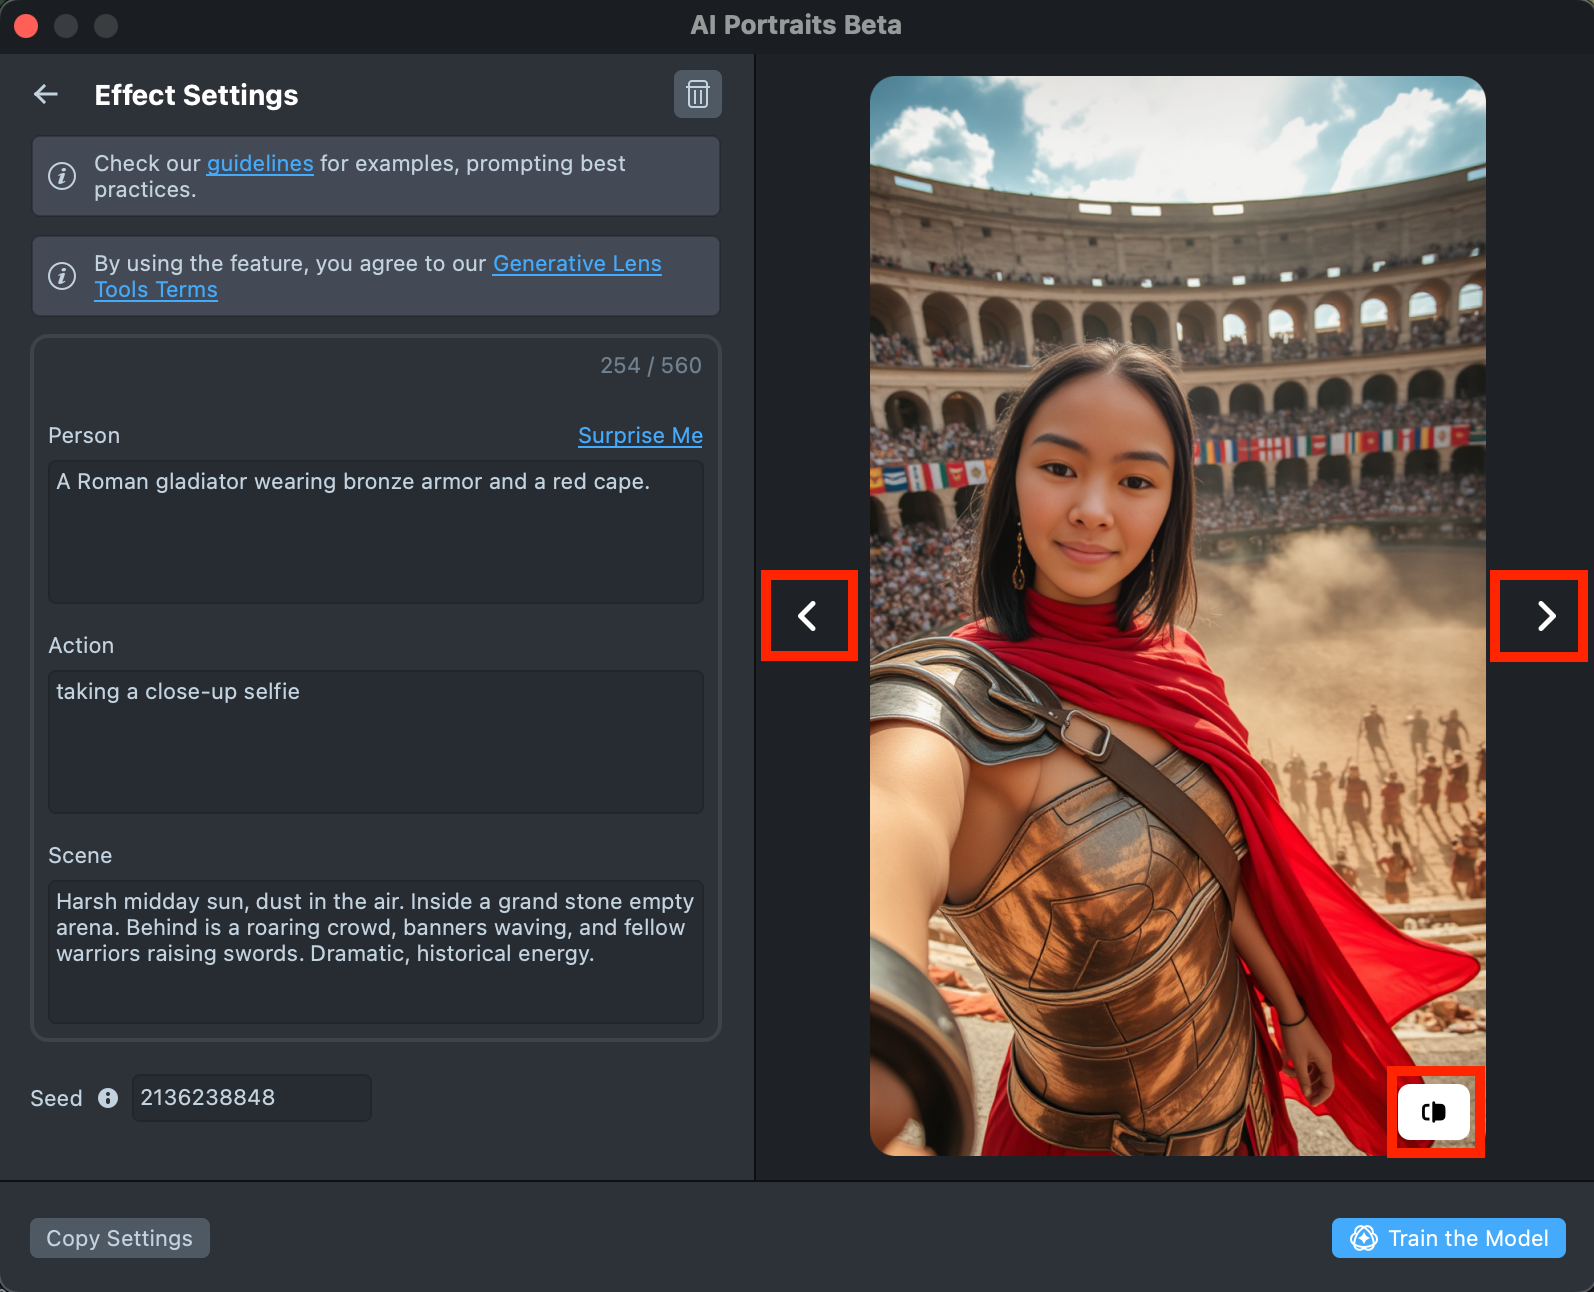
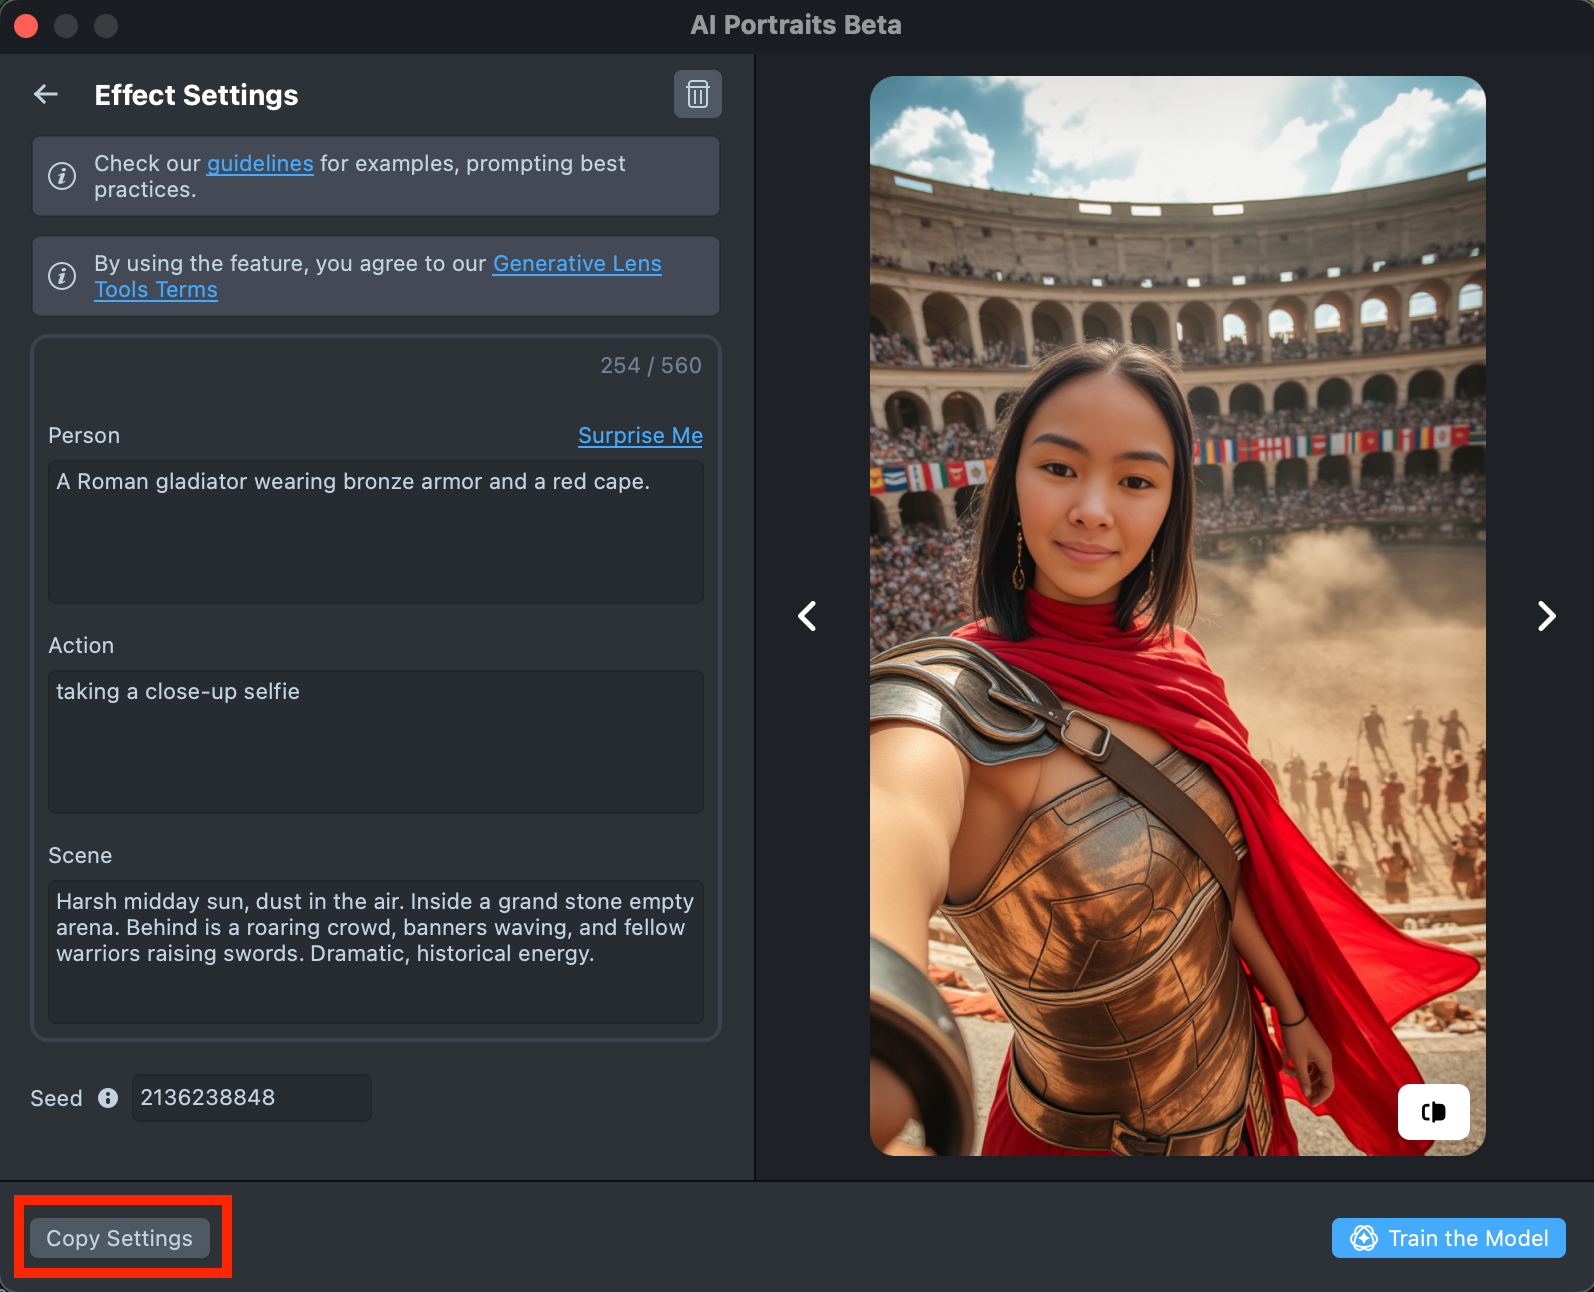
- If the preview doesn’t match your expectations, click
Copy Settingsto adjust your prompts or seed.
- You can make as many tweaks as needed until the result feels right - all changes will appear in the Gallery as a new effect, without altering the current one. This way, you can always go back and compare whether the updated effect looks better than the original.
- Optionally, you can rate the generated preview by clicking the stars. A rating of 1 star means the result didn’t meet your expectations, while 5 stars indicates a strong match. Your feedback helps improve future results.
-
Happy with the preview? Click
Train the Modelto start training your model. You’ll be able to track the training status directly in the Effects Gallery.Training the model may take up to 3 hours, but you can close the plugin and return later.
A maximum of 1 model can be trained per 4 hours.
-
Once training is complete, you can import the effect directly from the Gallery by clicking the
Importbutton, or clickImport to projecton the details page to add it to your project.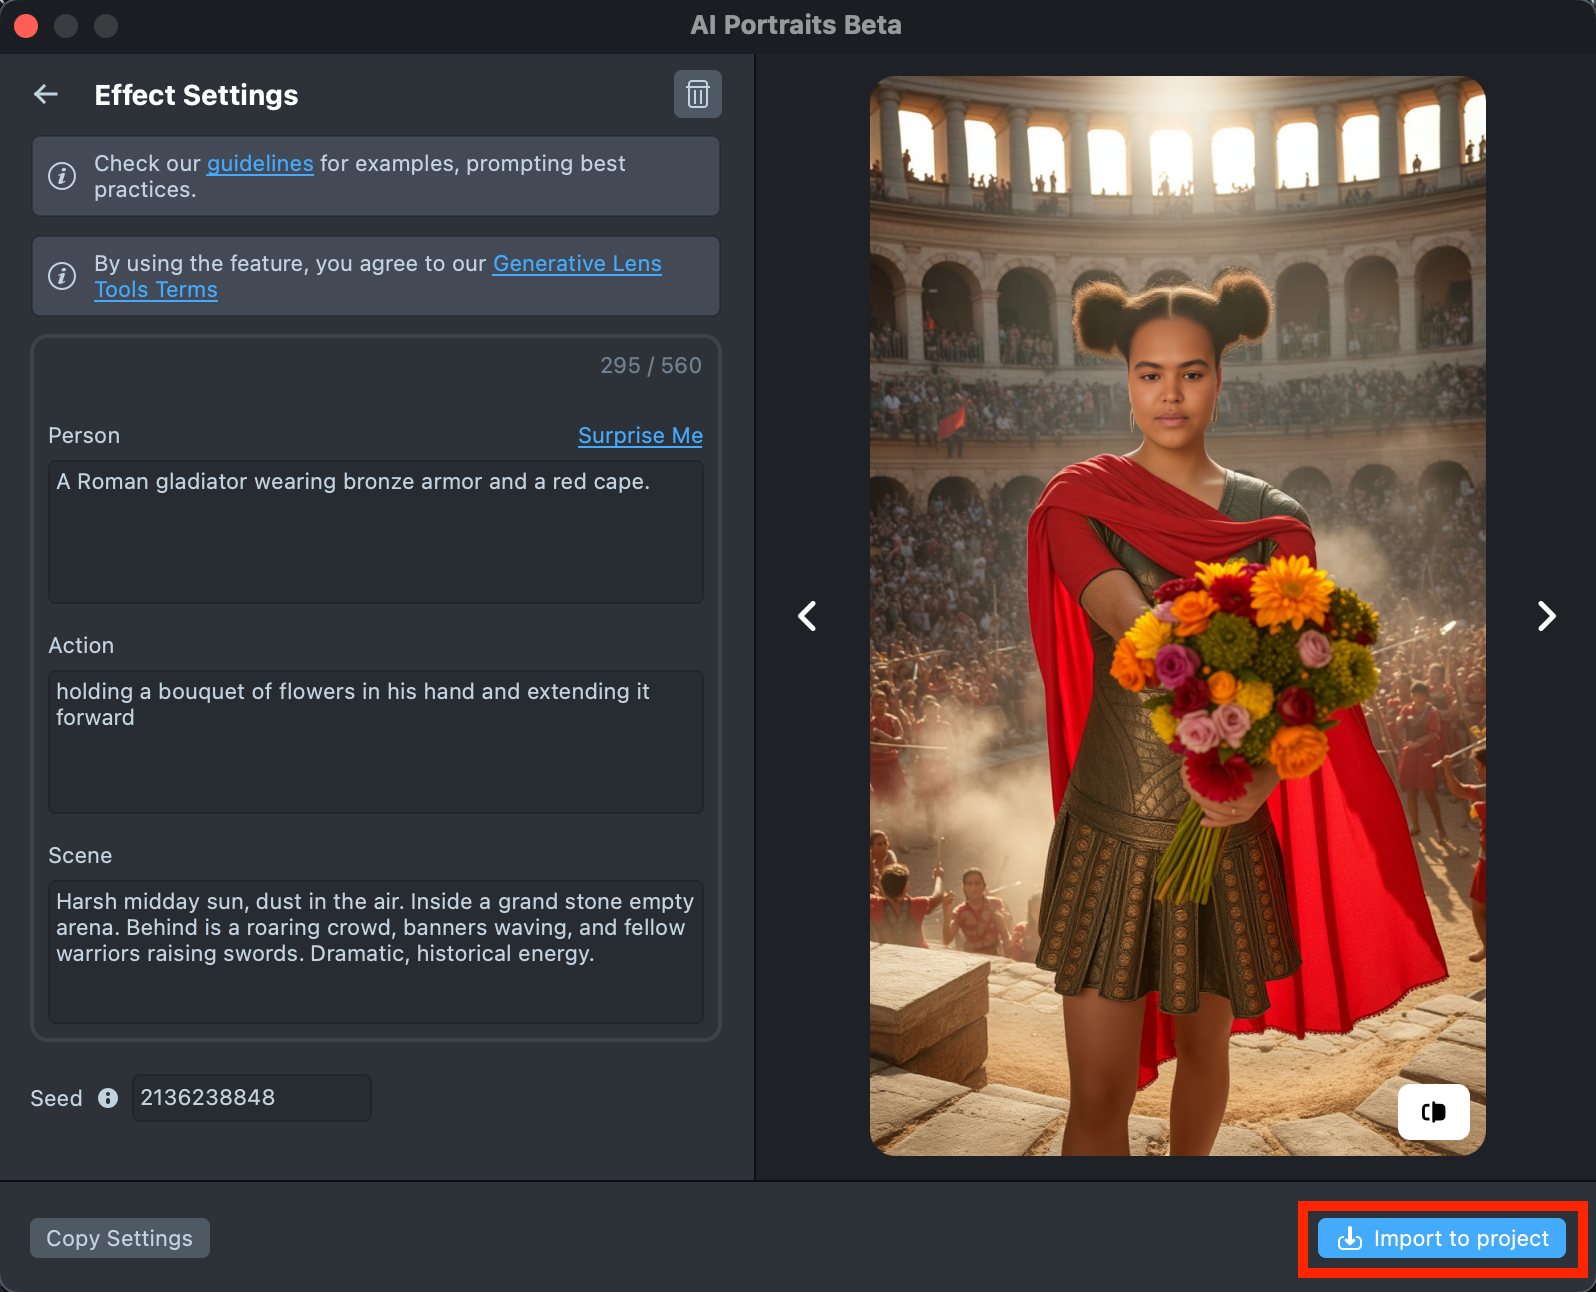
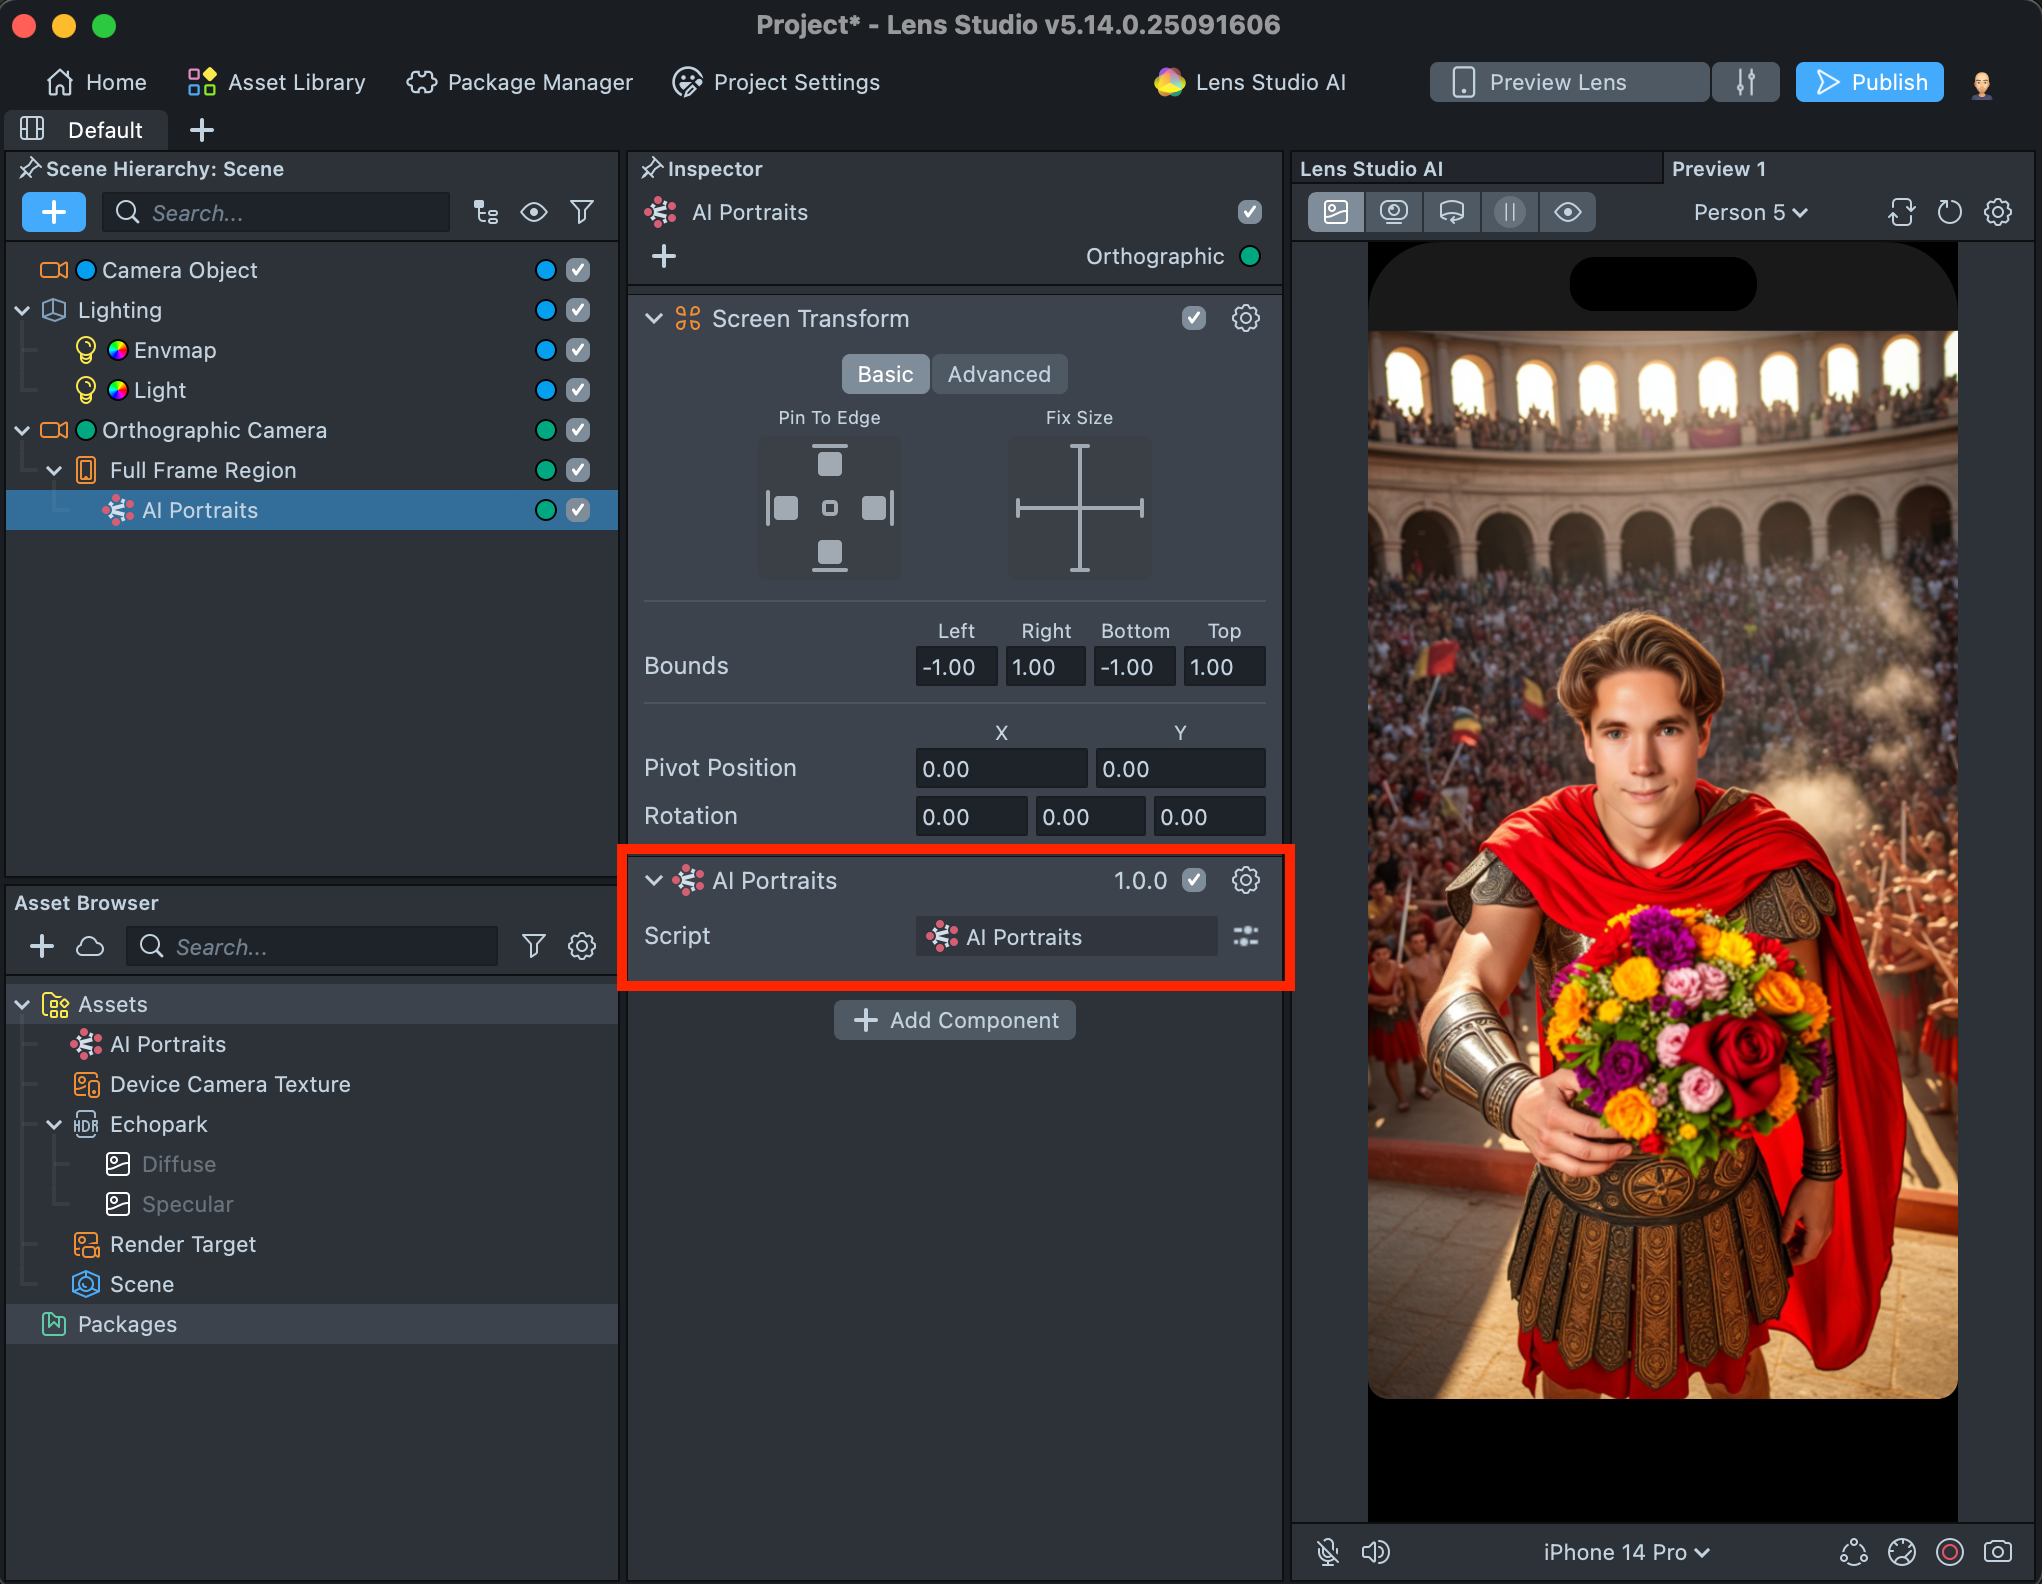
-
The imported component already includes all the necessary logic, a hint, and a default transition - essentially giving you a ready-to-use Lens. You can tap on the Preview screen or push the project to a device to see the Lens in action.
At the same time, the component offers extensive customization options. Follow this guide to learn how to replace the transition using any option from the Transitions Library, add Color Correction, Face Generator effect, or enhance the result with a Body Parallax component.
Best Practices for writing your prompt
-
Writing Style
-
Adopt a literary style: Write prompts as full sentences rather than short phrases separated by commas. This approach helps produce more refined outputs.
- Example: Motion blur selfie shot on an action camera of a person surfing big waves. They are wearing a full-body surfing suit.
-
Separate phrases correctly: Use punctuation such as periods (.) or semicolons (;) to separate ideas.
-
-
Word Order and Emphasis
- No weight support: doesn't currently support word weights.
- Importance of word order: The first phrase and the sequence of words in your prompt carry significant weight in determining emphasis.
- Example 1: Shot of a person in a forest made in art style.
- Example 2: Art style composition of a big forest where the person walks.
-
Gender-Specific Prompts
- Avoid using gender-specific terms and pronouns such as "man," "woman," "boy," "girl," "his," "her," "king," "queen," and similar. Instead, use gender-neutral terms like "person" or "they" to ensure the Lens works for everyone. This inclusive approach helps broaden the Lens appeal and increases its chances of success.
-
Prompt Length
- The optimal prompt length is around 110–120 words.
- Prompts between 120 and 200 words may still work, but they can negatively affect the visual result, making it harder to achieve the desired outcome.
-
Including Text in Prompts
- If you want to add text within the prompt, enclose it in quotation marks ("----"). Both uppercase and lowercase letters are supported.
- Example: Graffiti text "Hello" on the wall.
- If you want to add text within the prompt, enclose it in quotation marks ("----"). Both uppercase and lowercase letters are supported.
Current Limitations
- Visual realism is limited, as the system currently lacks occlusion handling for elements like hands, hair, or objects.
- It doesn't support cartoon styles.
- Face tracking may not perform reliably in scenes with animal concepts, frequently detecting the animal instead of the user.