Get Started with Commerce Kit
Overview
Commerce Kit enables in-Lens purchases directly within your Spectacles experience. Build monetized AR applications where users can buy digital products or premium features through secure payment processing via the Spectacles device. This guide shows you how to set up Commerce Kit, configure products, and implement purchase flows in your Lens.
Closed Beta
Commerce Kit is currently in Closed Beta and only available to US developers at this time. You can test and develop with Commerce Kit in your development environment, but publishing Lenses with commerce features requires approval.
Apply for the closed beta program to become an approved developer and publish commerce-enabled Lenses.
Prerequisites
Before you begin, ensure you have:
- Lens Studio v5.15 or later
- Spectacles SnapOS v5.64 or later
- Mobile Spectacles App v0.64.0 or later
Quick Start
Step 1: Configure Your Project for Spectacles
Your project must be configured to build for Spectacles. Follow the Spectacles Lens Setup guide if you haven't already.
Step 2: Install Commerce Kit
-
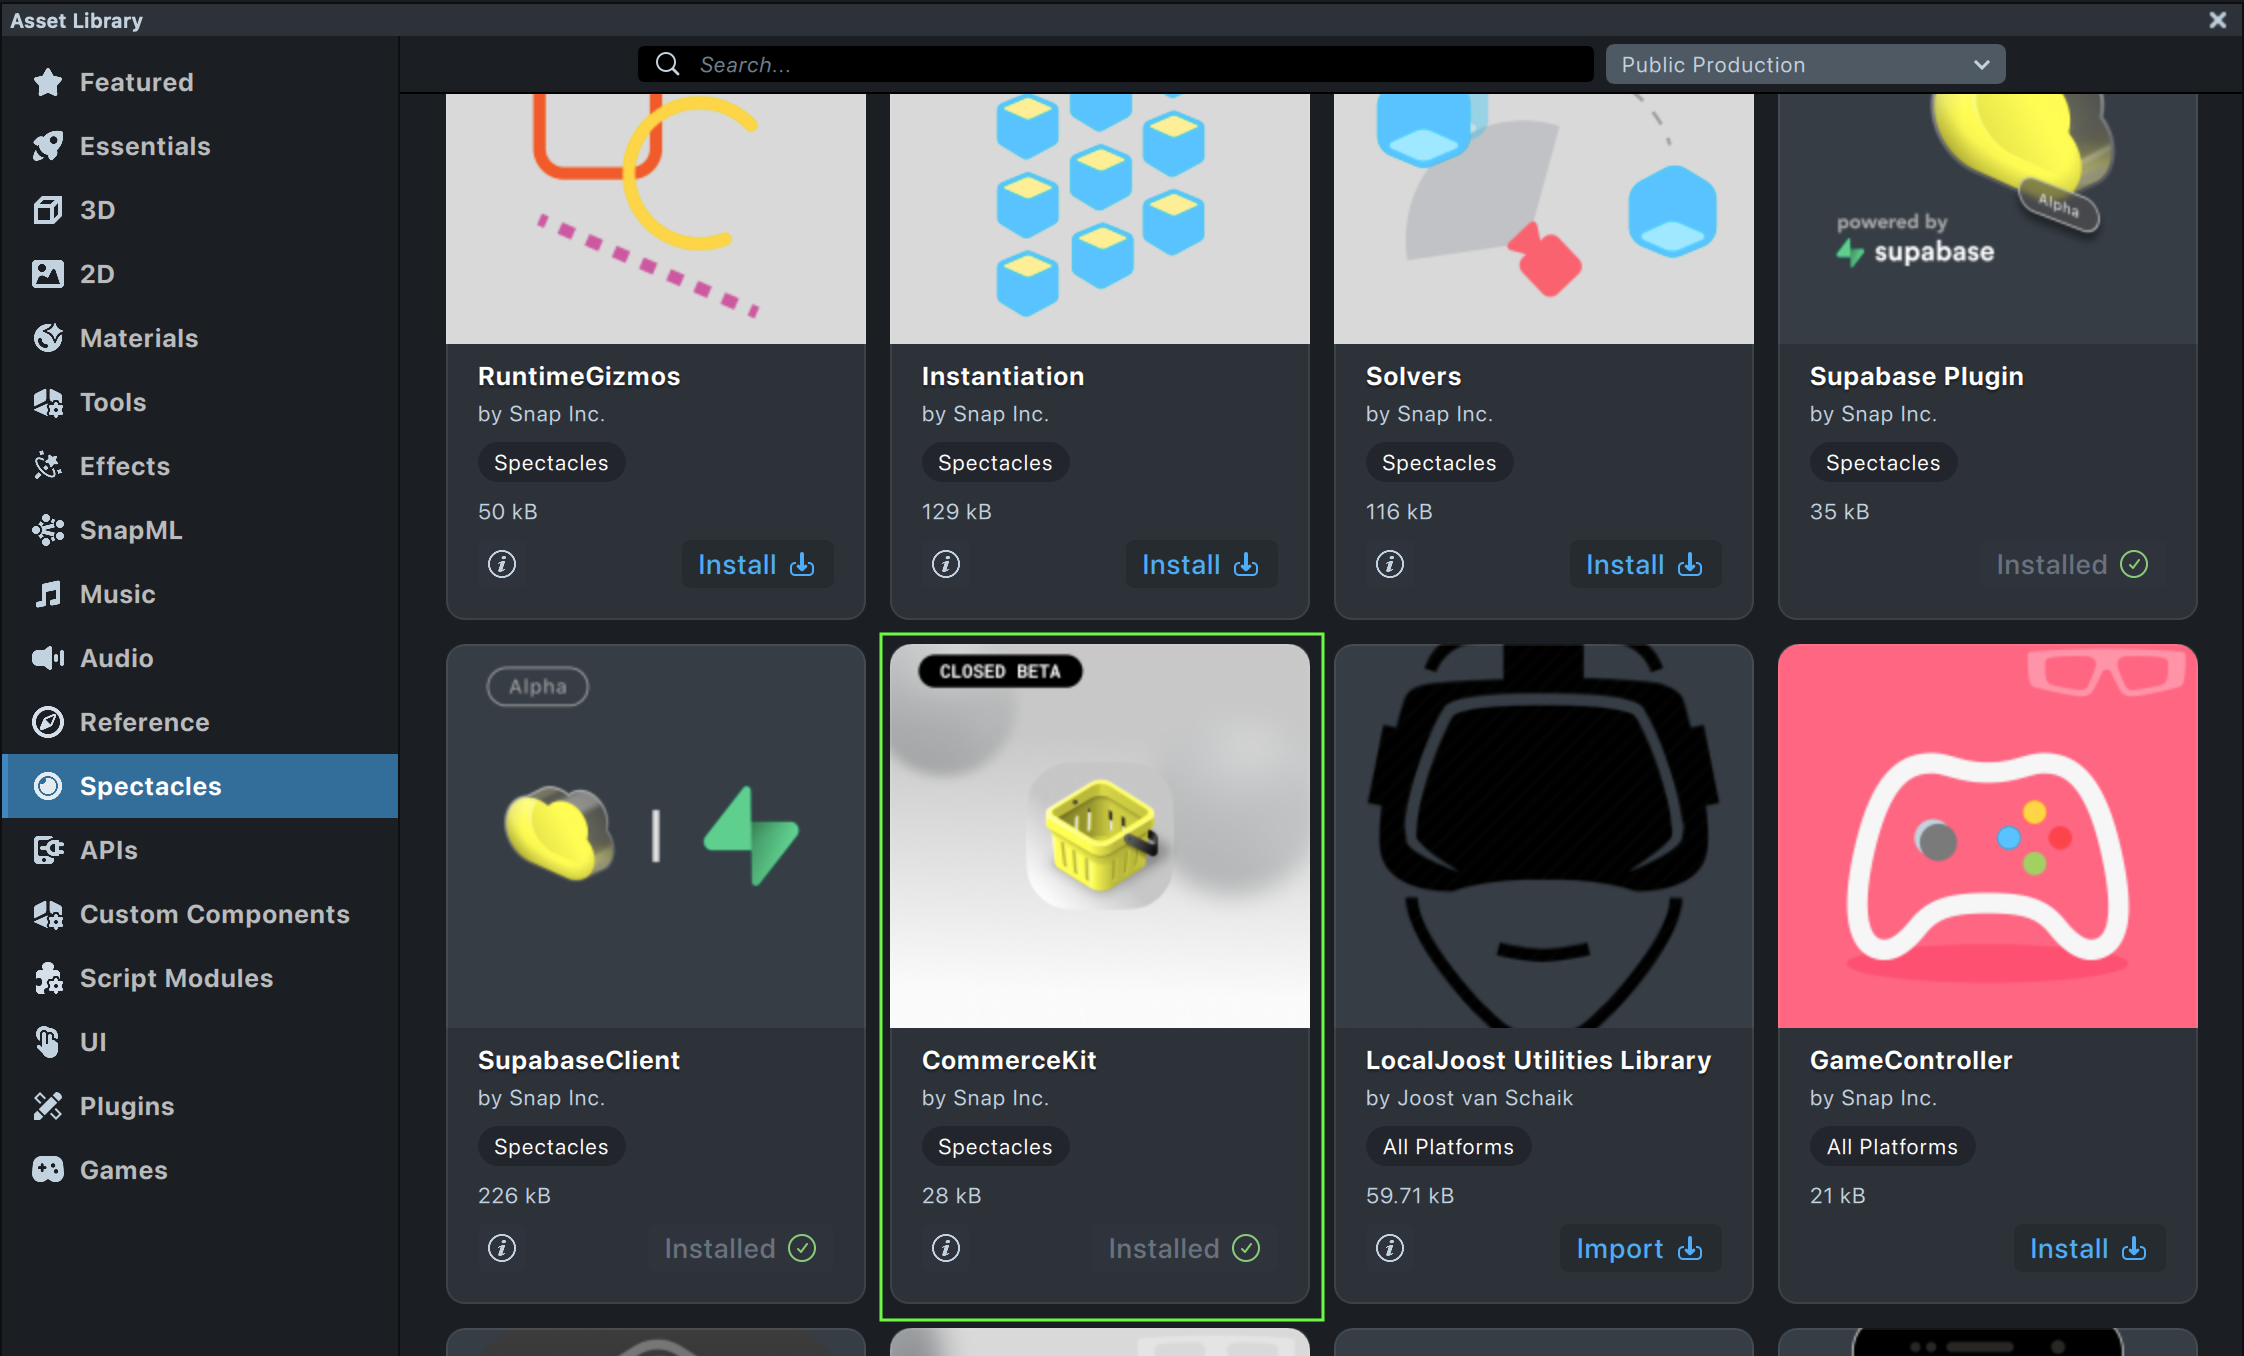
Open the Asset Library in Lens Studio
-
Search for Commerce Kit
-
Click Install to add it to your project
-
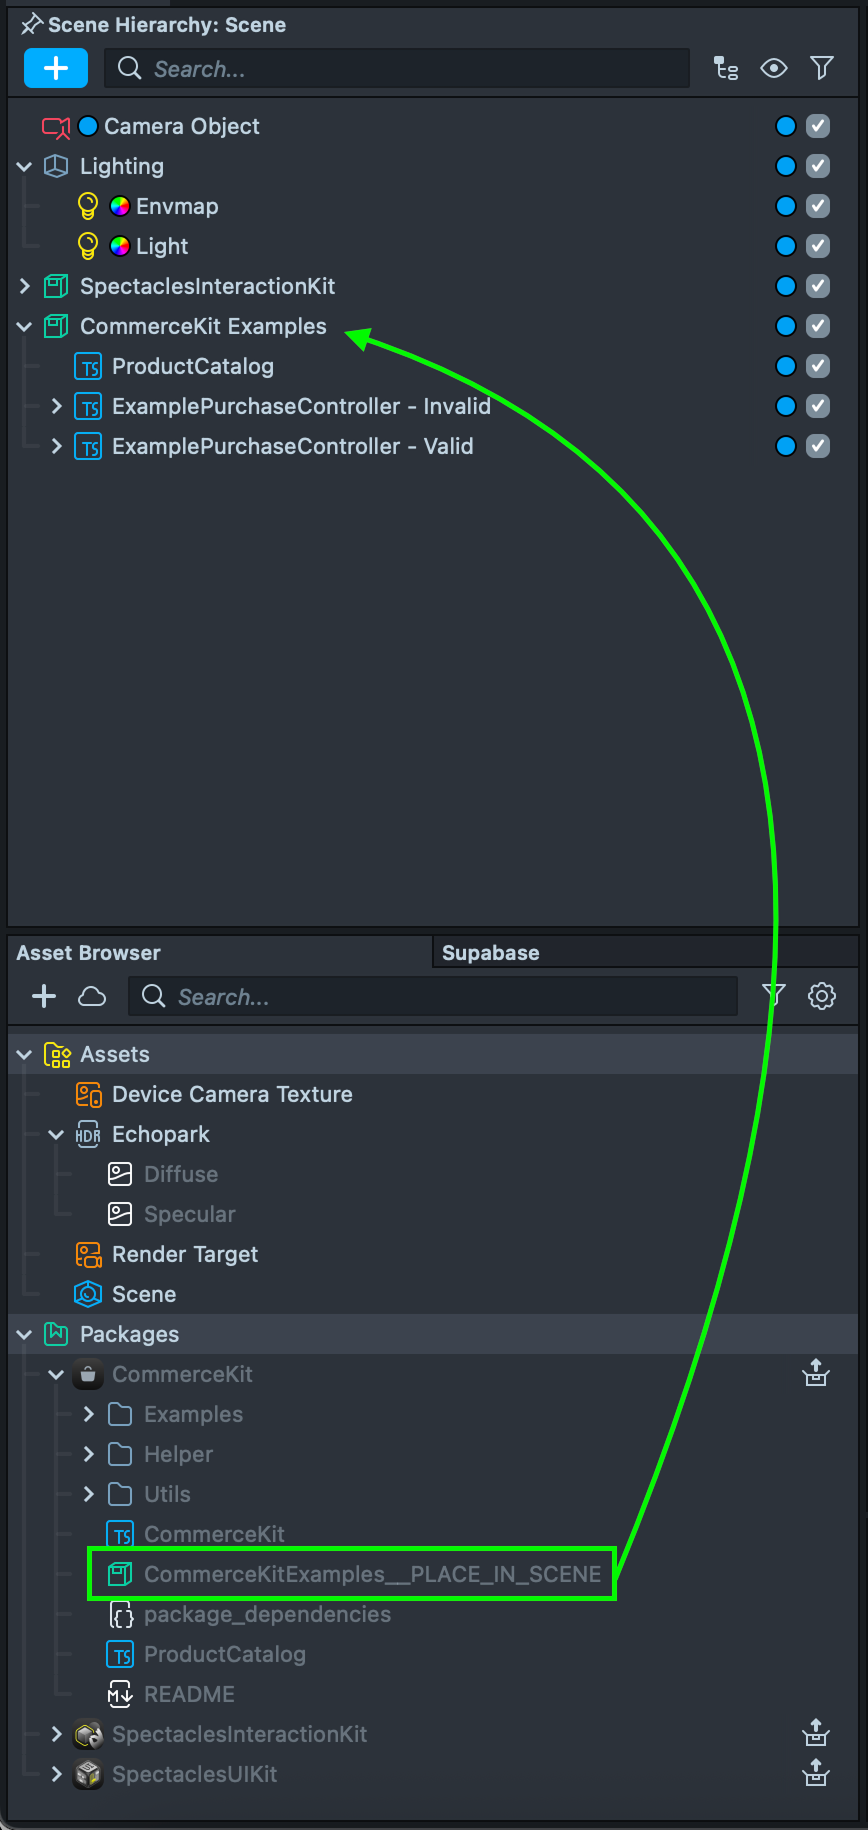
Once installed, CommerceKit Examples will automatically appear in your Scene Hierarchy. If you don't see it:
-
Navigate to Packages → CommerceKitExamples__PLACE_IN_SCENE.prefab
-
Drag the prefab into your Scene Hierarchy
-
Dependencies Required
If you see module errors, ensure these packages are installed:
- Spectacles Interaction Kit (must be in Scene Hierarchy)
- UI Kit
Make sure your project is properly configured for Spectacles.
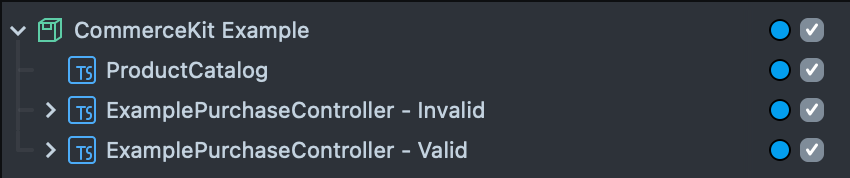
Step 3: Explore the Examples
The example prefab includes two demonstration scripts:
-
Valid Product Example: Shows proper Commerce Kit implementation
-
Invalid Product Example: Demonstrates error handling
Configure Your Product Catalog
Understanding Product Catalog
The ProductCatalog SceneObject in the example prefab is where you define what users can purchase. Each product you create will appear in your Lens's shopping interface.
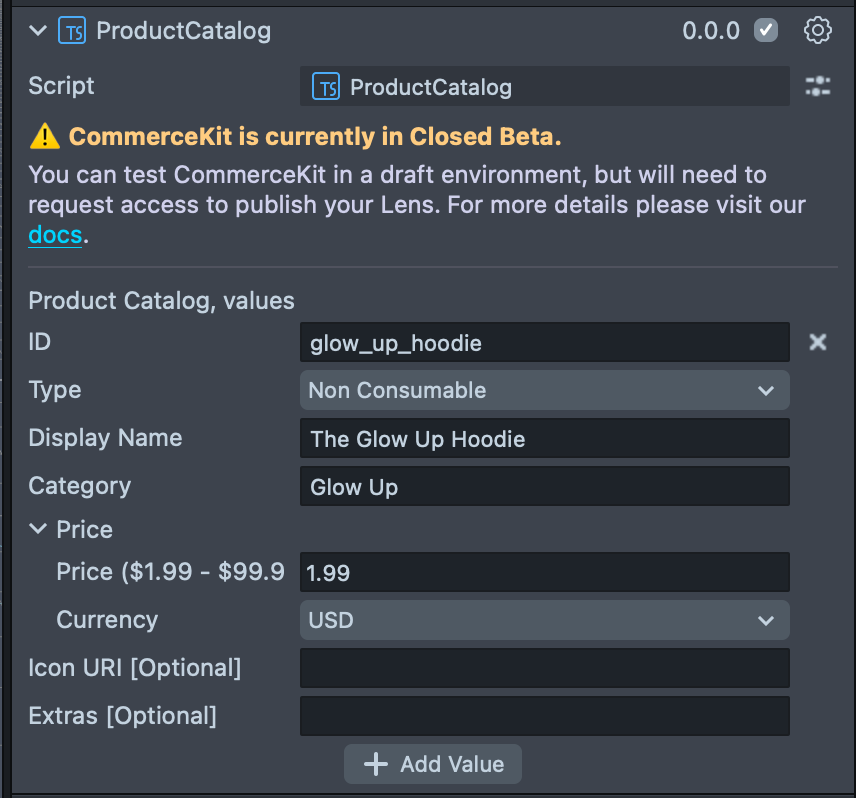
Product Configuration
When setting up products in the Inspector, configure these properties:
Product ID (Required)
Example: "premium_filters"
- Unique identifier used in your code
- Use lowercase with underscores
- Must be unique across all products
Product Type (Required)
- Non Consumable: Purchased once, owned permanently
- Perfect for: Premium features or exclusive content
Display Name (Required)
Example: "Premium Filters Pack"
- What users see in your Lens
- Keep it clear and appealing
- Maximum 40 characters
Category (Required)
Example: "Filters" or "Premium Features"
- Helps organize products for users
- Groups similar items together
- Maximum 28 characters
Price (Required)
- Only USD supported at this time
- Pricing is set in cents (e.g., 199 = $1.99)
💡 Visual suggestion: Add screenshot of Price configuration section in Inspector
Product Icon (Optional)
- Add visual appeal to your product listings
- Recommended size: 256x256 pixels
- Use PNG or JPG format
Extra Metadata (Optional)
{
  "featured": true,
  "category": "premium",
  "benefits": ["HD quality", "Exclusive effects"]
}
- Store additional product information
- Useful for advanced product features
Testing Your Commerce Integration
Commerce Kit provides mock purchase flows in both development environments, allowing you to test your implementation without real transactions.
Testing Strategy
- Start with Lens Studio for initial development and basic flow testing
- Move to device testing once your basic implementation works
- Test both success and failure scenarios in each environment
- Validate purchase state persistence across app sessions on device
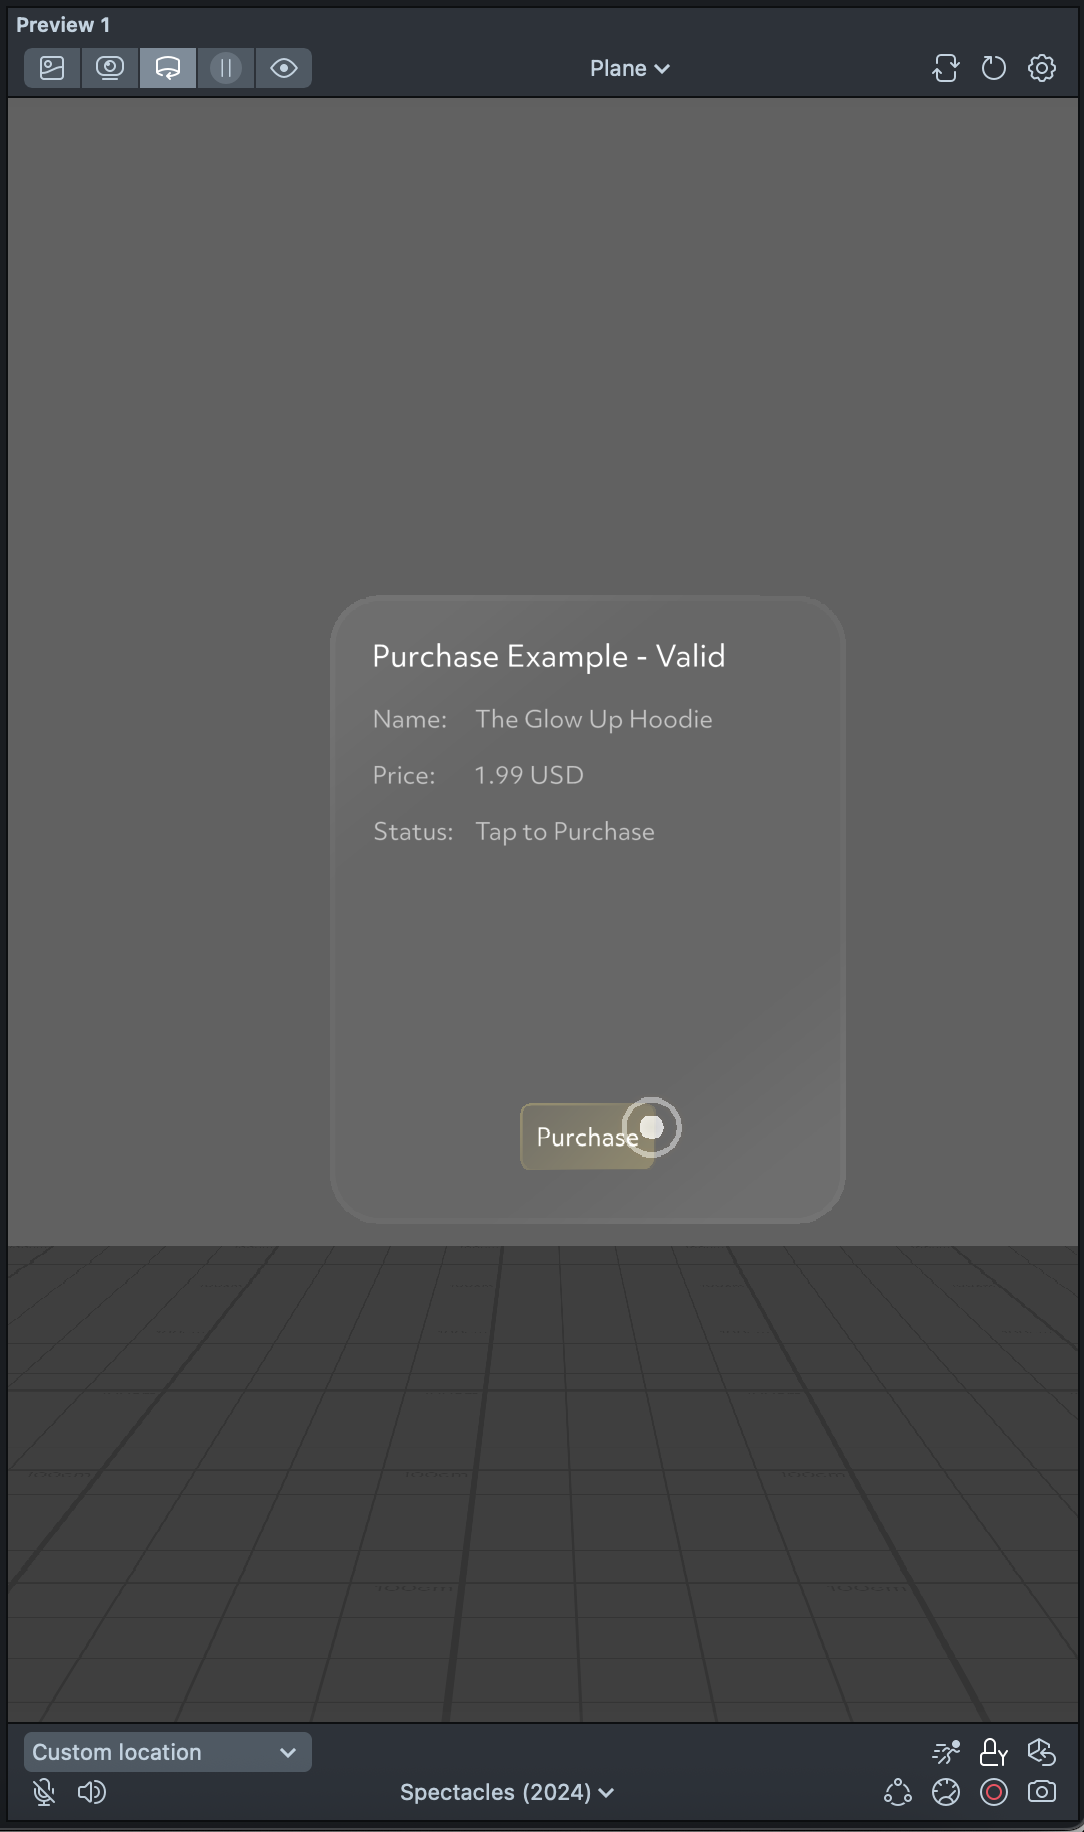
Testing in Lens Studio
When testing within Lens Studio:
Mock Purchase Behavior
- All purchases are automatically accepted if the product exists in your catalog
- No actual payment processing occurs
- Purchase validation immediately returns success
Important Limitations
- Purchase details are not cached - data resets when you refresh Lens Studio
- No persistence - purchased items won't remain "owned" between sessions
- Testing scope - Only validates basic purchase flow logic
Best For
- Initial development and debugging
- Testing purchase flow UI and logic
- Verifying product catalog configuration
Testing on Spectacles Device
When testing on actual Spectacles hardware:
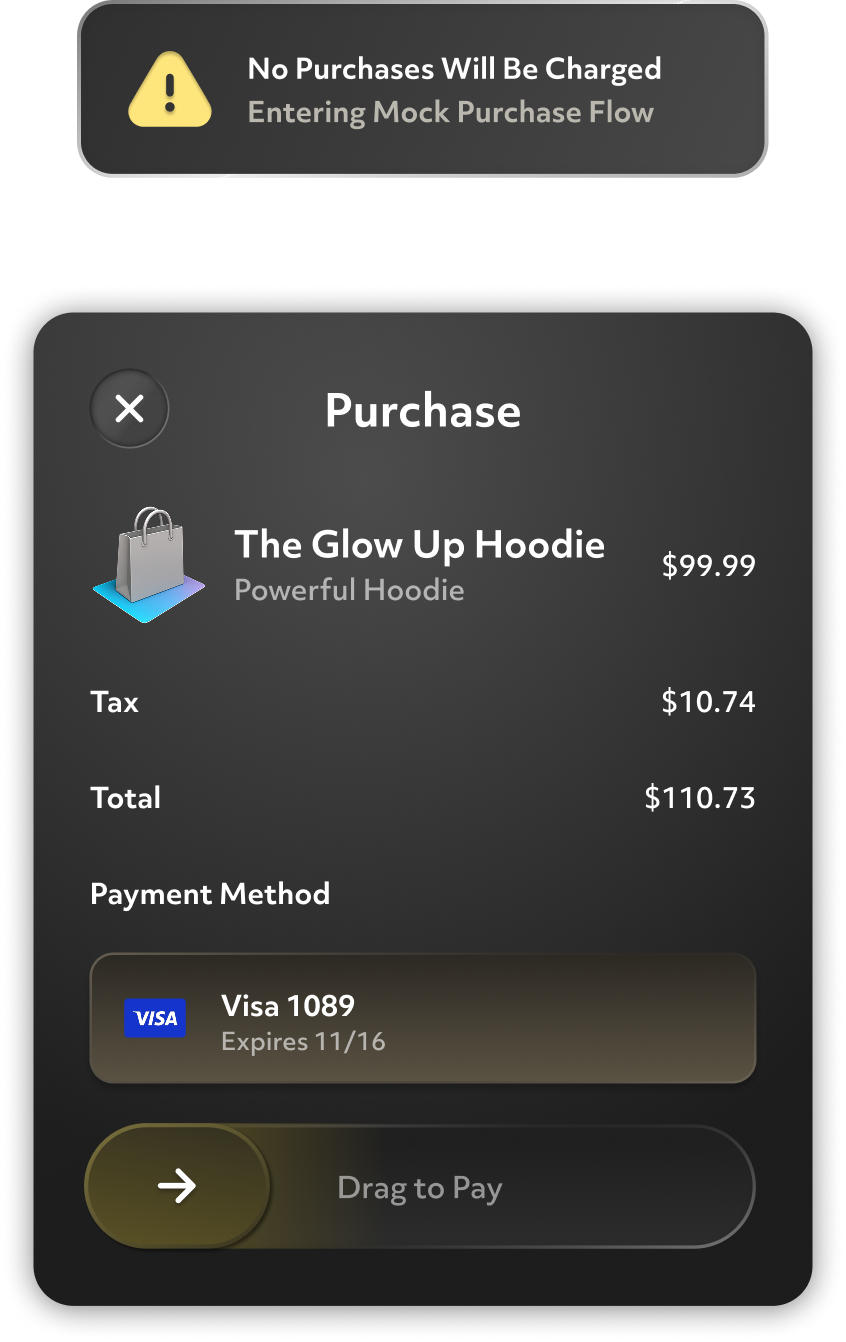
Mock Purchase Flow
- System UI appears when a valid purchase is initiated
- No real charges are made to any payment methods
- Full purchase flow simulation including user confirmation steps
Realistic Testing
- Tests the complete user experience
- Validates deep link integration with Spectacles App
- Simulates actual purchase confirmation process
Purchase States
- Users can accept or decline mock purchases
- Successful mock purchases are treated as real for testing purposes
- Purchase history and validation work as expected
Best For
- End-to-end testing of the complete purchase experience
- User experience validation
- Integration testing with Spectacles App