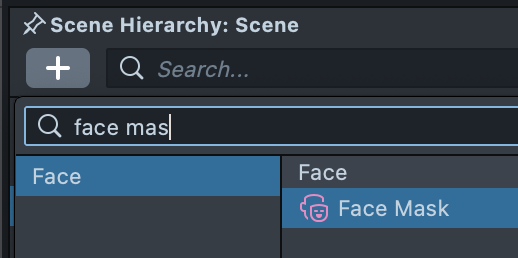
Face Mask
The Face Mask effect maps a 2D texture to your face. The texture appears to be painted on your skin and contorts with facial movements. Great for full face masks but also can be used for realistic makeup.
Create the Face Mask
To create a Face Mask object, first click the + button in the Scene Hierarchy panel. Then, select Face Mask.
Adjust the Face Mask
If you haven't imported a texture into your project yet, select + -> Import Asset from the Asset Browser panel and select the texture you wish to import. Learn more in the Adding Content guide.
With the newly added Face Mask object selected in the Scene Hierarchy panel, you can modify its settings in the Inspector panel. You can modify the texture used on the Face Mask by opening the inline editor for the Main Material field. Click on the Settings button to the right of the field, then click on the Texture field and assign it to your imported texture.
You can modify how the Face Mask is applied by double-clicking on the object in the Scene Hierarchy panel to open the Face Mask Editor panel.
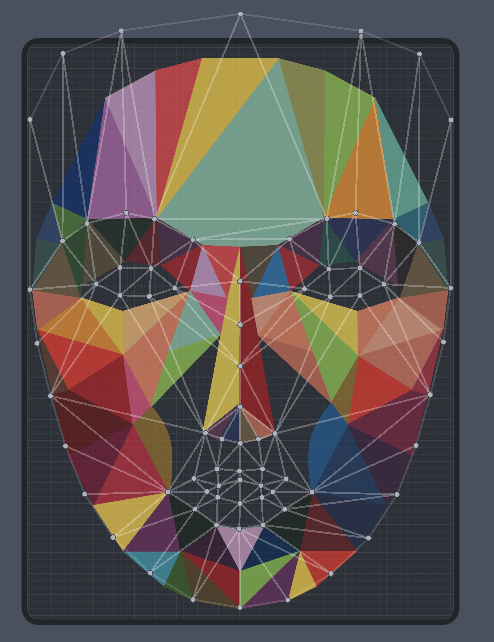
Adjust the anchor points in the Face Mask Editor panel to map the texture to the face. These points anchor areas of the face to the inputted texture.
In the top left of the panel, you will find two button: Symmetrical Mode and Reset Points. Points are moved symmetrically by default. You can disable this by unchecking the Symmetrical Mode button. Reset Points will reset all the anchor points to the default positions.
![]()
At the top center of the panel, you will find two buttons which allows you to toggle which texture points you are modifying.
Textureis how the Face Mask looks itself.OpacityTexture expresses how the opacity of theTexturechanges. A white pixel value being opaque, and black being transparent.
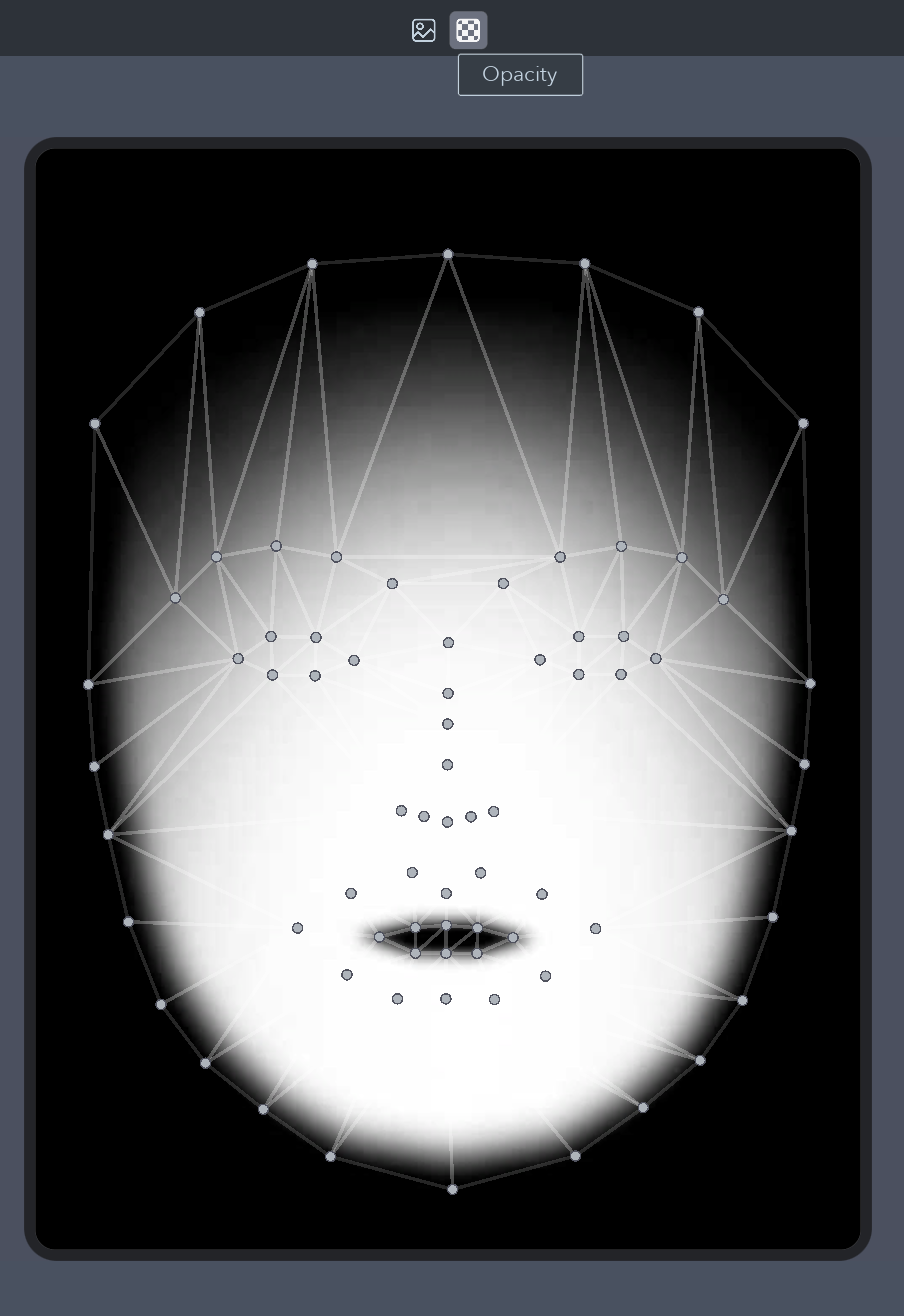
To tune the Opacity Texture points, choose Opacity from the two buttons at the top center of the panel. Align your anchor points to fit the Opacity Texture.
![]()
Every Face Mask has a default Opacity Texture so you can ignore this step if you don't need a custom Opacity Texture.
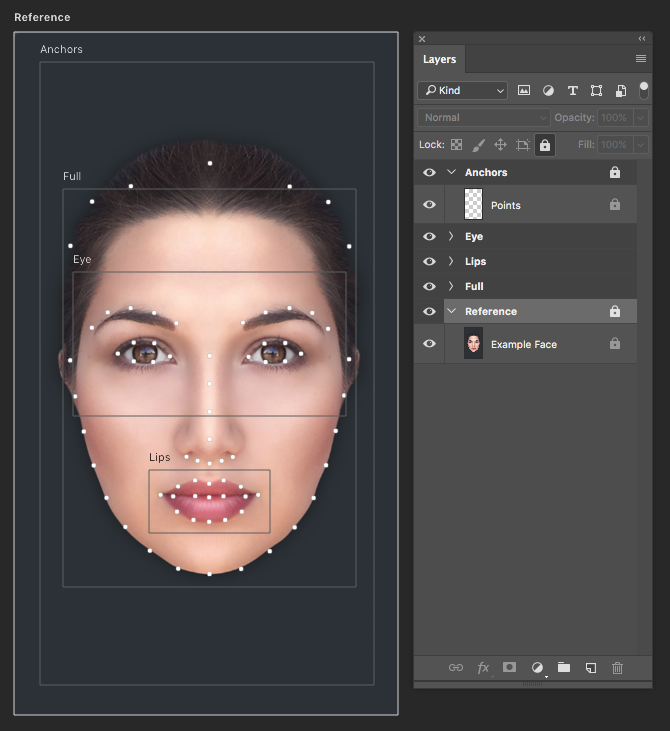
Face Mask Helper Files
To help create your face mask, you can download the following files which contain PNGs and a PSD that can be used as a reference to draw your mask. Take a look at the Face Paint Template to learn more about how you can use the Face Mask, and this reference file.
Face Mask Settings
The Face Mask object has a number of settings that can be configured in the Inspector panel.
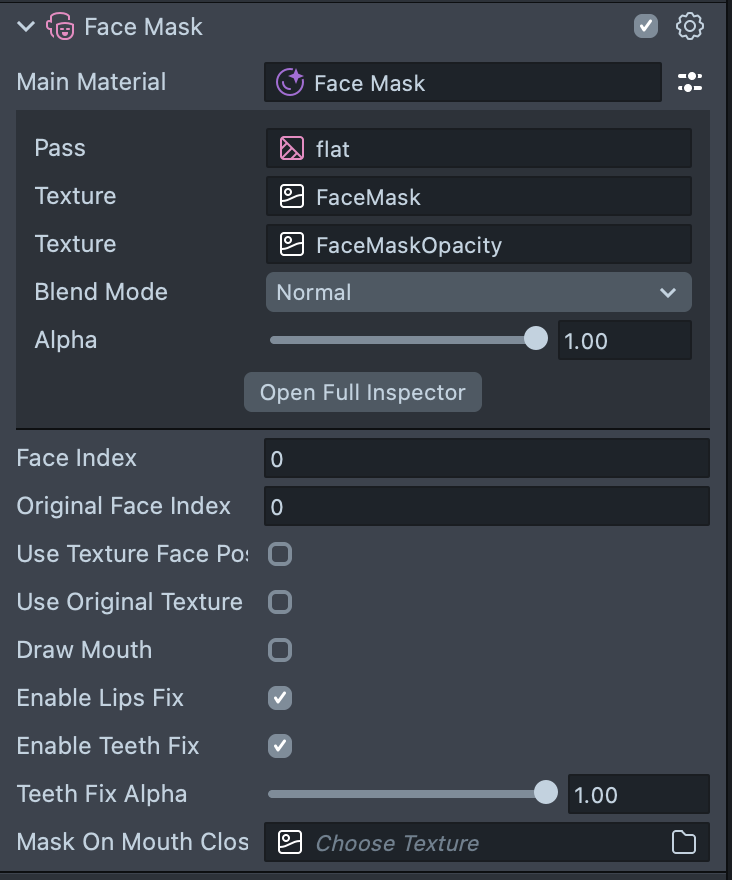
- Main Material: This is the material that will be added to the face. In most cases, you can leave this material set to
Default. When using theDefaultmaterial, the following properties can be modified to customize the Face Mask object in the inline editor (the settings button to the right of the field):- Texture: This is the texture that will be added to the Material on the Snapchatter's face.
- Opacity Texture: The Opacity Texture defines where the
Face Maskwill draw. White in the Opacity Texture defines areas where the face texture will be drawn while black occludes. TheFace Maskobject initializes with a default Opacity Texture. - Blend Mode:
Face Maskoffers a variety of blend modes. Using modes beyond Normal also helps the texture blend more naturally with the face. - Alpha: The intensity of the
Face Maskobject. Often, we dial back the alpha of aFace Maskobject so it blends more naturally with the user's skin.
- Face Index: Which face the object will apply to. The first face in the scene is 0; the second face in the scene is 1.
- Original Face Index: The face index that the face mask texture will come from. Used in conjunction with
Use Original face. - Use Original Face: Enable this if you want to use the user's face as the texture. Used for drawing the user's face over a 3D object attached to the head.
- Draw Mouth: Should the face mask apply to the mouth.
- Enable Lips Fix: Enable if you want to fix lips.
- Enable Teeth Fix: Enable if you want to fix teeth.
- Teeth Fix Alpha: The opacity of the
Teeth Fix. - Mask On Mouth Close: Whether a different opacity texture should be used when the mouth is detected as closed.