Face Texture
The Face Texture resource allows you to get a your Camera texture centered around a part of your face. It can be used, for example, for creating a picture in picture effect, or for applying a user’s face to a 3D object in your Lens.
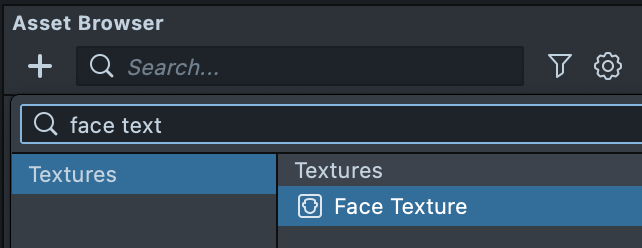
Create the Face Texture
To create a Face Texture resource, first click the + button in the Asset Browser panel. Then, select Face Texture.
Assign Texture to a Screen Image
The Face Texture resource can be used anywhere a regular texture can be used.
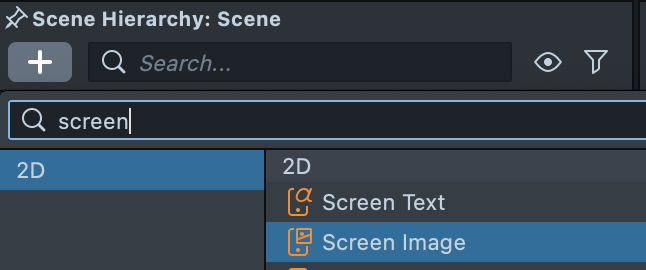
One way of displaying it is to use a Screen Image. In the Scene Hierarchy panel: + > Screen Image.
Then, in the Inspector panel, assign Texture to your newly added Face Texture resource.
Position The Face Texture
To modify where the image is displayed, double-click on the object in the Scene Hierarchy panel. This will open up the relevant editor, in this case, the 2D Editor panel.
In the 2D Editor panel, you can move your Screen Image around to position your Face Texture in the right place.
To learn more about Screen Image, checkout the Image guide
Face Texture Settings
With the Face Texture resource selected, you'll see the following settings used to configure the resource in the Inspector panel:
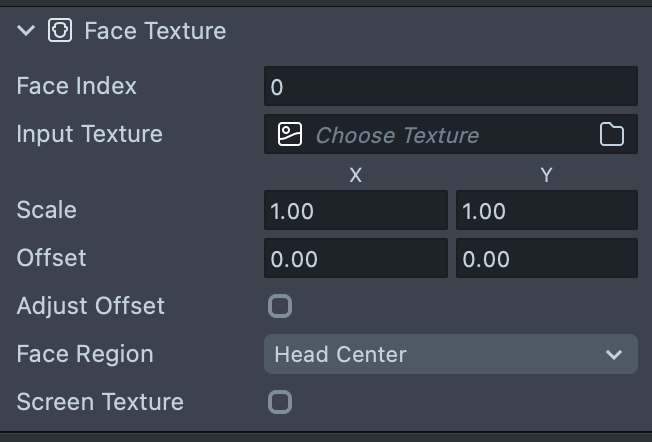
- Face Index: The index of the face this face texture is displaying.
- Input Texture: The texture which the face is extracted from. By default it is the screen texture.
- Scale: The UV Scale of the face texture. How the face will be fitted unto the texture.
- Offset: The UV Scale to shift the inset texture.
- Adjust Offset: Whether the
Offsetshould be applied. - Face Region: The area of the face this texture is centered to.
- Screen Texture: Whether the face texture should receive from the screen.